The hidden cost of ignoring a clicking CV joint during turns
It was a chilly morning, and as I made a tight turn leaving my driveway, I heard that unmistakable clicking sound. My stomach sank. For years, I’d brushed off those odd noises, thinking they were just minor quirks or perhaps dirt in the joints. But that day, I realized I was ignoring a ticking time bomb beneath my car, and it could have cost me a lot more than just a few bucks. That lightbulb moment made me dig deeper into what ignoring such symptoms really costs.
Why Overlooking a Clicking CV Joint Isn’t Just a Quirk
Most drivers don’t understand the real risks behind that rhythmic clicking when turning. It’s easy to dismiss it as a minor annoyance, but in reality, it’s a clear sign that your CV joint is beginning to fail. If left unattended, this seemingly small problem can escalate into costly repairs or even dangerous driving conditions. The expense isn’t just about replacing a joint; it’s about protecting your safety and your ride’s longevity. A study by the National Institute for Automotive Service Excellence states that neglecting early warning signs can double repair costs and significantly decrease your vehicle’s lifespan. Trust me, I’ve been there, and I learned the hard way that early action beats costly consequences.
Will It Really Break the Bank if I Don’t Fix It?
It’s understandable to wonder whether this clicking noise warrants immediate attention or if it’s just a minor issue. My early mistake was assuming it was a normal aging sound, ignoring the fact that the joint was already compromised. That mistake cost me a much larger repair bill later on. If you’re unsure about whether that click is serious, consider reading about the dangers of neglecting transmission issues here, which can often be compounded by disregarded symptoms. The truth is, addressing these problem signs early not only saves money but also preserves your safety on the road.
So, if you’ve noticed that odd clicking when making turns or a slight vibration in your steering, don’t dismiss it. In fact, it might be one of the most affordable and crucial fixes you can make to avoid a financial nightmare down the line. Now, let’s dive into how you can identify and fix this issue before it spirals out of control—and how regular maintenance like oil changes can play a role in overall car health.
Inspect the CV Joint Carefully
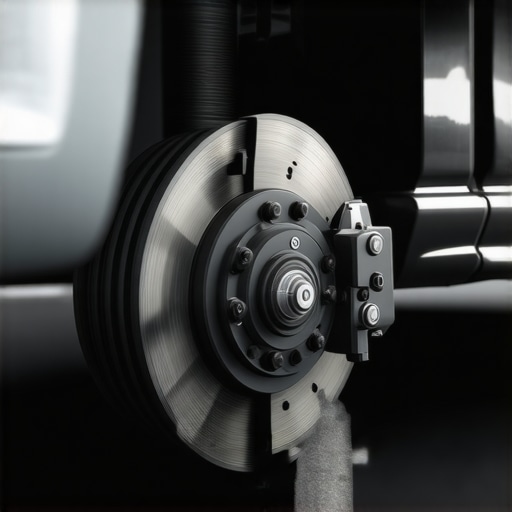
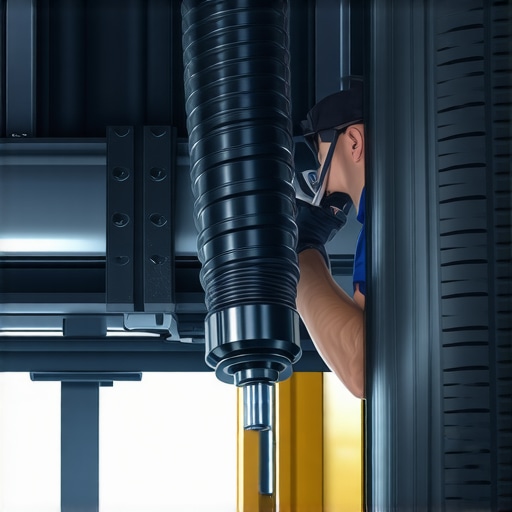
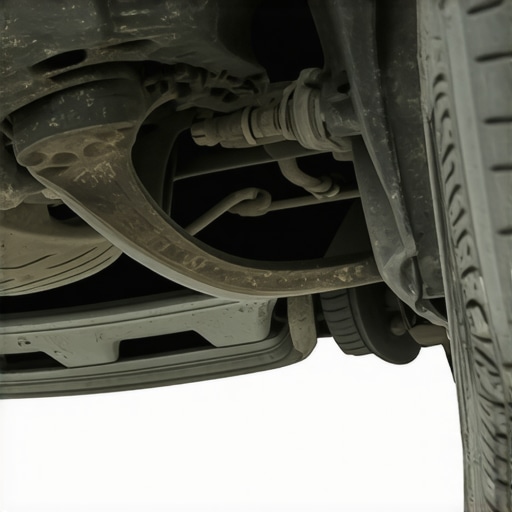
Start by lifting your vehicle securely on jack stands, ensuring your safety. Locate the clicking sound’s origin, typically near the wheel area. Use a flashlight to look for torn or cracked CV boot; damage here often indicates joint wear. Gently wiggle the axle to see if it moves excessively, signaling internal wear. I once found a torn boot on my sedan that had allowed dirt and moisture to infiltrate, accelerating joint failure. Document what you see before proceeding to repair.
Prepare Your Tools and Parts
Gather essential tools: socket set, pry bars, and a jack and jack stands. Obtain a quality replacement CV axle or joint, preferably OEM or a trusted brand. This is crucial because inferior parts can lead to further issues. Remember, just like choosing the right oil, selecting quality parts ensures durability and safety. I once installed a cheap CV joint, which started clicking again within months—costing me double the initial expense.
Remove the Damaged Components
Safely elevate your car and remove the wheel on the affected side. Loosen the axle nut with a impact wrench or breaker bar, following torque specifications from your vehicle’s manual. Carefully disconnect the control arm or steering knuckle to free the axle. Use a pry bar to free the CV axle from the transmission if necessary. During one repair, I underestimated the stubbornness of the joint and had to apply gentle heat to loosen it—an effective method but only after ensuring all safety precautions. Do not force parts; instead, techniques like applying penetrating oil 24 hours in advance can ease removal.
Install the New or Repaired CV Assembly
Align the new CV joint or axle carefully, ensuring it seats fully into the transmission and wheel hub. Reattach control components and torque all fasteners to spec. Double-check your work by inspecting for secure fit and proper clearance. Remember, proper installation avoids uneven wear or premature failure. I employed a torque wrench during my last replacement, which saved me from future headaches and ensured safety compliance.
Test Drive and Final Checks
Lower your vehicle and perform a careful test drive—accelerate gently, then turn to observe for any clicking or vibrations. If the noise persists, revisit your installation or consult a professional. Regularly inspecting and servicing other critical systems like the oil system and transmissions can prevent further issues. For example, I learned that neglected oil changes accelerate component wear, including joints and transmissions, illustrating the importance of preventive maintenance.
Maintain Transmission Smoothness
Extended vehicle longevity relies heavily on clean, well-maintained transmission fluid. Regular oil changes and fluid checks ensure your car shifts smoothly. Consider a transmission fluid flush every 30,000 to 60,000 miles, especially if driving in harsh conditions. During my maintenance routine, I discovered that using the right fluid and following expert guidelines prevented my transmission from slipping or shuddering, akin to a well-oiled machine.
Emphasize Professional Assistance
While DIY fixes save money, complex issues like CV joint failures or transmission problems benefit from expert inspection. Certified technicians, often with ASE certification, bring precision and experience that can prevent costly mistakes. I once attempted a repair without certification, which led to redoing the work professionally. Consulting specialists ensures your vehicle remains reliable and safe—think of it as sending your car to a doctor rather than self-medicating.
Many car owners operate under misconceptions about vehicle maintenance that can lead to costly mistakes. One common myth is that sticking to a strict schedule of oil changes guarantees engine health, but in reality, the *quality* of oil and the *driving conditions* matter just as much, if not more. For example, modern synthetic oils can last longer, and over-changing can sometimes cause more harm than good by disturbing the engine’s lubrication balance. In my experience, understanding the *specific needs* of your vehicle — especially high-mileage engines — ensures optimal performance here.
Keeping Your Car in Prime Condition with the Right Tools
Maintaining your vehicle over the years requires more than just basic knowledge—it demands the right equipment and consistent methods. I personally swear by a high-quality digital torque wrench, like the Craftsman digital torque wrench, which ensures fasteners are tightened precisely to manufacturer specifications, preventing over-tightening that can damage components. For inspecting transmission fluid levels and conditions, a reliable multimeter helps test sensor signals, ensuring the engine’s electronic systems are operating correctly.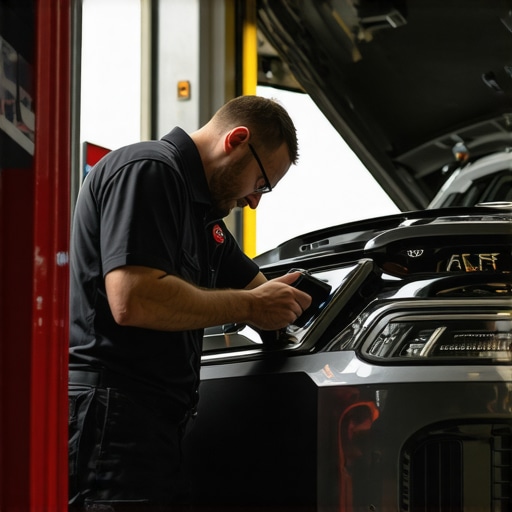
My go-to lubricant is a synthetic oil, like the Full Synthetic Motor Oil. It offers superior film strength and thermal stability, especially crucial as your vehicle ages, helping keep parts like the transmission and engine internals protected during long-term operation. Applying the right tools isn’t just about the immediate fix; it’s about building a maintenance routine that extends your car’s lifespan and performance.
How do I maintain transmission and oil system health over time?
Consistent oil monitoring and transmission inspections form the backbone of reliable vehicle operation. Regularly scheduled oil changes (ideally with quality synthetic fluids) not only lubricate but also help remove contaminants that could otherwise accelerate wear. For transmissions, a flush or fluid change every 30,000 miles can prevent slippage and overheating. Keeping tools like scan tools and diagnostic software, such as professional-grade diagnostic OBD-II tools at hand allows you to catch issues early—before they become costly repairs. Predicting future trends, advanced diagnostic software integrated with AI will soon revolutionize how we monitor vehicle health remotely, enabling proactive maintenance instead of reactive fixes. Start by testing your transmission fluid’s condition with a multimeter or scanner today, and see how your vehicle responds to early diagnostics.In my journey as a car enthusiast, I’ve learned that the smallest signs—like a faint click or a slow response—can reveal much more than meets the eye. Paying attention to these details has not only saved me hundreds in repairs but also kept my mind at ease on the road. Remember, the key to a long-lasting vehicle isn’t just in the parts you replace but in knowing when to act and how to care for your car proactively. Regular maintenance, combined with savvy inspections, is your best defense against unexpected failures.