How to remove stubborn oxidation from your headlights using household items
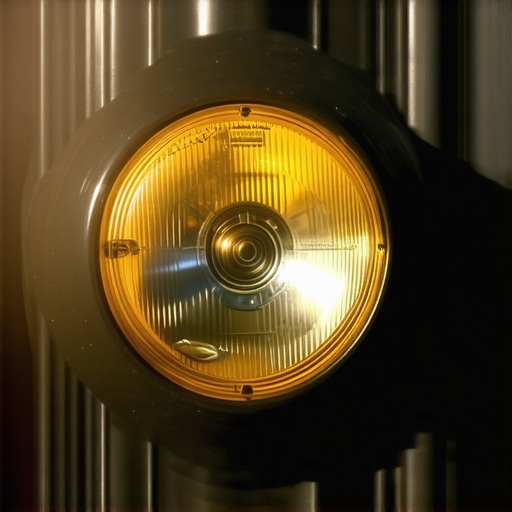
I will never forget that rainy Tuesday evening last October. I was squinting through my windshield, convinced my eyesight was failing or my alternator was on its last legs. I actually pulled over and checked my lights, thinking maybe I had forgotten to turn them on. Nope. They were on—they just looked like two glowing oranges buried in a bucket of milk. It was embarrassing. I pride myself on staying on top of my car service needs, but I had completely ignored the slow, yellow creep of oxidation on my plastic lenses. I almost booked an appointment with an ASE certified tech just to figure out why my night vision was gone. Then it hit me: the plastic was the problem, not the bulbs. Today, I am going to show you how to peel back that hazy layer of grime using nothing but items you probably already have in your kitchen or bathroom. You do not need a professional detailing shop to get back that factory-fresh clarity. We are talking about a total transformation for the price of a cup of coffee. Have you ever felt like you were driving with two flashlights in a fog bank despite having your high beams on? It is a common struggle, but the solution is surprisingly simple.
Your Headlights Aren’t Dying They’re Just Choking
Many folks assume that when their lights get dim, it is time for new bulbs or a trip to the mechanic for transmission troubles or electrical diagnostics. But often, the culprit is UV radiation breaking down the clear coat on your polycarbonate lenses. When that coat fails, the plastic oxidizes, turning yellow and rough. It is a massive safety issue. According to a study by AAA, clouded headlight lenses can reduce light output by as much as 80 percent compared to new ones, which is terrifying when you are cruising at 60 mph on a dark highway. Early in my DIY journey, I made the huge mistake of using a heavy-duty kitchen scourer to “scrub” the haze off. I ended up with deep, permanent scratches that no amount of polish could fix. Don’t be like me. We are going to use much gentler, smarter methods today. Just like how top oil change tips help keep your engine smooth, learning how to restore headlights that have turned yellow and hazy is a fundamental skill for any car owner.
Does This DIY Stuff Actually Work or Am I Wasting My Time?
It is easy to be skeptical when someone tells you that toothpaste or baking soda can do the job of a $50 professional restoration kit. I was a doubter too until I saw the results on my own driveway. Household items act as mild abrasives and chemical cleaners that lift the oxidation without eating into the plastic. While a professional job might last a bit longer because of the high-end sealants they use, these home remedies are perfect for the budget-conscious driver who needs better visibility right now. Have you ever tried one of those “as seen on TV” kits and been disappointed by the results? I’d love to hear your horror stories before we dive into the methods that actually work.
Protect Your Paint Before You Touch the Plastic
The first thing I learned the hard way—much like the first time I attempted to diagnose transmission troubles—is that rushing leads to regret. You need to mask off the area around your headlights with blue painter’s tape. If you don’t, you will inevitably scuff the paint on your fender while you are focusing on the lenses. Then you will be frantically searching for how to restore the sharp body lines of your car with hi-def detailing just to fix your own clumsiness. I once skipped this step on my old sedan, thinking I had a steady hand. Ten minutes later, I had a permanent matte-finish stripe on my blue hood. It was an expensive lesson in humility. Tape two layers thick; it acts as a physical barrier so your abrasive materials stay exactly where they belong.
Scrub Away the Grime with Common Household Supplies
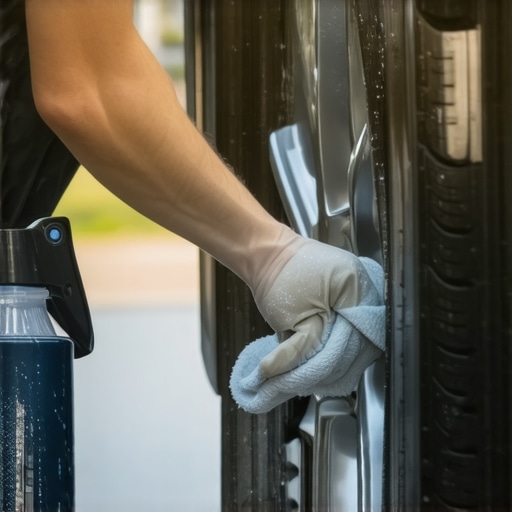
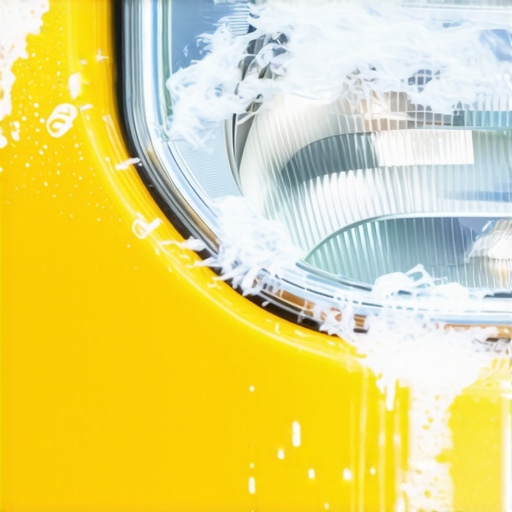
Start by washing the lens thoroughly with basic soap and water. You wouldn’t put fresh oil into a sludge-filled engine, would you? Just as the secret to keeping your engine clean internally between changes is regular maintenance, a clean surface is vital here. Once dry, take a non-gel whitening toothpaste. It is a mild abrasive, similar to the fine compounds an ASE certified tech might use for finish work, but far more accessible. Squeeze a generous amount onto a soft microfiber cloth. If you notice a faint burning rubber smell while you work, you are likely applying too much pressure too fast; slow down and let the material do the work.
Rub Like You Are Trying to Win a Race
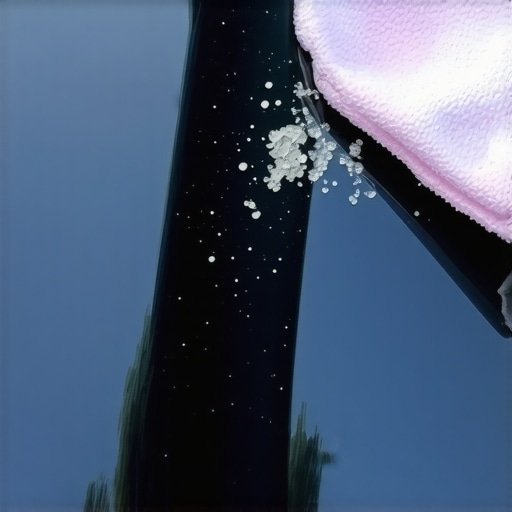
This is the physical ‘meat’ of the process. Apply the toothpaste in small, tight circular motions. You will quickly notice the white paste turning a nasty, muddy shade of yellow—that is the oxidation actually leaving the plastic. It is as satisfying as seeing what your transmission fluid color is trying to tell you when you finally flush out old, burnt gunk. Keep the surface moist; if it gets too dry, it can actually create new scratches. Continue this for at least five minutes per side. I remember doing this on a humid July afternoon, sweat dripping into my eyes, but the moment I wiped away that first layer of paste to see crystal-clear plastic underneath, the effort felt like a massive win.
Lock in the Clarity or Watch it Fade
The most common mistake DIYers make is stopping once the lights look clear. Without a UV-protective coating, that plastic is now naked to the sun. Within weeks, the oxidation will return with a vengeance. You need a dedicated UV sealant. If you don’t apply one, you are just wasting your afternoon. Think of it like how to spot a bad ceramic coating job before you pay the bill; if the protection isn’t there, the shine is just a temporary lie. Much like why regular oil changes extend your car’s lifespan, the sealant is the long-term insurance for your hard work. Apply it in a single, thin coat and let it cure in the shade for the time recommended on the bottle.
I’ve seen dozens of ‘life hack’ videos claiming that a quick wipe-down with a magic sponge or a spritz of bug spray will fix your headlights forever. Here is the truth: most of those ‘hacks’ are actually harmful shortcuts. Bug spray contains DEET, which literally melts the surface of the plastic to make it look clear for a week before it turns into a sticky, ruined mess. When you are choosing the right car service for your vehicles needs, you expect precision, and your DIY work should be no different. You wouldn’t ignore a flickering warning lamp or wonder why your oil light comes on specifically during hard braking without investigating the root cause. Headlights are the same; the nuance is in the chemical bond, not just the surface shine.
The Big Lie About DIY Headlight Kits
Everyone tells you that the sanding and polishing are the most important steps. In my experience, those are just the preparation. The real ‘make or break’ moment is the UV sealant application. Most store-bought kits provide a sealant that is far too thin. Just as the danger of overfilling your engine oil by just one quart can lead to catastrophic internal pressure, using an inferior or improperly applied sealant leaves the polycarbonate vulnerable to ‘crazing’—tiny internal fractures that no amount of toothpaste can fix. If you want results that last years instead of months, you need to understand the material science. An ASE certified technician doesn’t just ‘clean’ things; they restore the protective barrier. Without that barrier, the sun will eat your lenses alive by the next season.
Stop Melting Your Lenses with a Power Drill
The biggest ‘oops’ factor I encounter is the over-enthusiastic use of drill-powered buffing pads. It seems like a great time-saver, right? But polycarbonate is extremely sensitive to heat. If you stay in one spot for more than a couple of seconds, the friction creates enough heat to slightly melt the plastic, leaving a permanent ‘ghosting’ or ‘swirl’ that looks like a thumbprint in the middle of your lens. I once watched a neighbor do this while he was also trying to figure out how to tell if your mechanic actually replaced the transmission filter on his truck. He was so distracted by one DIY project that he ruined his headlights by moving too slowly with the drill. If the plastic gets hot to the touch, you are doing it wrong. Keep it moving and keep it wet. Have you ever fallen into this trap? Let me know in the comments.
What if the Haze is Hiding Inside the Lens?
This is a question even advanced DIYers forget to ask. Sometimes you can sand until your arms fall off, and the light still looks dim. According to studies by the Lighting Research Center (LRC), internal degradation can occur from high-heat bulbs or moisture ingress. If you have condensation inside the housing, that moisture is cooking the plastic from the back. It’s a subtle distinction, much like noticing why your engine oil level is rising without you adding any; it points to a systemic failure rather than just a surface issue. If the yellowing is on the inside, you are dealing with a seal failure or a ventilation problem, not just UV oxidation. In these cases, no amount of external polishing will help. You have to treat the headlight as a complete system, just as you would when diagnosing transmission troubles—look for the source, not just the symptom.
Upgrade Your Kit with a Random Orbital Polisher
After years of manual scrubbing, I finally invested in a dual-action (DA) polisher, and it changed my life. Unlike a standard high-speed drill, a DA polisher oscillates and rotates at the same time, which drastically reduces the risk of generating the destructive heat I mentioned earlier. When you are looking into choosing the right car service for your vehicles needs, you’ll notice that pros use these tools for a reason: precision. I personally use a 3-inch backing plate for headlights because it allows me to follow the curves of the housing without hitting the bumper. It’s the same philosophy behind the secret to keeping your engine clean internally between changes; using the right tool for the specific job ensures you aren’t just creating more work for yourself down the road.
Science Proves Why Cheap Spray Fails
If you have ever wondered why some restorations turn yellow in three months while others last three years, the answer lies in the chemical bond. According to the Society of Automotive Engineers (SAE) Standard J576, the plastic materials used in optical lenses require specific UV-stabilized coatings to prevent ‘yellowing and crazing.’ Many cheap DIY kits use a simple acrylic spray that doesn’t actually cross-link with the polycarbonate. If you want professional results, you need a high-solids urethane sealant. It is a bit more expensive, but much like why regular oil changes extend your cars lifespan, the initial investment in quality materials saves you from a massive headache later. I’ve seen people ignore this and end up with lenses that look worse than before, eventually leading to transmission troubles style stress when they realize they can’t see the road during a midnight rainstorm.
How do I maintain my lens clarity over the long haul?
Maintenance is not a one-and-done event. To keep those lenses looking like glass, I apply a high-quality synthetic wax every time I wash the car. This acts as a ‘sacrificial layer’ that the sun has to eat through before it even touches your sealant. I also suggest checking your headlight alignment once a year. Even if the plastic is clear, if the bulbs are aimed too low, you’re still driving in the dark. While you’re at it, peek at your maintenance logs. If you’re staying on top of top oil change tips for safe driving in 2025, adding a thirty-second headlight wipe-down to your routine is easy. Consistency is what separates a car that lasts 300,000 miles from one that ends up in a scrap heap. If you are managing a larger vehicle, learning how to get more miles out of your fleets transmission follows the exact same logic of preventative care.
The Future of Lighting is Already Here
Looking ahead, I expect we will see a shift away from traditional polycarbonate housings toward more durable, high-index glass composites or even solid-state laser lighting arrays that don’t rely on massive external lenses. As cars become more autonomous, the clarity of these lenses won’t just be for your eyes; they will be vital for the sensors and cameras that ‘see’ for the car. This makes the role of an ASE certified technician even more critical, as they will need to calibrate these systems after any restoration work. Advanced Tip: For the ultimate finish, try the ‘flash-cure’ method by using a handheld UV lamp on your sealant; it creates a significantly harder shell than just letting it sit in the sun.
The Reality Check I Needed After Two Decades of Driving
Reflecting on my early mistakes, the biggest lightbulb moment was realizing that car care isn’t about expensive products; it’s about the consistency of your routine. Much like how why regular oil changes extend your cars lifespan, the secret to clear headlights is never letting the oxidation get thick enough to sand in the first place. I’ve learned that once you restore the plastic, a quick wipe with a UV-protectant every few months is the difference between a one-time fix and a permanent solution. Don’t fall for the ‘permanent’ marketing on the box; in the automotive world, everything requires a bit of love. Even the most skilled ASE certified technicians will tell you that prevention beats a cure every single time. It is exactly like checking for transmission troubles before you’re stuck on the side of the road—proactive care is everything.
A Few Tools That Saved My Sanity
If you’re ready to move beyond toothpaste, here is what I keep in my garage cabinet. First, a dedicated sanding block—it prevents uneven pressure that your fingers naturally create. Second, a high-quality ceramic-based sealant; it’s the gold standard for UV resistance and far superior to the wax-based alternatives. Third, I always keep a roll of high-adhesion painters tape specifically for automotive finishes to avoid peeling any clear coat off the bumper. When you are choosing the right car service for your vehicles needs, it’s often because they have these specialized tools, but for headlights, you can easily build your own professional-grade kit for under fifty bucks. If you are unsure of the quality of your finish, remember how to spot a bad ceramic coating job before you pay the bill to ensure your own DIY work meets the same high standard.
Take Control of Your Night Vision Today
There is a profound sense of satisfaction that comes from looking at your car and seeing those clear, sparkling lenses. It changes the entire face of your vehicle and, more importantly, keeps you and your family safe during those midnight drives. Just like staying ahead of top oil change tips for safe driving in 2025, keeping your vision clear is a non-negotiable part of responsible ownership. You have the tools, the knowledge, and the method—now it’s time to head out to the driveway and get to work. Have you ever struggled with getting the tape to stick correctly around those tight headlight curves or worried about why your oil light comes on specifically during hard braking while you were focused on detailing? Let me know your thoughts and questions below.