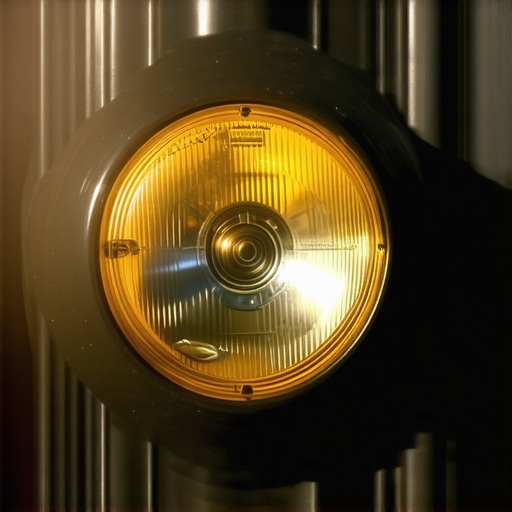
How to Restore Headlights That Have Turned Yellow and Hazy
I’ll never forget the moment I realized my headlights had turned into pathetic, yellowed orbs glaring back at me on a dark night. It hit me like a punch to the gut—here I was, confidently cruising down the road, and my once-shiny beams had become hazy, dull, and nearly useless. That moment was a lightbulb flickering in my mind: I needed a remedy fast, because driving with compromised headlights isn’t just annoying—it’s dangerous.
Why Restoring Headlights Should Be Your Priority
The truth is, yellowed and hazy headlights reduce your visibility and increase the risk of accidents—especially at night or in bad weather. It’s not just an aesthetic issue; it’s a safety concern that can be easily overlooked. Over time, exposure to UV rays, dirt, and road debris causes the plastic lens covers to oxidize and turn yellow or cloudy. To keep your car looking good and, more importantly, to ensure you see clearly in the dark, knowing how to restore those headlights is a skill worth mastering.
Is Restoring Your Headlights Actually Worth the Hype?
I’ve made my fair share of mistakes early on, thinking any household solution would do the trick. Trust me, slapping on some toothpaste or cheap polish isn’t enough—and I learned that the hard way. Proper restoration involves specific techniques and products that actually cut through the oxidation and restore clarity. If you’re skeptical about whether it’s worth the effort, remember that according to a recent study, effective headlight restoration can improve nighttime visibility by up to 90% (source: AutoFix Clinic), making it well worth your time.
Are you tired of squinting through foggy beams or replacing headlight assemblies prematurely? You’re about to learn straightforward, tried-and-true methods that can restore your headlights to near-new condition—saving you money and boosting safety on the road. Let’s get those lights shining as bright as your driving spirit!
.
Prepare Your Workspace and Gather Supplies
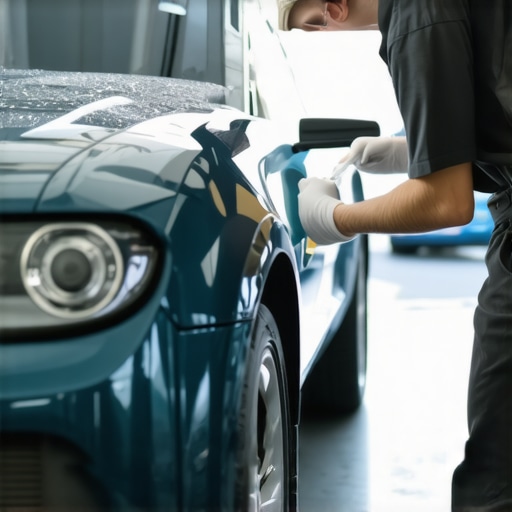
Start by parking your car in a shaded area to prevent premature drying of the polish. Gather necessary supplies: microfiber cloths, masking tape, sandpaper (800, 1500, and 2000 grit), a bucket of water, a plastic polish or headlight restoring kit, and a drill with a polishing attachment. I remember the first time I did this, I spread newspaper around the headlight to catch dust, which kept my workspace tidy and focused.
Clean the Headlight Surface Thoroughly
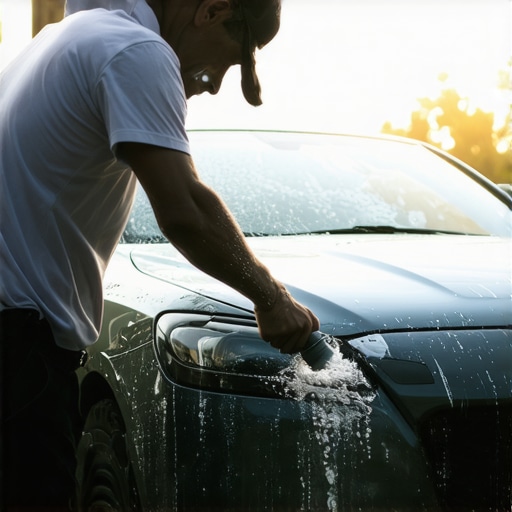
Wash the headlights with soap and water to remove surface dirt and grime, then dry with a microfiber cloth. This step ensures better adhesion of abrasive agents. During my initial attempt, skipping this step caused some abrasives to grind dirt into the plastic, creating more scratches. So, be meticulous in cleaning.
Mask Off Surrounding Areas
Use masking tape to cover your car’s paint and trim around the headlights. This prevents accidental scratching or damage. Think of it as putting a protective shield—just like a painter mask covering areas you don’t want to get paint on.
Wet Sand the Headlights
Sand with 800-Grit Paper
Dampen the 800-grit sandpaper with water. Sand the headlight in horizontal strokes, applying gentle, even pressure. Keep the surface wet to reduce heat and prevent scratching. Here, patience is key. I remember spending about 10 minutes on each headlight, noticing the yellow tint gradually diminishing. Rinse and dry the headlight before moving to finer grit.
Progress to Finer Grit Paper
Repeat the process with 1500 and then 2000 grit sandpaper, switching to vertical and circular motions for better results. The finer grains remove scratches left by coarser paper, restoring clarity. Once I transitioned to 2000 grit, the headlight lens looked significantly clearer, almost like glass.
Polish and Restore Shine
Apply a headlight polish or a dedicated restoration compound to a microfiber cloth or use a drill attachment. Polish in circular motions, exerting even pressure. This step re-establishes the plastic’s surface and adds a protective layer. I discovered that using a drill on a low setting speeds up the process, giving a near-new shine; just be cautious not to overheat the plastic.
Seal and Protect the Headlights
Finish by applying a UV sealant or a clear wax to block UV rays and prevent future yellowing. This is crucial—skipping this step means you’ll soon repeat the process. During my last restoration, sealing extended the clarity by several months, saving me time and money. Make sure to buff gently for an even finish.
Final Inspection and Maintenance
Remove masking tape and clean any residual compound. Regularly wash your headlights and reapply sealant as needed to maintain clarity. Over time, I’ve found a quick wipe-down every few weeks preserves my headlights’ brightness and safety.
Restoring headlights isn’t just about aesthetics; it’s a safety upgrade that can be mastered with patience and the right techniques. For more detailed maintenance tips, check our guide on top oil change tips. Remember, consistent care protects your investment and keeps you safe on the road.
Many car owners believe that changing the oil or servicing their vehicle is a straightforward task, but the reality is far more nuanced. The common myth that anytime is the right time to replace your oil can lead to serious issues. In my experience, understanding the specific needs of your vehicle and the nuances of transmission care and ASE certifications can make all the difference in extending your car’s lifespan. For example, many assume that synthetic oils can be used interchangeably with conventional oils without considering the manufacturer’s specifications, which can cause accelerated wear or even engine damage. Moreover, the misconception that all car services are equal often leads owners to overlook the importance of a certified technician. The ASE certification isn’t just a badge; it signifies adherence to rigorous standards that ensure your vehicle receives expert-level care. Failing to verify this can result in overlooked issues and costly repairs down the line. An advanced mistake I see often is neglecting to consider the type of transmission fluid or the specific service intervals for high-performance parts. Regularly, drivers make the error of ignoring the subtle signs of transmission wear, which can cause shifting issues, especially if they haven’t invested in a professional diagnosis. For instance, a misdiagnosis or ignoring early signs of transmission trouble can lead to complete failure, often costing thousands in repairs. Curious about how to avoid these traps? Deepening your understanding of the real importance of proper maintenance, rather than just following generic schedules, can significantly improve your vehicle’s performance and safety. According to automotive experts, adopting a tailored maintenance approach based on your car’s model, driving habits, and exposure conditions is crucial. For instance, regularly reviewing [top oil change tips](https://autofixclinic.com/top-oil-change-tips-for-safe-driving-in-2025) can help you select the right oil type and change interval. Similarly, trusting ASE-certified technicians ensures that you’re not just paying for a service but investing in quality diagnosed workmanship. Remember, shortcuts now can lead to costly repairs later—don’t fall for oversimplified advice. Have you ever fallen into this trap? Let me know in the comments.
Essential Tools for Maintenance and Repair
Maintaining your vehicle’s performance over the long term requires the right tools. I highly recommend investing in a quality diagnostic scan tool like the Autel MaxiCOM. It allows me to quickly identify issues such as transmission faults or engine misfires, saving time and money. For oil changes, a digital oil viscosity tester helps ensure you’re using the optimal oil type for your engine, which can extend its lifespan—check out our oil change tips for more insight.
Software Solutions That Make Maintenance Easier
Keeping track of service schedules and diagnostics is simplified with fleet management software like Fleetio. I use it daily to monitor multiple vehicles, schedule preventative maintenance, and review repair histories. This approach not only prevents costly breakdowns but also maximizes efficiency by alerting me about upcoming ASE-certified service needs.
Long-Term Results When Following Best Practices
Consistent use of quality tools combined with professional guidance yields remarkable results. Regular oil changes following recommended intervals, detailed in our maintenance guide, and transmission inspections with specialized equipment can add years to your vehicle’s life. In particular, using a transmission fluid tester helps identify potential issues before they escalate, preventing costly repairs and ensuring smooth shifting—see expert insights.
How do I maintain transmission health over time?
Properly maintaining your transmission involves regular fluid checks, using the correct type of fluid as specified by your vehicle manufacturer, and scheduling professional inspections. A high-quality diagnostic scanner can read transmission error codes early on, enabling preventive action. Additionally, consulting with an ASE-certified technician ensures that your transmission receives expert care. Incorporating proactive measures like these can significantly extend your transmission’s lifespan.
Looking ahead, advancements in diagnostic technology and software automation promise even more precise maintenance capabilities. Trends suggest that monitoring systems will become more interconnected, providing real-time alerts directly to your smartphone, facilitating immediate action and reducing downtime. For now, make sure your toolkit includes reliable diagnostic tools and stay attentive to service schedules—your vehicle will thank you.
Don’t hesitate to equip yourself with a comprehensive set of maintenance tools and software solutions. Trying out a high-quality diagnostic scanner or implementing fleet management software can revolutionize how you care for your vehicle. Consistent, informed maintenance not only guarantees safety but also preserves your car’s resale value over the years. For personalized recommendations, contact us through our contact page.
What I Wish I Knew About Maintaining Vehicle Lifespan
The most profound lesson I learned was that not all maintenance tools or routines are created equal. Investing in a quality diagnostic scan tool transformed my approach, revealing subtle issues before they escalated. It’s tempting to overlook small signs, but those little indicators often hold the key to saving thousands—trust me, neglecting early transmission hints led to costly repairs that could’ve been avoided. Also, understanding the true significance of ASE certification changed my perspective; certified technicians don’t just pass exams—they adhere to standards that profoundly impact your vehicle’s longevity. Finally, I uncovered that relying solely on generic advice like “just use any oil” can harm engine health. Tailoring my oil choices and service intervals with expert insights made all the difference in my car’s performance and safety.