How to Flush Your Own Brake Lines Without Getting Air in the System
You know that sinking feeling when you’re under your car, brake fluid in hand, ready to tackle a brake line flush, and suddenly realize you’re about to introduce air into a system that’s already delicate? I messed up early on, thinking I could just squeeze the brake pedal to push out the old fluid, only to end up with spongy brakes and a confusing mess of air bubbles. It’s one of those humbling moments that makes any DIYer second-guess their entire weekend. But here’s the thing: I found a way to do it that works, without sweating over how to avoid that dreaded air intrusion.
Why Getting Your Brake System Right Matters More Than You Think
Brakes are the unsung heroes of safe driving — essential, reliable, yet often overlooked until something goes wrong. When you attempt a brake line flush on your own, the biggest obstacle isn’t just the fluid, but preventing air from creeping into the system. Air in the brake lines can drastically reduce stopping power, and in worst-case scenarios, lead to complete brake failure. Luckily, with the right technique, you don’t have to be a professional mechanic to keep your brakes responsive and safe.
Is It Really Worth All This Fuss? You Bet It Is!
I used to shrug off brake maintenance, thinking I could just top off the fluid when it looked low. I also thought that a simple push on the brake pedal was enough to flush the system. Turns out, those were classic rookie mistakes. Early in my attempt, I overfilled the reservoir without properly bleeding the system, which caused air pockets to form and made my brakes feel unpredictable. It was a harsh reminder that neglecting proper procedure can turn a simple task into a costly repair. If you’re skeptical about doing this yourself, just remember: many vehicle manufacturers now recommend regular brake fluid changes, and ignoring this can lead to more serious, expensive issues down the line.
If you’ve faced similar frustrations or doubts, you’re not alone. I’ve learned that a methodical, well-informed approach can save you both time and money — and keep your brakes in tip-top shape. Next, I’ll walk you through the exact steps I use to ensure no air sneaks into your brake lines during your next DIY flush. Trust me, once you get this right, you’ll wonder why you ever relied solely on pros — and you’ll be able to tackle brake maintenance confidently whenever your car needs it.
Prepare Your Workspace and Gather Necessary Tools
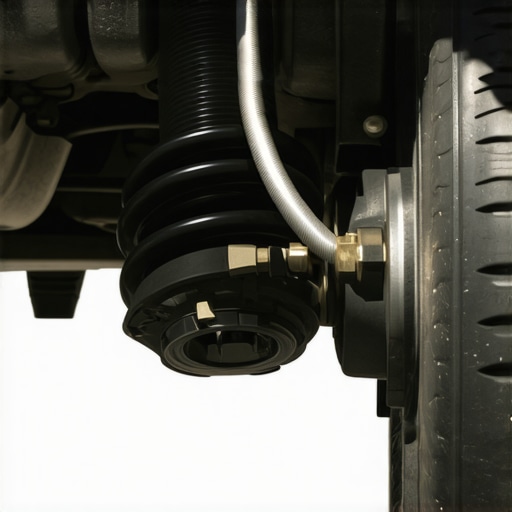
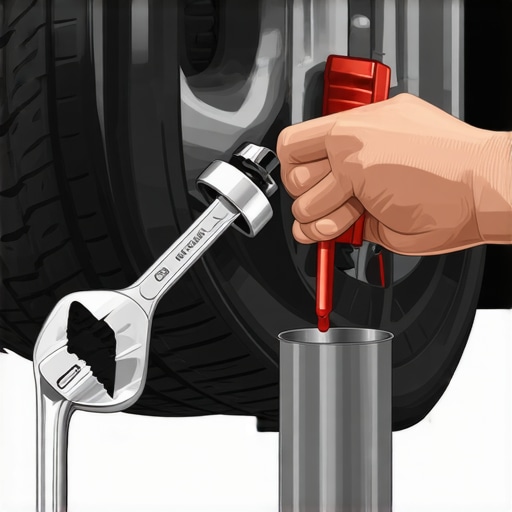
Start by parking your vehicle on a level surface, engaging the parking brake, and disconnecting the battery for safety. Gather essential tools: a clear plastic hose, a wrench, a brake bleeder kit or a helper, a container to catch old fluid, fresh brake fluid specified for your car, and protective gloves. Remember, safety first—wear eye protection and gloves to prevent contact with brake fluid, which can be corrosive.
Set Up the Brake System Correctly
Locate the master cylinder reservoir and ensure it’s clean. Fill it with fresh brake fluid, but avoid overfilling—this can cause spillage. Since brake fluid absorbs moisture over time, using the correct type and ensuring it is fresh keeps your system in optimal condition. For my own experience, I once forgot to cap the reservoir properly, causing dirt to contaminate the fluid, which I had to flush again. Precise preparation simplifies the process and prevents contamination.
Connect the Bleeding Apparatus
If using a bleeder kit, attach the hose to the bleed valve of the wheel cylinder or caliper. Immerse the other end into a transparent container filled with a small amount of brake fluid to prevent air from re-entering. Alternatively, if you have a helper, they’ll assist by pressing the brake pedal. I prefer this approach because it allows consistent pressure, reducing chances of air getting back into the lines.
Start the Flushing Process Methodically
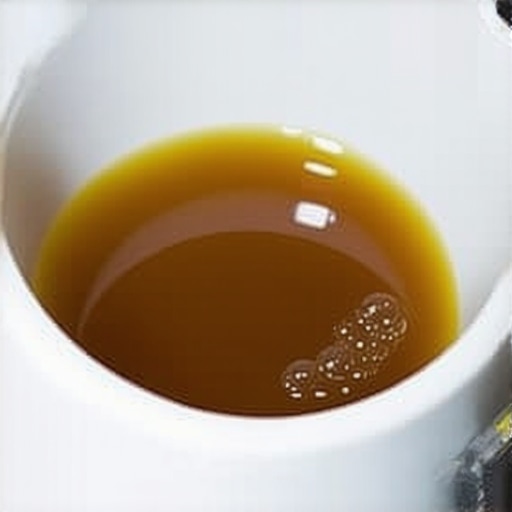
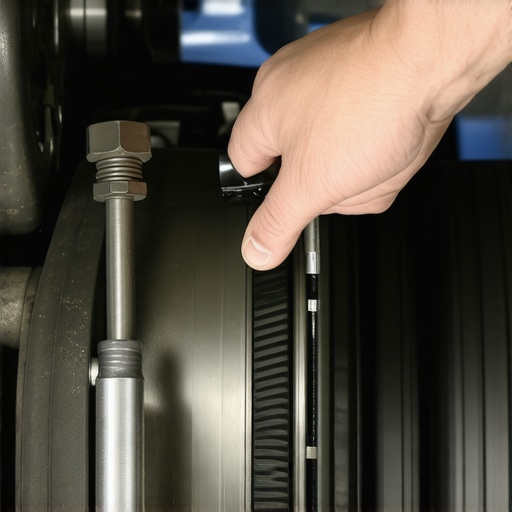
Loosen the bleed valve slightly and have your assistant slowly press the brake pedal down. When the pedal is fully depressed, tighten the bleed valve to prevent fluid from flowing back. Repeat this cycle until you see clear, bubble-free fluid emerging. During my initial attempts, I rushed this step, resulting in air pockets. Taking my time ensured a thorough bleed and firm pedal feel afterward.
Maintain Proper Fluid Levels Throughout
Consistently monitor the master cylinder reservoir, topping it up with fresh fluid as needed. A common mistake is to let the reservoir run dry, which allows air to enter the system. This is similar to trying to fill a leak without stopping the leak first; it won’t work. Keeping the reservoir topped off at all times ensures a continuous path without air pockets.
Complete the Bleeding and Final Checks
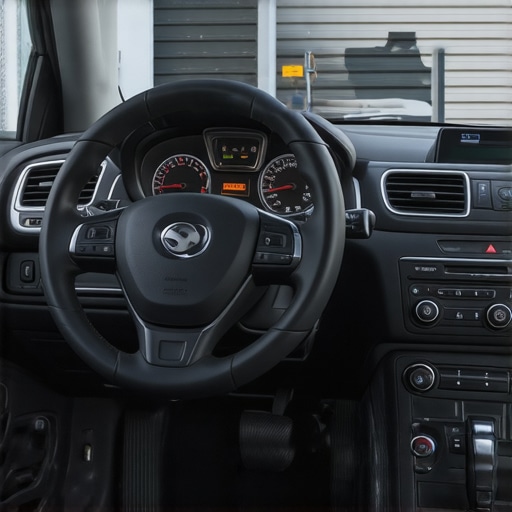
Once fluid runs clear and bubbles cease, tighten all bleed valves securely. Pump the brake pedal several times to verify firmness. Check for leaks around fittings and valves. During my last flush, I found a loose fitting that caused a slight leak, which I promptly fixed before road testing. Finally, test drive your vehicle cautiously, ensuring responsive brakes before resuming normal driving.
Verify No Air Remains in the System
After driving briefly, recheck the brake pedal firmness. If it feels spongy, repeat the bleeding process for affected wheels. Remember, a properly bled system feels firm and consistent, much like squeezing a well-inflated basketball—no softness or sponginess. If issues persist, inspecting for damaged components or consulting a professional is advised.
Keeping your brake fluid fresh and free of air is essential for safe driving. Regularly perform this procedure, especially if you’ve noticed decreased braking performance, and avoid rushing critical steps. Mastery of this process not only saves money but dramatically enhances your vehicle’s safety and reliability.
Challenging the Myths of ASE Certification and Standard Maintenance
Many car owners believe that an ASE-certified mechanic, routine oil changes, or basic transmission service guarantees a perfect, trouble-free vehicle. While these are essential aspects of vehicle care, there are nuanced pitfalls that even experienced DIYers or seasoned professionals often overlook. One common misconception is that ASE certification alone ensures comprehensive expertise. In reality, the certification signifies a foundational level of competency but not necessarily mastery of advanced or specific vehicle systems. For instance, an ASE certification doesn’t automatically mean your mechanic is well-versed in diagnosing complex issues like gearbox shuddering when reversing uphill or identifying insidious sludge buildup that standard oil changes miss.
Rolling the Dice on Routine Oil Changes
Another widespread myth is that every oil change is equal. Many owners stick rigidly to the 3,000 or 5,000-mile interval without considering the specific needs of their engine or operating conditions. This oversimplification can be costly. For example, ignoring the hidden sludge buildup lurking inside your engine can lead to decreased performance and premature wear, regardless of regular oil changes. Modern engines generate more heat and contaminants than ever before, making the quality and type of oil, along with proper servicing, critical for longevity.
Choosing the Wrong Service for Your Transmission
Many believe that a simple transmission fluid drain and fill is enough. However, this approach can be a trap—especially with complex transmissions like CVTs and dual-clutch units that require specialized fluids and procedures. For example, the procedure to prevent transmission shuddering demands more than just draining fluid; it involves precise flushing and compatibility checks. Failure to do so can lead to issues like gear slipping or delayed shifting, which many car enthusiasts mistake for unrelated problems.
What about the Advanced Reader?
Ever wondered how the nuances of vehicle maintenance impact long-term reliability or performance? Technical details like rising oil levels without increase in consumption hint at underlying issues beyond routine checks. Recognizing these subtleties could save thousands by catching problems before they escalate. Understanding that not all oil changes are equal or that premium certification doesn’t cover every nuanced failure point is crucial. In-depth knowledge about these advanced pitfalls separates casual DIYers from true experts.
Remember, regular maintenance remains vital, but knowing the hidden nuances helps you avoid the traps that can silently degrade your vehicle’s performance. Do you ever fall into these misconceptions? Share your experiences in the comments, and let’s keep the conversation going.Maintaining your vehicle’s performance over time requires the right equipment, meticulous methods, and a proactive mindset. I rely on specific tools that have become indispensable in my DIY toolkit, ensuring each service session is both effective and efficient. For example, a high-quality, transparent brake bleeder kit not only helps in achieving a complete flush but also prevents air from re-entering the system, which is crucial for reliable braking performance. Unlike generic hand pumps, these kits allow for controlled, consistent pressure, making it easier to eliminate air pockets without guesswork.
An infrared thermometer is another device I swear by. Checking engine components such as the radiator, transmission pan, or catalytic converter with an IR thermometer provides real-time temperature readings, enabling early detection of issues like cooling system failures or overheats that can silently worsen if left unchecked. This approach complements regular visual inspections and helps preempt costly repairs later on.
When it comes to software, I recommend using diagnostic scan tools that connect to your vehicle’s OBD-II port via Bluetooth. Devices like the BlueDriver or FIXD offer real-time data, codes, and even manufacturer-specific fixes. I prefer these over generic scanner apps because they decode complex error codes and often provide actionable advice. This not only saves time but also deepens your understanding of your car’s health.
As for long-term results, establishing a maintenance schedule that aligns with your vehicle’s operation conditions is key. For instance, if you commute in harsh climates or dusty environments, more frequent fluid changes—such as addressing sludge buildup—are warranted. Regularly changing transmission fluid, especially with the proper procedure, greatly prolongs the lifespan of drivetrain components and improves shifting smoothness.
Looking ahead, I believe advancements in diagnostic software and sensor technology will make maintenance even more precise and personalized. Vehicles will soon be able to alert owners proactively about issues before symptoms appear, reducing downtime and repair costs significantly.
How do I maintain my car’s critical systems over time? The secret lies in pairing the right tools with consistent, informed practices. For example, I ensure I regularly inspect the transmission fluid using a dedicated dipstick or by following the manufacturer’s testing procedure. This practice can catch early signs of trouble, like contamination or metal flakes, which might otherwise result in a costly rebuild. I invite you to try measuring your transmission fluid with a high-precision tool and keep an eye on any anomalies; this small step can make a big difference in your vehicle’s longevity.
Lessons That Changed My Approach to ASE Certification and Car Care
One of the most profound lessons I learned was that certification alone doesn’t guarantee mastery—hands-on experience and continuous learning are vital. I once trusted that an ASE badge meant a mechanic would spot every nuance, but I realized I needed to understand my vehicle’s specific quirks, especially when it came to complex systems like transmissions or brake hydraulics. Another awakening was how routine maintenance practices, like changing oil or flushing the transmission, can be pitfalls if done blindly. The human element—attention to detail, patience, and curiosity—trumps certifications and generic procedures every time. Lastly, I discovered that myths about car maintenance—like you only need to change brake fluid when it’s visibly dirty—can lead to preventable failures. Questioning conventions and digging deeper has empowered me to keep my vehicle safer and more reliable.