How to Properly Decontaminate Your Paint Before Waxing
I vividly remember the first time I washed my own car with the naive confidence of someone who watched too many YouTube tutorials. I thought I was doing everything right—cleaning, polishing, and finally applying wax. But within a week, I noticed my paint looked duller, and my new wax seemed to bead less effectively. It was frustrating, especially since I had spent so much time and money. That lightbulb moment hit me hard: I had skipped a crucial step—decontamination. Turns out, not cleaning your car’s paint surface thoroughly before waxing is like painting over old wallpaper without stripping it off first. The dirt, sap, and pollutants that cling to your paint can ruin your new wax job and even damage your finish over time.
Today, I want to share what I’ve learned about properly decontaminating your paint before waxing. This step can make or break your car’s shine and longevity. Skipping it might seem harmless, but it could be the reason your paint isn’t looking as vibrant as it could. When I finally started decontaminating my car properly, I noticed a dramatic difference—deeper gloss, better water beading, and a paint job that looked freshly detailed, months after my last wash. If you’re tired of wasting time and money on waxing that just doesn’t last, then pay attention. This guide will walk you through the importance of decontamination, why it’s a must-do, and practical steps to get it right every time.
Why Skipping Decontamination Damages Your Car’s Finish
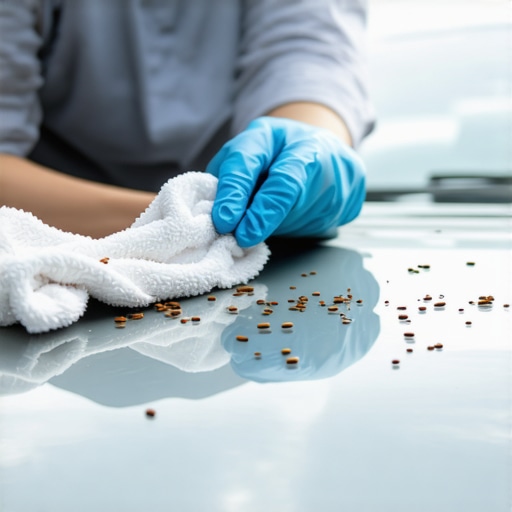
Many car owners underestimate the harm caused by tiny pollutants that attach to your paint. Dirt, brake dust, tar, tree sap, and industrial fallout are invisible to the naked eye but can cause micro-scratches and paint degradation if not properly removed. Think of it like glitter stuck on your skin—you might not notice it at first, but over time, it settles in, making everything look dull. When you wax over these contaminants, they can trap dirt beneath the surface, leading to uneven wear and diminished shine. According to automotive detailing experts, failure to decontaminate can reduce the effectiveness of your wax by up to 50%, and damage can occur prematurely due to acidic pollutants eating into your clear coat.
One mistake I made early on was just giving my car a quick rinse—thinking that water alone would be enough to clean the surface. Spoiler alert: it’s not. Water might remove loose dirt, but stubborn contaminants cling to the paint and require special products and techniques. To get the best results, I adopted a process called clay bar decontamination, which I’ll explain shortly. Once I started using prep steps like this, my wax lasted longer, and the paint looked incredible. If you’ve experienced dull finishes or frequent wax reapplies, chances are, decontamination was your missing link. Ready to learn how to do it right? Let’s dive in.
Gather Your Supplies and Prepare for the Decontamination
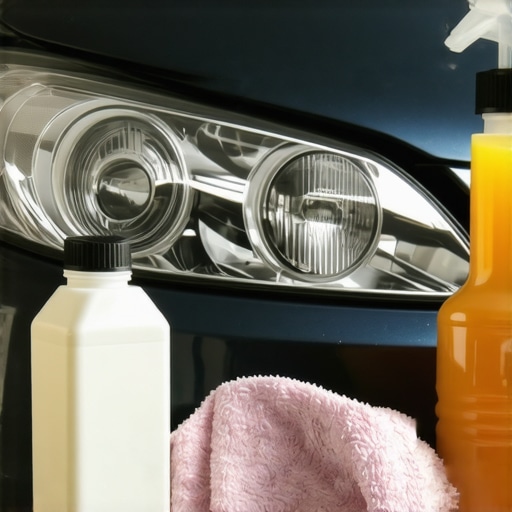
Before diving into the decontamination process, gather all necessary tools: a clay bar or clay mitt, lubricant spray (preferably clay lube), microfiber towels, and a quality car wash soap. Washing the car thoroughly with soap and water removes loose dirt, preparing the surface for deeper cleaning. I learned this the hard way during a weekend detailing session—initially skipping the soap wash left stubborn contaminants on the paint, which became evident after a muddy smear when I used the clay. This step is crucial for minimizing scratches and ensuring the clay glides smoothly over the surface.
Apply Lubricant and Use the Clay Bar Effectively
Spray the lubricant generously on a small section of the vehicle, about 2×2 feet. The lubricant creates a slick surface, allowing the clay to pick up embedded contaminants without marring the paint. Gently knead the clay to activate its slick side and flatten it into a pad. During my first attempt, I easily tore the clay because I applied too much pressure—remember, consistency and patience are key. Glide the clay across the lubricated surface with light, even pressure—no need to force it. When you start feeling resistance, fold the clay to expose a clean surface and continue. If you notice persistent dirt, re-lubricate and continue until the entire area feels smooth.
Focus on Problem Areas: Tar and Industrial Fallout
Some sections may harbor stubborn contaminants, like tar spots or industrial fallout—which are more challenging to remove. In my case, the front bumper and lower rocker panels had thickened residues. For these spots, I used a dedicated tar remover or iron fallout remover before the clay process. These specialty products break down specific contaminants, making them easier to lift with the clay. Applying them carefully and following product instructions prevents damage. Remember, deeper contaminants can cause micro-scratches if not removed properly, undermining your wax’s longevity.
Final Inspection and Surface Prep
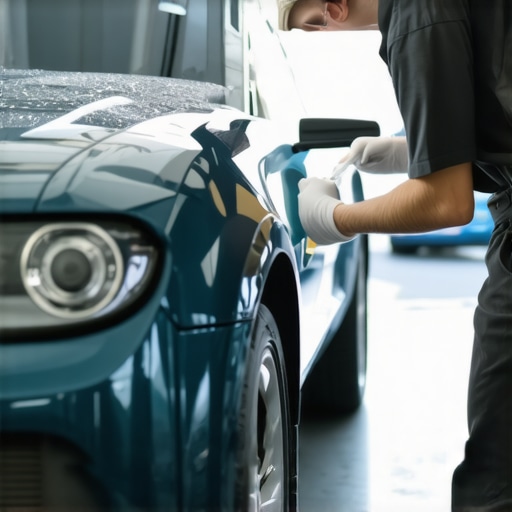
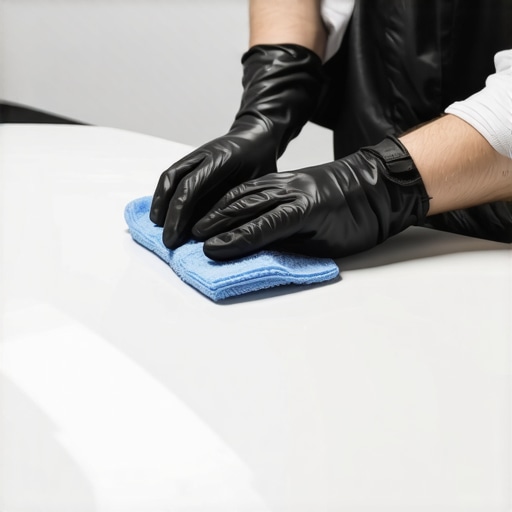
After completing the entire vehicle with the clay, run your hand gently over the surface to feel for smoothness. A clean, decontaminated paint should feel butter-smooth—no gritty texture. I once missed a spot on my hood because I rushed, and the difference in gloss was noticeable afterward. Once satisfied, wipe down the entire car with a clean microfiber towel to remove any residual lubricants and prepare the surface for waxing or sealing. Proper decontamination ensures your wax bonds better and lasts longer, providing that deep, reflective shine you’re after.
While many believe that sticking to basic maintenance routines suffices, the reality is far more nuanced, especially when it comes to transmission health and the significance of ASE certification. Common myths abound, such as thinking that a simple oil change or basic service guarantees a transmission’s longevity. However, detailed knowledge reveals that complex systems require tailored attention. For instance, many assume a transmission fluid change is just about draining and filling, but advanced procedures involve inspecting for metal shavings and checking for subtle leaks that can lead to severe damage if ignored. It’s a common trap to rely solely on generic service intervals without considering driving habits or environmental factors, which can accelerate wear. Expert insights highlight that missing these nuanced steps can cost thousands in repairs, emphasizing that experience and specialization matter, underscoring the importance of ASE-certified technicians.
What advanced signs might indicate transmission issues before they become urgent?
Recognizing early symptoms like delayed engagement, shuddering during shifts, or subtle slips requires trained eyes. Many overlook these signs, attributing them to normal aging or minor glitches. But studies show that early detection, often through diagnostic tools used by ASE-certified technicians, can prevent costly repairs and prolong transmission life. Moreover, understanding the difference between a simple fluid flush and a comprehensive inspection can save vehicle owners from devastating failure. Routine oil changes are well-understood, but a proper oil change for modern engines involves more than draining old oil; it requires inspecting filters, checking for contamination, and understanding oil quality’s impact on the entire system. Many assume that all oil is equal, yet synthetic oils and their specific formulations can make a significant difference in high-performance or high-mileage engines. Here’s why selecting the right oil matters just as much as maintaining the correct oil level.
In essence, genuine expertise encompasses noticing these subtleties—things that most car owners ignore or dismiss. Misconceptions about routine maintenance being ‘enough’ can lead to overlooked issues, culminating in performance decline or engine failure. Maintaining awareness and consulting qualified professionals ensures you’re ahead of the curve. Have you ever fallen into this trap? Let me know in the comments.
Investing in the Right Equipment for Long-Term Success
Maintaining your vehicle’s transmission system doesn’t just involve routine fluid changes; it requires precision tools and a methodical approach. I personally rely on a high-quality transmission scan tool, like the autel maxisys, to diagnose shifting issues early and prevent costly repairs. This device connects to your car’s OBD-II port, providing real-time data on transmission performance, error codes, and sensor readings, which helps me pinpoint problems before they escalate.
When performing transmission fluid inspections or replacements, I use a transfer pump designed specifically for automotive use. It ensures that fluid levels are accurate and prevents accidental overfilling or underfilling, factors that can cause irregular shifts. Additionally, I recommend a magnetic drain plug—these capture metal shavings and debris, offering insight into the wear inside your transmission. It’s a simple upgrade that provides early warning signs of internal issues, saving you from unexpected breakdowns.
For routine maintenance, having a reliable set of hand tools is crucial. A sturdy socket set, torque wrench, and a transmission jack make the job safer and easier. I personally prefer a digital torque wrench for precise tightening—over-tightening can damage transmission components, while under-tightening may lead to leaks or parts slipping loose. These tools, combined with a solid understanding of your vehicle’s specifications, empower you to perform preventive maintenance confidently.
Future Trends in Transmission Care
Looking ahead, I see the integration of smart diagnostic tools with AI capabilities becoming a game-changer. These advanced systems can predict transmission failures before symptoms even appear, enabling proactive maintenance. As technology progresses, training will also evolve, emphasizing the importance of ASE certification, which remains critical in understanding complex systems. For those interested, learning about ASE certification’s benefits can help deepen your knowledge and ensure you’re using trustworthy experts.
How do I maintain transmission health over time?
Consistent monitoring and using the right tools are key. Regular fluid testing with a test kit, like the one from BG, can detect contamination early. Schedule professional inspections, especially if your vehicle has high mileage or is subjected to heavy towing. Remember, a well-maintained transmission not only shifts smoothly but also extends the overall lifespan of your vehicle. Trying a proactive approach, such as adding a transmission additive recommended by ASE-certified technicians, can further aid in preventing wear.
Make sure to stay updated on the latest maintenance techniques and tools—this ongoing learning is essential as automotive technology continues to evolve. For example, the expert insights suggest that combining digital diagnostics with manual inspections offers the best results. So, invest in a good transmission diagnostic scanner today and take charge of your vehicle’s longevity.
What I Wish I’d Known About Transmission Care Early On
One of the most powerful lessons I learned was the importance of proactive diagnostics. Relying solely on routine oil changes or basic inspections left me blindsided by issues that could have been caught early with proper testing—something ASE-certified technicians do every day. Now I understand that advanced tools can reveal hidden problems before they escalate, saving both money and peace of mind.
Another insight was the significance of customized maintenance schedules tailored to my driving habits and vehicle age. Generic service intervals often miss critical warning signs, especially in high-mileage trucks or fleet vehicles. With the right approach, I learned to listen to my car’s subtle cues and seek expert advice when necessary, ensuring longevity.
Lastly, the myth that all transmission issues are apparent at first glance was debunked for me. Tiny noises, shifts that feel off, or even minor slips can be silent indicators of deeper trouble. I now prioritize early diagnosis over waiting for noticeable symptoms, making regular diagnostics part of my maintenance routine.