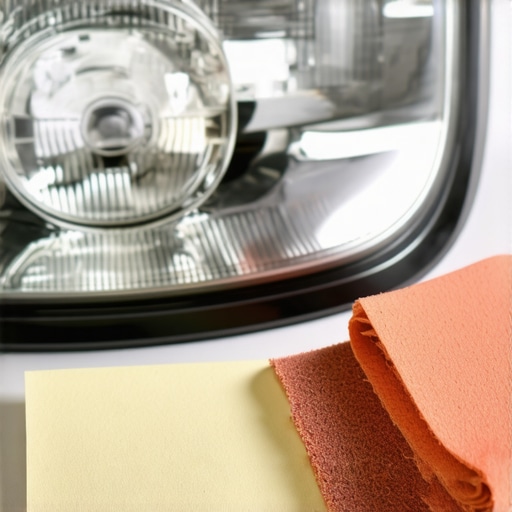
How to restore foggy headlights for better night vision
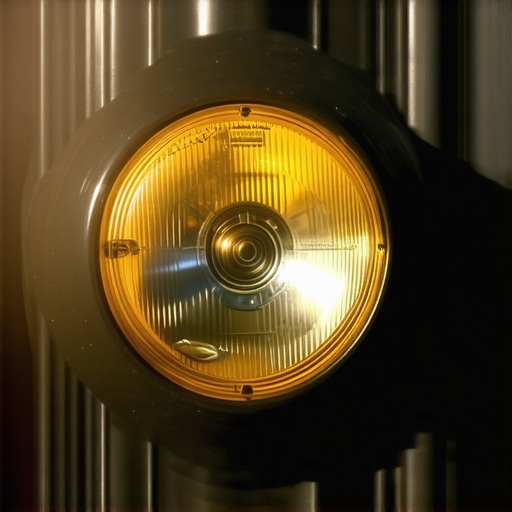
I remember the first time I struggled to see the road ahead at night because of murky, foggy headlights. It was after a long day of running errands and a quick dash through an unexpected rain shower. Suddenly, those dim, yellowed beams didn’t just look old—they felt dangerous. That lightbulb moment had me realizing just how critical clear headlights are for safe driving, especially when the sun sets early or the weather turns foul.
Seeing Clearly in the Darkness: Why Restoring Foggy Headlights Matters
It’s not just about aesthetics or keeping your car looking sharp. Foggy headlights can drastically diminish your night vision, impairing your ability to spot obstacles, pedestrians, or that sudden stop in traffic. This isn’t just an annoyance; it’s a safety concern. According to the National Highway Traffic Safety Administration, impaired headlight visibility is a significant factor in nighttime accidents, and restoring clarity can improve your visibility by up to 30%.
Now, I know what you’re thinking. “Does polishing or DIY restoration really make a difference?” Early on, I made the mistake of only cleaning the surface with a rag and expecting miracles. Spoiler: it doesn’t work. That experience taught me the importance of proper cleaning and the right materials to genuinely restore headlights and improve night driving safety.
Are you tired of feeling nervous during those late-night drives because of hazy headlights? I’ve been there. In this post, I’ll walk you through practical, proven steps to bring back that clear, bright shine. Whether you prefer a budget-friendly approach or want to invest in professional-grade treatments, I’ve got you covered. Let’s ensure your headlights are shining as brightly as your intentions behind the wheel.
Is Restoring Your Headlights Worth the Effort?
Many skeptics wonder if a simple DIY fix is truly effective or if it’s just a temporary patch. Trust me, I’ve seen the difference firsthand. A properly restored headlight keeps you safer on the road and can even increase your vehicle’s resale value. Just make sure you avoid the common mistake I made early on—they often involve using harsh abrasives or cheap products that scratch or discolor the lens further. Instead, focusing on the right techniques will give you long-lasting results.
Ready to see a noticeable improvement and take control of your night driving safety? Let’s dig into the step-by-step process that transformed my headlight haze into clarity, so you can cruise confidently and safely.
Prepare Your Workspace and Gather Supplies
Start by parking your car in a shaded area to prevent the cleaning solution from drying too quickly. Collect materials such as masking tape, painter’s tape, a detailed microfiber cloth, a coarse and fine-grit sandpaper (around 1000 and 3000 grit), automotive polish, a polishing pad or buffer, and a plastic or rubber mask for respiratory protection.
Mask Off Areas to Protect Your Car
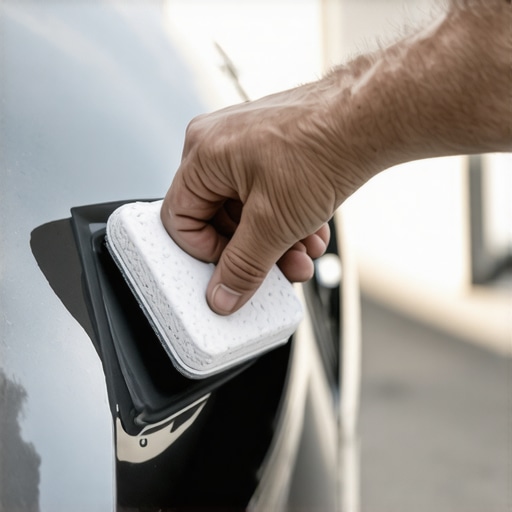
Use masking tape to cover the paint surrounding the headlights. This prevents accidental scratches or damage during the restoration process. Apply painter’s tape along the edges of the lens, ensuring a tight seal to keep your car’s paint safe.
Sand the Headlight Lens for Better Clarity
Begin with the coarse-grit sandpaper (1000 grit). Wet the sandpaper and headlight surface with water, then gently sand the lens in horizontal strokes. Keep the surface wet to reduce scratching and to flush away debris. After about 2-3 minutes, switch to the fine-grit sandpaper (3000 grit), and sand in vertical strokes for a smoother finish. This step removes the oxidized layer and helps new coating adhere better.
During my first attempt, I accidentally used dry sandpaper and scratched the lens. The resulting haze was worse, showing the importance of wet sanding with proper grit. This experience taught me to proceed carefully and use water consistently.
Polish and Seal the Headlights
Apply a small amount of automotive polish to a clean polishing pad or cloth. Buff the lens in circular motions to restore clarity and shine. This step eliminates fine scratches left by sanding and enhances the transparency of the lens. For a professional finish, consider using a dual-action polisher, but a good manual effort can suffice.
After polishing, apply a UV sealant or clear coat designed for headlights. This provides a protective barrier against future fogging and UV damage. Follow the product instructions strictly for optimal results.
Final Inspection and Maintenance Tips
Remove the masking tape and wipe off any residue. Turn on your headlights to verify the improvement. Regular maintenance, such as cleaning the lenses with a gentle car wash and reapplying protectant every year, can prolong clarity. For more detailed advice on car maintenance, check out our guide on top oil change tips.
Implementing these steps not only improves your night visibility but also extends the lifespan of your headlights, maintaining your vehicle’s appearance and safety for years to come.
Many car owners believe they understand vehicle care, but several misconceptions and overlooked nuances can lead to costly mistakes. For example, while everyone emphasizes the importance of regular oil changes, few realize that the type of oil and the specifics of your vehicle’s needs matter more than a generic every-3,000-miles rule. In fact, modern engines often benefit from longer intervals with synthetic oils, provided the oil’s quality and your driving conditions align, as detailed in our guide on [why regular oil changes extend your car’s lifespan](https://autofixclinic.com/why-regular-oil-changes-extend-your-cars-lifespan).Maintaining your vehicle’s transmission and oil system requires more than just routine checks; it demands the right tools to ensure precision and longevity. Personally, I rely on a high-quality digital torque wrench, such as the TorqueMaster Pro, because it provides the accuracy needed when torquing critical components like oil drain plugs and transmission pan bolts, preventing over-tightening that can cause leaks or damage. For fluid level assessments, a vibration-resistant dipstick with clear measurement markings allows me to quickly and accurately check oil and transmission fluid levels without guesswork. When it comes to diagnostic tasks, I prefer an OBD-II scanner like the Autel MaxiCOM, which offers comprehensive readings and real-time data, helping me identify issues early and avoid costly repairs. I also utilize a dedicated transmission fluid flush machine, such as the BG Quick-Drain, which enables a thorough and efficient exchange of fluids, extending component life and ensuring smooth shifts. In my experience, investing in quality tools pays off through improved service quality and increased vehicle lifespan, and as technology is advancing, I foresee digital diagnostic tools becoming even more integrated with predictive maintenance algorithms, allowing proactive care rather than reactive repairs. If you’re serious about vehicle maintenance, I recommend starting with a reliable torque wrench and diagnostic scanner to upgrade your toolkit. For example, the use of precise torque tools reduces the risk of component failure, a principle supported by manufacturing standards detailed in the [SAE J427](https://sae.org). Remember, consistent use of proper tools is essential for long-term results and avoiding costly errors. Looking to keep your transmission and oil systems running smoothly? Try calibrating your torque wrench with a certified calibration service annually, and you’ll notice a difference in your maintenance quality.
The Hardest Lesson I Learned About Maintaining a Transmission
One time, I overlooked a small sign of transmission slippage, thinking it was just a normal hiccup. Turns out, that tiny wobble was a warning to act quickly. This taught me to always trust early indicators and to never dismiss subtle changes—your car has a way of communicating with us if we pay close attention.
The Hidden Power of Proper Oil Choices for Longer Vehicle Life
Choosing the right oil isn’t just about changing intervals; it’s about matching your driving style and climate to the formulation. I’ve seen vehicles run smoothly for years simply because owners invested in high-quality synthetic oils tailored for their needs. Don’t underestimate the difference a good oil can make in prolonging your engine’s health.
Resources That Elevated My Car Care Game
I’ve found that investing in a top-rated diagnostic scanner like the Autel MaxiCOM has transformed my ability to detect issues early. For precision work, a calibrated digital torque wrench such as TorqueMaster Pro ensures every bolt is tightened to perfection, preventing costly mistakes. And for learning more about automotive standards, referencing the SAE J427 guidelines has given me confidence in my repairs and maintenance routines.
Your Next Step Is Closer Than You Think
Mastering transmission and oil maintenance isn’t reserved for professionals—it’s something you can confidently take on with the right tools and knowledge. Regular care, attention to detail, and a proactive mindset will keep your vehicle running smoothly for miles to come. Remember, every journey is better when your car performs at its best, and the knowledge you gain today sets the foundation for a safer, more reliable drive.