Why your oil filter is leaking even after tightening it
I remember the frustrating moment vividly — I had just finished tightening our car’s oil filter, feeling pretty confident I finally solved that pesky leak. Yet, days later, I noticed a small puddle beneath the garage spot where I parked. That sinking feeling hit me again. Why on earth was it still dripping? It’s a common scenario I hear from fellow car owners: tightening the oil filter properly, and yet, it continues to leak.
The Real Reasons Behind the Persistent Leak
Is Over-Tightening Doing More Harm Than Good?
Many folks, including myself early on, assume that tightening the filter as much as possible guarantees a leak-free seal. I used to think that more torque meant better fit. Turns out, that’s a mistake. Over-tightening can distort the filter housing or crush the gasket, causing small leaks or damage that leads to future issues. Proper torque, often specified by the vehicle manufacturer, is key.
But tightening isn’t the sole culprit. Sometimes, the gasket itself is faulty or damaged. If it’s not seated correctly or has become brittle over time, tightening won’t fix the leak. I’ve learned that inspecting the gasket carefully during every oil change can save a lot of headaches.
Another Surprise — Dirty or Damaged Threads
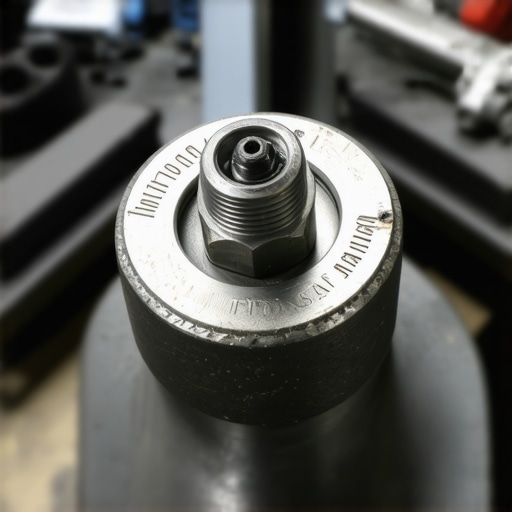
A less obvious reason is dirt, debris, or damage on the threads where the filter screws on. Strange but true: grime can prevent the gasket from sealing evenly. Regularly cleaning the threads, and ensuring the mounting surface is spotless, is a small step with big benefits.
Have you faced this stubborn leak despite tightening? Trust me, you’re not alone. In my second year of car ownership, I made the mistake early on of ignoring these details, which led to repeated leaks and cleanup headaches. Early mistakes like that are common and perfectly fixable,
For a solid starting point, I recommend reading about the importance of regular oil changes — and the right way to do them — because preventative maintenance can prevent many of these issues from cropping up in the first place. You can check out [top oil change tips for safe driving in 2025](https://autofixclinic.com/top-oil-change-tips-for-safe-driving-in-2025) for expert advice.
So, before you crank that wrench again, let’s take a look at what might be causing that leak and how you can fix it once and for all — avoiding unnecessary damage and future leaks, saving you time and money.
Secure the Gasket Properly
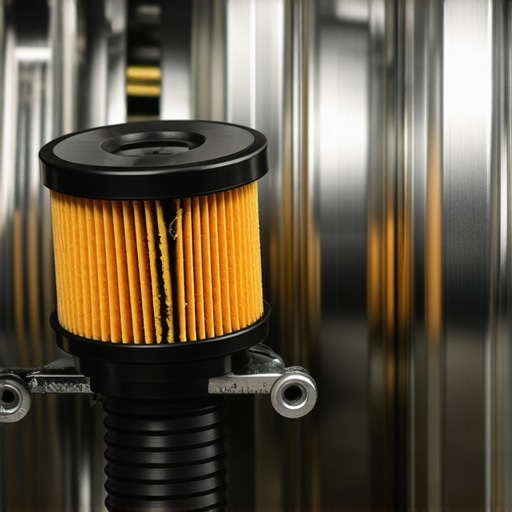
When removing the old filter, carefully inspect the gasket for cracks or brittleness. Apply a thin film of clean engine oil to the new gasket to promote even sealing. During installation, screw the new filter by hand until snug, then tighten according to manufacturer specifications, typically a quarter turn past hand-tight. I once missed applying oil to the gasket during my first oil change, leading to an immediate leak; now I always double-check this step.
Use the Correct Torque
Invest in a quality torque wrench calibrated to your vehicle’s specifications, often found in the owner’s manual or service guide. Over-tightening can distort the gasket, increasing the risk of leaks, while under-tightening may cause it to loosen. During my recent service, I used a torque wrench set to the correct 25 ft-lbs, which ensured a secure, leak-free seal without risking damage. Remember, precise torque is crucial—think of it like tightening lug nuts for safe driving.
Clean Threads and Mounting Surface Thoroughly
Before installing the new filter, clean the threads on the engine block and the filter housing. Use a clean rag and brake cleaner if necessary to remove debris and old oil residue. Dirt on threads can prevent the gasket from seating evenly, compromising the seal. I once overlooked this step, and the leak reappeared within a week, costing me more time and effort to fix. Regularly performing this simple cleaning can save you from future headaches.
Inspect the Filter and Gasket for Damage
Every time you change your oil, take a moment to examine the new filter and gasket. If the gasket exhibits any cracks, tears, or deformities, replace it immediately. Using a faulty gasket is like building a wall with cracked bricks—inevitably, it will fail. During my last oil change, I kept a spare gasket handy because I’d read that damaged gaskets cause persistent leaks. This quick check can prevent leaks from developing later.
Check for Proper Fit and Tightness
After tightening by hand and applying the correct torque, ensure the filter is snug but not overly tight. Cross-threading can occur if the filter isn’t aligned properly, which can damage the threads and cause leaks. When I first started doing my own oil changes, I struggled with proper alignment, leading to seepage. Using a gentle, clockwise turn and proper alignment saved me from stripping the threads.
Final Inspection After Installation
Once installed, start the engine and let it run for a few minutes. Then, turn off the engine and inspect around the filter for any signs of leaks or drips. If you notice any, tighten the filter slightly more or recheck the gasket placement. I learned this lesson the hard way when I overlooked this step and noticed a small leak while checking the oil level minutes later. A quick inspection prevented a trip back to the garage.
Remember, proper technique during each step of replacing your oil filter can prevent leaks, saving you time, money, and frustration. For more insights on maintaining your vehicle efficiently, visit this guide on regular oil changes.
Many vehicle owners believe that simply following basic guidelines ensures optimal maintenance. However, the truth is that there are nuanced pitfalls and misconceptions that can lead to costly mistakes. For instance, a common myth is that using generic or low-quality oils won’t significantly affect engine health—this couldn’t be further from the truth. Experts, including ASE-certified technicians, emphasize that the right oil type and quality are crucial for engine longevity, especially in high-performance or older engines.
Is Your Car Being Overlooked Because of These Advanced Myths?
One hidden trap involves assuming that all car services are interchangeable or that a quick oil change suffices for comprehensive maintenance. This oversimplification can cause neglect of transmission health or overlooked diagnostics. For example, many owners ignore early signs of transmission issues like irregular shifting, which can be misattributed to normal wear but often indicate deeper problems—like a failing transmission filter or fluid degradation. Studies from automotive safety research highlight that proactive diagnostics, especially from ASE-certified professionals, can prevent major failures. Notably, transmission systems require specific care, including regular fluid exchanges and filter replacements, to maintain smooth operation.  Avoiding these nuanced details can result in premature component failure or reduced vehicle lifespan. Remember, a well-maintained transmission not only enhances driving comfort but also significantly extends your car’s overall life. Regularly scheduled services, understanding the importance of certified expertise, and avoiding complacency are your best strategies. To deepen your understanding, explore what ASE certification truly means and how it impacts your vehicle’s maintenance quality. For trusted advice, visit this guide on ASE-certified technicians.Maintaining your vehicle over time requires precise tools and a methodical approach to ensure reliability and safety. One of my personal favorites is a high-quality digital torque wrench, like the Tekton 1/2 inch Drive Adjustable Torque Wrench, which I use consistently for oil filter replacements. Its accuracy down to 2 ft-lb ensures I tighten components to manufacturer specifications, preventing over-tightening that could cause leaks or damage. Investing in a reliable torque wrench pays dividends in preventing costly repairs down the line.
Another indispensable item is a set of precision thread brushes—like brass or nylon toothbrushes—that I use regularly to clean engine threads and mounting surfaces. Dirty threads can compromise gasket seals, leading to leaks. Consistent cleaning before installing new filters or bolts keeps everything sealing properly and prolongs component lifespan.
For software, I recommend using professional diagnostic tools such as the Autel Maxisys series. These scan tools go beyond basic OBD-II codes, providing real-time data, transmission diagnostics, and advanced troubleshooting routines. Having this software is a game-changer for proactive maintenance, especially when dealing with transmission issues—often overlooked until they worsen. I personally rely on this to identify early signs of component wear, saving money and downtime.
Looking toward the future, vehicle diagnostics will increasingly incorporate AI-driven predictive maintenance. Machine learning algorithms will analyze sensor data to forecast failures before symptoms are visible, transforming how we care for our cars. Staying ahead involves adopting both the latest tools and a mindset focused on preventative care.
How do I maintain my vehicle’s transmission over time? Regular transmission fluid analysis is key. Sending fluid samples for testing with specialized labs can reveal early degradation or contamination, indicating whether a fluid change or filter replacement is needed before noticeable symptoms appear. This proactive step extends transmission life and ensures smooth shifting. Check out [transmission troubleshooting insights](https://autofixclinic.com/transmission-troubles-expert-insights-for-smooth-shifting) to dive deeper.
For example, I routinely perform a transmission fluid smell test—if it smells burnt, I schedule a fluid change immediately. This simple, at-home check helps catch potential problems early. As transmission technology advances, integrating diagnostic software with physical maintenance routines will become standard practice. I highly recommend trying a diagnostic routine like this to keep your car performing at its best. Remember, maintenance isn’t just about immediate fixes but about safeguarding your vehicle’s long-term health.
The Hardest Lesson I Learned About Oil Changes and Transmission Care
Early in my auto maintenance journey, I believed more tightening meant a better seal. I used to tighten oil filters and drain plugs with all my might, thinking I was preventing leaks. Yet, I learned the hard way that over-tightening can damage gaskets and threads, leading to even bigger issues. Now, I focus on manufacturer-recommended torque values and proper gasket inspection, which saves me time and money in the long run.
My Eye-Opening Experience with Certified Expertise and High-Quality Tools
Trusting an ASE-certified technician and investing in reliable tools has transformed my approach. A calibrated torque wrench ensures I apply the correct pressure during oil and filter changes, preventing leaks. Using brass thread brushes keeps engine threads clean, ensuring a perfect seal. These small upgrades have profoundly impacted the longevity of my vehicle and peace of mind.
This Journey Made Me Recognize the Power of Preventative Upkeep
Spotting early signs of transmission fluid degradation or gasket damage can avoid costly repairs. Regular transmission fluid analysis and quick inspections are the secrets to smooth shifts and engine health. Today, I stay vigilant, combining professional diagnostics with routine maintenance, which has extended my car’s lifespan and improved performance significantly.
Curiosity Sparks Action: Your Own Discoveries Await
One realization I want to share is that practical knowledge combined with quality tools and expert guidance makes all the difference. Whether you’re changing your oil or checking your transmission, the key is attention to detail. Have you encountered a maintenance mistake that taught you something valuable? Share your story below and let’s learn together!