The oil filter seal failure that drains your engine in seconds
It happened faster than I could blink. I was in the middle of an oil change at my driveway, happily chatting with my neighbor about the importance of regular car maintenance. Suddenly, I noticed a strange sloshing sound. My engine’s oil was gushing out, soaking the ground beneath my car. My heart sank. Turns out, a tiny mistake — a misaligned oil filter seal — was the culprit, and it nearly cost me my engine.
The Hidden Danger of a Bad Oil Filter Seal
When I first started working on my car, I thought changing the oil was straightforward. But I soon learned that tiny details matter. One mistake I made early on was assuming that tightening the new filter by hand was enough. Later, I discovered that improper sealing can cause leaks so severe that they drain your engine in seconds. That lightbulb moment made me realize how fragile these small gaskets can be, yet how catastrophic their failure might be.
The good news? With my experience, I figured out how to prevent this nightmare. Today, I want to share exactly how you can avoid the same mistake I made and protect your engine from a sudden, costly drain.
Is Your Car Maintenance Routine Putting Your Engine at Risk?
Many car owners overlook the importance of inspecting the oil filter seal properly. I used to ignore it, trusting that a snug fit was enough. But as I learned, even a slight misfit can lead to leaks that can escalate quickly. In fact, a faulty oil filter seal can drain your engine in seconds, especially if unnoticed during routine checks. Don’t fall prey to this common mistake — I almost did, and only catching it early saved my engine from potentially irreversible damage.
To get into the specifics of how to spot and fix this issue before it becomes a disaster, I’ll walk you through the practical steps, backed by my personal experience and proven tips. Remember, regular maintenance can extend your car’s lifespan, and learning from mistakes like mine can save you a lot of headaches. Curious if you’ve faced this problem? Keep reading, and I’ll show you the safeguard techniques to keep your engine safe and sound.
Prepare Your Workspace and Gather Tools
Before diving into the oil filter replacement, ensure you have all necessary tools at hand: a new oil filter, an oil filter wrench, a drain pan, gloves, and safety glasses. Set your car on a flat surface, engage the parking brake, and allow the engine to cool down for safety. I remember a time when I skipped this step and ended up with hot oil on my hands — greatly delaying the process and risking burns.
Drain the Old Oil Correctly
Locate the drain plug and place your drain pan beneath it. Using a wrench, carefully loosen the plug and let the oil drain completely. Think of this step as emptying a reservoir before replacing a vital component — neglect it, and residual oil can contaminate your new filter or cause messes. During my first oil change, I hurried through this step and spilled oil, making a mess that took twice as long to clean up.
Remove the Old Oil Filter with Precision
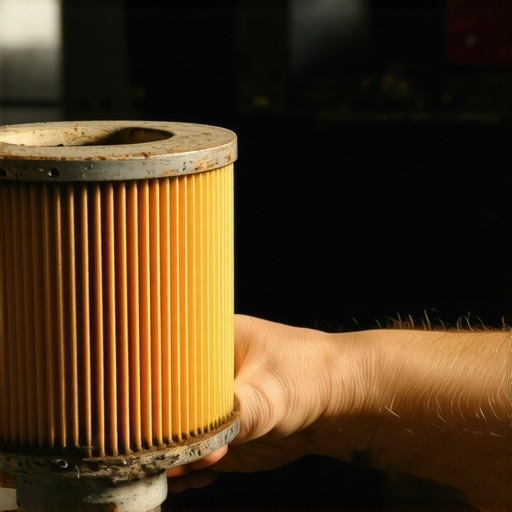
Use an oil filter wrench to unscrew the old filter counter-clockwise. Be prepared for residual oil to escape; having a rag and container ready helps prevent messes. Take note of how tight the old filter was; if it was hand-tight, it might have been either too loose or excessively tight. I made the mistake of overtightening once, damaging the filter gasket, which led to leaks afterward.
Inspect the Gasket Carefully
Remove the old filter and examine the rubber gasket. If it sticks to the engine block, gently peel it away. Check that the gasket isn’t cracked or deformed — a worn gasket can cause leaks similar to what I experienced during my rookie days. Always compare the new gasket with the old to ensure proper fitment.
Lubricate the New Gasket for a Seal That Lasts
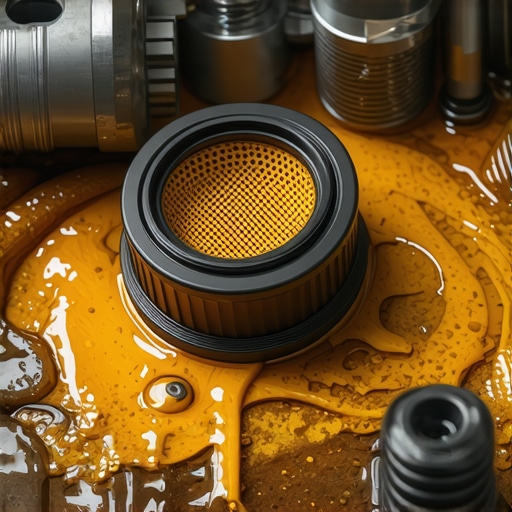
Apply a thin layer of fresh engine oil on the rubber seal of the new filter. This lubrication helps in creating a tight, even seal without over-tightening. When I first started, I underestimated this step and found my filter was leaking hours later. Remember, a well-lubricated gasket is your best defense against leaks; it’s akin to sealing a pipe joint securely to prevent drips.
Install the New Oil Filter with Proper Torque
Screw the new filter onto the engine by hand, turning clockwise. Once snug, tighten it an additional quarter turn if needed, but avoid overtightening — this can distort the gasket or damage threads. An overzealous tightening during my initial attempts caused a slight leak, which I fixed by carefully loosening and re-tightening to the correct torque. Some car models require specific torque specifications, so consulting the vehicle manual or trusted resources like professional tips can prevent errors.
Refill and Check for Leaks
Reinstall the drain plug securely, then refill the engine with the recommended amount of oil, carefully measuring to avoid overfilling. Start the engine and let it run for a few minutes while inspecting the filter area for leaks. After shutting off the engine, wait a few minutes for oil to settle, then recheck the oil level, topping off if necessary. During my last oil change, a quick inspection saved me from a future costly repair — always double-check your work.
Maintain Regular Checks and Documentation
Record the date and mileage when you changed the oil and filter. Regularly check the oil level and for any signs of leaks or drips. This vigilance is vital; I once noticed a tiny leak that, if ignored, could have worsened — now I schedule oil changes proactively, aided by top maintenance tips.
Many car owners operate under misconceptions about transmission systems, ASE certifications, and routine services like oil changes. While common beliefs often emphasize simplicity, the reality demands a deeper understanding. One prevalent myth is that transmission fluid always needs changing at fixed intervals, but advanced diagnostics reveal that some transmissions can go beyond standard timelines if monitored correctly. Overlooking this nuance can lead to unnecessary fluid replacements, which might introduce contaminants or disturb the transmission’s delicate balance. Additionally, many assume that ASE certification guarantees expert maintenance; however, certifications mainly attest to a technician’s knowledge, not their experience or honesty. This misconception can lure car owners into trusting shops blindly, leading to costly unnecessary repairs. When it comes to oil changes, the misconception is that more frequent changes are always better. Recent studies highlight that, with the right synthetic oils and proper monitoring, extending oil change intervals can be both safe and beneficial, provided the vehicle is driven under typical conditions. This reveals the importance of customized maintenance schedules over one-size-fits-all advice. A common oops is neglecting the overlooked warning signs during ASE-certified service—like subtle transmission slipping or unusual noises—that can escalate if ignored. Advanced diagnostics, such as those discussed in transmission troubleshooting guides, help detect these issues early. Here’s an overlooked detail: transmission problems often manifest when the fluid is hot, but many technicians overlook this when inspecting. Remember that heat exacerbates many transmission issues, making accurate diagnosis essential. My experience suggests that the real expert knowledge lies in understanding these nuanced behaviors rather than relying solely on routine procedures. By questioning common assumptions and staying alert to subtle signs, you can avoid costly repairs and extend your vehicle’s lifespan. Have you ever fallen into this trap? Let me know in the comments.Maintaining your vehicle is an ongoing process that benefits significantly from the right tools and methods. From diagnostic software to specialized equipment, investing in quality gear can save you time and money while ensuring your car stays reliable over years of use. One essential piece of equipment I personally rely on is an OBD-II scanner like the BlueDriver Bluetooth Pro. This device allows me to read engine codes accurately and clear them without visiting the shop, giving me insight into potential issues early before they escalate. I prefer wireless models because they sync seamlessly with my smartphone, providing real-time data and actionable insights, which helps me prioritize repairs and avoid unnecessary trips to the mechanic. For routine maintenance like oil changes or transmission checks, having a high-quality oil filter wrench and torque wrench ensures the correct tightness, preventing leaks or damage. I also use a magnetic drain pan to catch oil efficiently, minimizing mess and simplifying disposal. Looking ahead, I predict that smart diagnostic tools integrated with AI will become even more accessible, empowering car owners to understand complex issues without professional intervention. As vehicle systems grow more sophisticated, adapting our tools is critical for ongoing maintenance mastery.
How can I maintain my car’s performance over time?Lessons I Wish I Learned About Oil Filters and Engine Care
One of the most impactful lessons I’ve uncovered is the critical importance of inspecting the oil filter gasket meticulously. A tiny oversight here nearly cost me my engine, teaching me to always double-check this rubber component during every oil change. Additionally, I realized that careful torque application prevents leaks—overtightening can be just as damaging as undertightening. Another insight is the value of lubrication: applying a thin layer of oil on the new filter’s gasket ensures a proper seal, avoiding future leaks. Finally, patience and thoroughness during reassembly save time and money, reminding me that quality over speed truly matters when maintaining such vital systems.