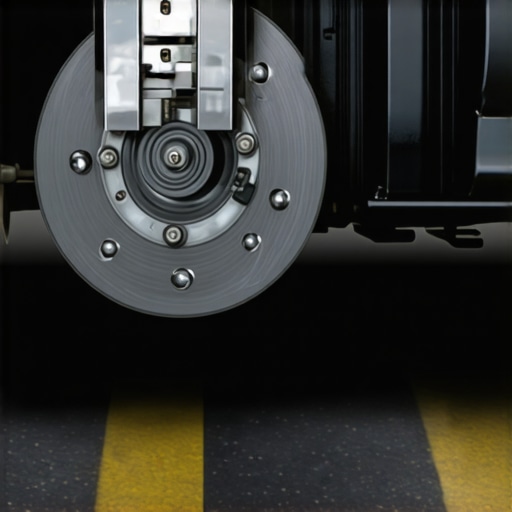
How to Spot Air in Your Brake Lines by the Way the Pedal Feels
It was a chilly Saturday morning when I stepped on the brake pedal at the left turn of my driveway. Instead of the firm resistance I expected, the pedal felt soft and spongy beneath my foot. My heart sank—was my brake system going, or was I just overthinking it? That moment hit me like a ton of bricks. If you’ve ever experienced this unsettling sensation, you know how nerve-wracking it can be, especially when safety is at stake.
Recognizing the Tell-Tale Signs of Air in Your Brake Lines
Your brake pedal’s feel can tell you a lot about your vehicle’s health. A soft, spongy pedal often signals that air has found its way into the brake lines. This is a common issue, particularly if you’ve recently performed maintenance or a brake fluid change, but it can also occur gradually over time due to leaks or contamination.
Injecting air into your brake system isn’t just a minor inconvenience; it can significantly compromise your stopping power. Think about it—air compresses under pressure, unlike brake fluid, which transmits force directly to your brake components. When there’s air in the lines, your brakes may feel responsive at first, but as air pockets build, you’ll notice increased pedal travel and decreased braking efficiency.
Early in my experience, I made a crucial mistake: I assumed that a slightly softer pedal was normal after an oil change. It wasn’t until I noticed my car taking longer to stop that I realized I had to bleed the brakes to remove trapped air. This oversight could have led to dangerous situations, which is why understanding how to identify the signs is so vital.
Have you ever faced this issue and wondered if your brake pedal feels different lately? Recognizing these symptoms early can save you from costly repairs or accidents down the line. In the following sections, I’ll guide you through the practical steps to assess and fix air in your brake lines, ensuring your safety on the road. For a broader understanding of vehicle maintenance, check out our oil change tips and how they relate to overall vehicle health.
Gather Your Tools and Prepare Safely
Start by parking your vehicle on a level surface, engaging the parking brake, and wearing safety glasses and gloves. You’ll need a clear plastic tube, a wrench, and fresh brake fluid. Having all tools ready prevents wasteful interruptions and enhances safety, especially when working near hot brake components.
Locate and Access the Bleeder Valves
Identify the bleeder valves on each brake caliper or wheel cylinder, typically near the brake hose connection. Consult your vehicle’s manual or an ASE-certified technician to ensure you’re working on the correct components. Loosen the protective caps for access while being cautious not to damage surrounding parts.
Fill the Master Cylinder with Fresh Brake Fluid
Open the reservoir cap and fill the master cylinder with new, high-quality brake fluid—preferably the type specified in your owner’s manual. This prevents the formation of new air pockets during bleeding. Keep the fluid level topped up throughout the process to avoid introducing air into the system.
Begin the Bleeding Process
Manual Pump Method
Attach the transparent tube to the bleeder valve, submerging the other end into a container with brake fluid. Have an assistant sit in the driver’s seat to press the brake pedal firmly and hold it down. While the pedal is held, loosen the bleeder valve slightly to allow air and fluid to escape. Tighten the valve, then have your helper release the pedal. Repeat until you see clear fluid without bubbles.
Using a Brake Bleeding Kit
For a cleaner process, a pressurized brake bleeding kit can be used. Connect the kit as instructed, pressurize the system, and open the bleeder valve—air is expelled automatically. Follow the manufacturer’s instructions meticulously to avoid damaging components.
Ensure No Air Remains
Continue the bleeding process on each wheel in the recommended order, usually starting from the furthest to the closest to the master cylinder. Pump the brake pedal repeatedly, checking for firm resistance. When the pedal feels solid and no bubbles are visible in the fluid exiting the bleeder, your system is purged of air.
Final Checks and Road Test
After bleeding all lines, top off the brake fluid reservoir. Carefully test the brake pedal for firmness—if it’s soft or spongy, repeat the bleeding process. Perform a cautious ride to ensure responsive braking, and listen for any unusual noises or vibrations indicating issues. Regularly servicing your brakes, just like performing oil changes, can extend brake system longevity and safety.
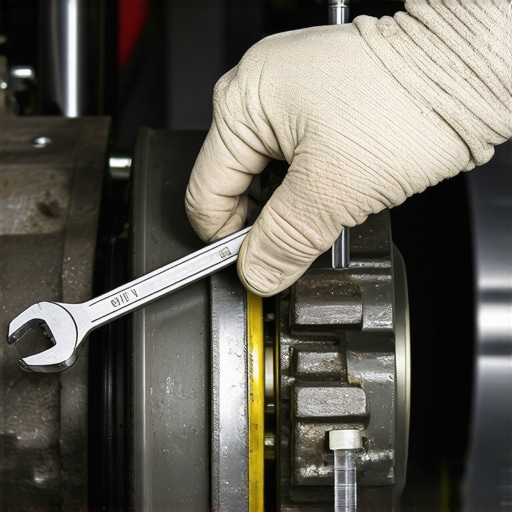 Many car owners believe that transmission issues are always glaring, like slipping gears or total failure, but the reality is often subtler and misunderstood. A common misconception is that dark transmission fluid indicates imminent disaster, yet studies show that fluid color alone isn’t a definitive sign of trouble—contamination and oxidation can darken fluid without immediate failure, especially if the fluid hasn’t been burnt or burned smell isn’t present. This highlights the importance of combining visual inspection with other diagnostics. When it comes to ASE certification, many think it’s just an optional badge; in truth, an ASE-certified technician has undergone rigorous testing, ensuring they understand the nuances of modern vehicles—something that standard mechanics may lack. But beware: some shops fake the certification or rely solely on experience, which isn’t enough for complex systems. Regular car service, including oil changes, is often undervalued. People skip routine maintenance, thinking it’s a waste—yet neglecting oil changes accelerates engine wear, increases emissions, and can even cause transmission problems if engine sludge contaminates transmission fluid, especially in linked systems. Interestingly, many assume that the quality of oil isn’t critical; however, high-quality synthetic oils can sustain better viscosity and oxidation resistance, offering enhanced protection, particularly in high-mileage engines. Additionally, many overlook the significance of using the correct transmission fluid type or neglecting transmission flushes, which can lead to shifting issues. These advanced mistakes become evident when subtle symptoms emerge, like hard shifts or delayed engagement—signs that a simple fluid change or proper diagnostics by an experienced professional can remedy. Remember, understanding these nuances ensures longevity and performance—don’t fall into the trap of complacency or misconceptions about your vehicle’s health. Have you ever fallen into this trap? Let me know in the comments. For more insights, check out our detailed guides on what ASE certification really means or the importance of regular oil changes for vehicle longevity.Maintaining your vehicle’s transmission, oil system, and overall performance demands the right tools and a disciplined approach. Personally, I’ve come to rely heavily on a digital automotive scan tool like the Autel MaxiSys MS909, which provides comprehensive diagnostics, including live data, trouble code reading, and ECU programming. This device has become indispensable for quickly identifying issues that aren’t visible during manual inspections, saving both time and money. For ongoing maintenance, a quality torque wrench such as the Tekton 1/2 inch Drive Click Torque Wrench ensures fasteners are tightened to manufacturer specifications, which is critical to prevent leaks or component failures over the years. Using a dedicated trans-axle fluid extractor—like the ARES 70811—facilitates efficient fluid changes, especially when dealing with complex transmissions where fluid level and quality directly impact shifts, as explained in our detailed guide on transmission troubleshooting. For software updates and system calibration, accessing OEM-specific tools or licensed technician platforms such as Snap-On’s Shop Key Pro keeps my workflow current and compliant, especially with ASE-certified standards. Hardware like magnetic creeper mats significantly enhances safety and comfort during lengthy repairs, reducing fatigue that can lead to mistakes. Looking ahead, the integration of AI-powered diagnostic systems promises faster fault detection and even predictive maintenance, making proactive care more accessible to hobbyists and professionals alike. To keep your vehicle operating smoothly, regularly investing in these advanced tools—as opposed to solely relying on traditional methods—is essential. How do I maintain transmission health over time? The answer includes consistent fluid checks, timely changes, and leveraging diagnostic tools to catch issues early. Incorporate a dedicated trans-axle fluid extractor into your maintenance routine, and you’ll notice improved shift quality and drivetrain longevity. For more expert insights, visit our oil change resources and stay ahead of potential vehicle troubles.
The Hidden Costs of Rushing Maintenance Decisions
One of the biggest lessons I’ve learned is that skipping routine checks or delaying oil changes can quietly damage critical components like your transmission. Early symptoms often appear subtle—like delayed shifts or rough engagement—yet many owners ignore these signs until costly repairs are unavoidable. Investing in regular, professional car service keeps these small issues from snowballing, saving you money and ensuring safety.
Why Trusting Certified Technicians Pays Off
Initially, I underestimated the value of ASE certification, thinking experience alone was enough. But I discovered that ASE-certified mechanics possess a nuanced understanding of intricate systems, which often results in more accurate diagnostics and longer-lasting repairs. Choosing experts with this credential can be the difference between a quick fix and a long-term solution that preserves your vehicle’s health.
Embracing Science and Technology for Better Maintenance
Using advanced diagnostic tools and quality equipment, like a trans-axle fluid extractor or OEM-specific software, has transformed how I approach vehicle care. These tools not only improve precision but also reveal hidden issues that might otherwise go unnoticed. For those serious about vehicle longevity, investing in the right tools is an upgrade that pays dividends in performance and peace of mind.
My Road to Better Car Care Was a Learning Curve
I’ve experienced firsthand that neglecting minor maintenance tasks can lead to unpredictable failures—like a sudden transmission hiccup or brake fade. Don’t wait for warning lights; proactive diagnostics and scheduled service are your best defense. Trust your instincts, stay informed, and remember that consistent upkeep keeps your car running smoothly for miles ahead.
Where to Start When You’re Ready to Take Control
If you’re eager to optimize your vehicle’s transmission and overall health, start by exploring trusted resources and tools. For example, reviewing why regular oil changes matter can provide foundational knowledge. Additionally, connecting with certified technicians ensures you’re getting quality service tailored to your car’s needs.
Your Next Step Toward Confident Car Ownership
Empowered with the right knowledge and tools, you can prevent costly surprises and extend your vehicle’s lifespan. Remember, maintenance isn’t just a chore—it’s an investment in safety and reliability. Take charge today, and enjoy the peace of mind that comes with knowing your transmission and engine are in prime condition.
What’s been your biggest takeaway from maintaining your vehicle? Share your experience below and let’s learn together!