Why Your Brake Pedal Sinks Slowly While Stopped
It happened to me during a routine oil change, right after a quick stop at the grocery store. I pressed the brake pedal, and to my surprise, it sank slowly to the floor while I was waiting at the red light. Panic crept in—did I miss something? Was my car about to give out? I realized I wasn’t alone in this frustration; many drivers have experienced that unsettling feeling of a sinking brake pedal, especially when they need their brakes the most.
Deciphering the Mystery of the Sinking Brake Pedal
What causes your brake pedal to gradually sink while you’re stopped? The answer often lies beneath the surface—literally. It’s a sign that air or moisture might have sneaked into your brake lines, or worse, that your brake system’s components are starting to wear out. This isn’t just about pedal response; it’s a critical safety concern that demands attention.
Many drivers overlook this symptom, dismissing it as a minor inconvenience. But the reality is, a sinking brake pedal can be a warning sign of underlying issues like a failing master cylinder or contaminated brake fluid. Ignoring these signals can lead to brake failure at the worst possible moment.
Based on my early missteps—trusting quick fixes without proper diagnosis—I learned the importance of understanding your brake system. A mistake I made was assuming that a simple bleed would fix the issue, but it turned out that deep-seated corrosion in the master cylinder was at play. This taught me that tackling brake problems requires more than just surface-level fixes; it calls for a thorough inspection and a genuine understanding of your vehicle’s brake hydraulics.
Did you know that regular brake fluid changes significantly extend the lifespan of your brake system? According to experts, failing to replace old brake fluid can lead to moisture buildup, which causes corrosion and decreases braking performance. To keep your brakes responsive and safe, consider scheduling a professional brake fluid flush—something I highly recommend you don’t skip.
Interested in maintaining your braking system better? A full brake fluid flush can make a noticeable difference.
So, what’s next? In the upcoming sections, I’ll walk you through practical steps to diagnose why your brake pedal sinks, and more importantly, how to fix it properly—saving you from surprises on the road and possibly costly repairs down the line. If this sounds familiar or you’ve faced this problem before, you’re not alone. Let’s get into the details that can help you regain control and confidence in your vehicle.
Secure Your Vehicle Before Diagnosis
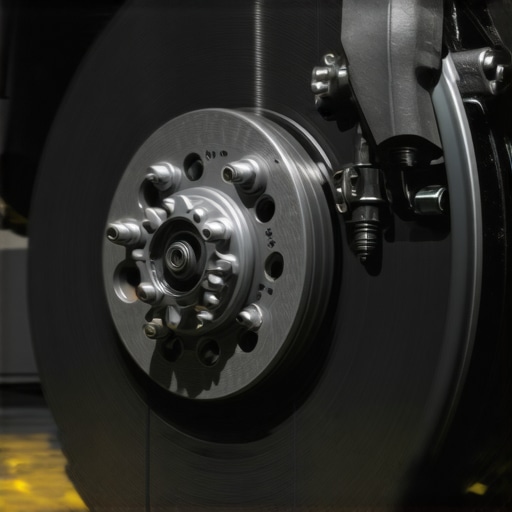
Park your car on a level surface, turn off the engine, and engage the parking brake. Wearing gloves and eye protection is advisable to avoid contact with brake fluid, which can be harmful. I remember one time I tackled this issue in my driveway; I jacked up the front of the car and removed the front wheels to access the brake components more easily. Start by inspecting the brake fluid reservoir; if it’s low, topping it up might be a quick fix, but do not overlook the need for a detailed inspection.
Inspect Brake Fluid and Reservoir
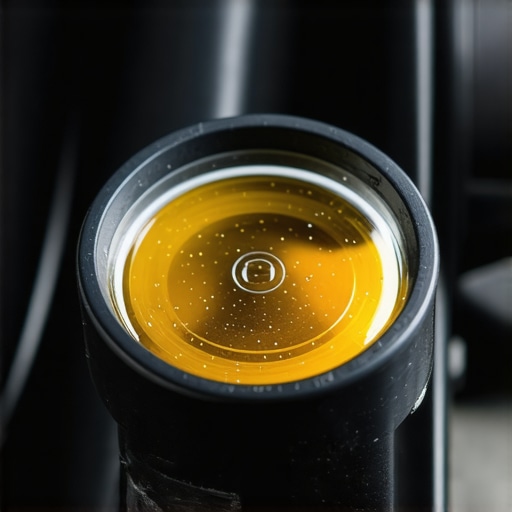
Open the brake fluid reservoir cap—you’ll typically find it under the hood, labeled clearly. Check the fluid level; if it’s below the minimum line or the fluid appears dark and contaminated, a fluid flush is necessary. Remember, new brake fluid should be clear or slightly amber; cloudy or dark fluid indicates it’s time for a change. I once ignored this and just topped off the fluid, but the real issue was moisture in the system that only a proper flush fixed. For detailed guidance, consider reading about the importance of regular fluid changes.
Bleed the Brake System Properly
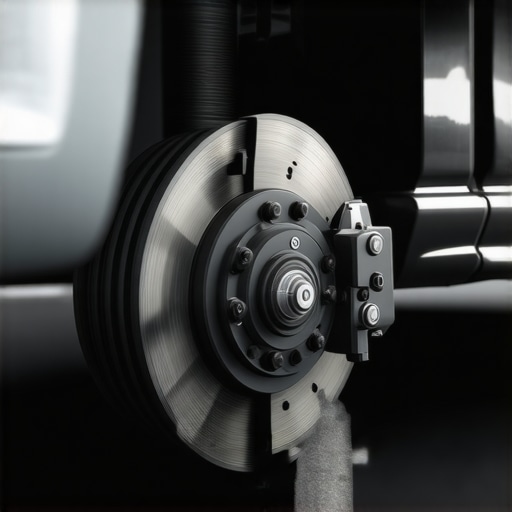
This step removes trapped air that can cause the pedal to sink. Connect a clear tube to the bleed screw on the brake caliper or wheel cylinder, submerge the other end in a container with a bit of brake fluid, and have a friend press the brake pedal slowly. Loosen the bleed screw to let out air and pressure, then tighten it before your friend releases the pedal. Repeat until the fluid runs bubbles-free. I once used a vacuum brake bleeder, which sped up the process significantly and improved safety. If you’re unsure about this step, visiting a professional shop can save you time and ensure safety. Read more about effective bleeding techniques in the transmission troubleshooting guide.
Assess and Replace Faulty Components
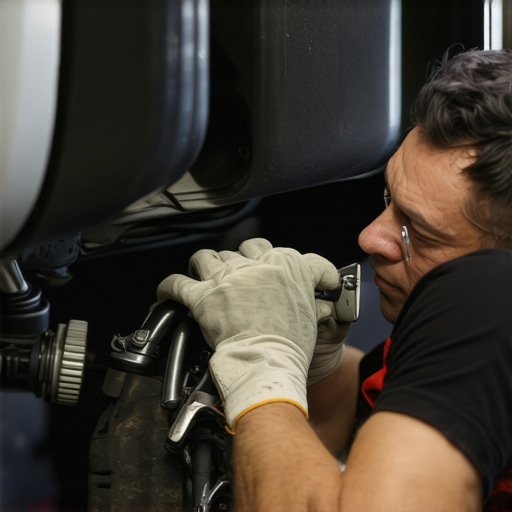
If bleeding the system doesn’t resolve the sinking pedal, the master cylinder may be to blame. Signs include a pedal that sinks slowly or feels spongy even after bleeding. To diagnose, remove the master cylinder cap and observe the internal pistons; if they don’t move smoothly or the seals look worn, replacing the master cylinder is necessary. I replaced my master cylinder after noticing inconsistent brake responses, which restored confidence and safety. Remember, this step requires proper tools and knowledge. For complex issues, contacting an ASE certified shop is a good idea; you can reach out here for expert assistance.
Test Drive Safely After Repairs
Once repairs are complete, carefully test the brakes in a safe, open area. Press the pedal firmly to ensure it feels firm and responds without sinking. Check for leaks around the brake calipers and master cylinder. During my own testing, I noticed a firm pedal and no leaks, confirming the fix. If you’re uncertain or the problem persists, consult a professional. Proper diagnosis and repair can prevent accidents and prolong your vehicle’s life. For further insights on safe driving and maintenance, explore top oil change tips for 2025.While the basics of oil changes and routine service are well-known, many car owners stumble over subtle details that can make or break their vehicle’s longevity. Contrary to popular belief, simply topping up oil or following a generic service schedule isn’t enough; understanding the nuances can save you costly repairs and ensure optimal performance.
A common myth is that all engine oils are created equal. In reality, the choice between synthetic and conventional oils isn’t just about price—synthetic oils provide better oxidation stability and protect engine components more effectively, especially under extreme conditions. Experts suggest that using the right oil type, aligned with your vehicle’s specifications, can extend engine life significantly. For more insights, see why regular oil changes are crucial.
Many drivers also assume that a certified mechanic is inherently better. While ASE certification indicates a technician’s competence, it doesn’t guarantee expertise in every niche. For specialized problems like transmission issues, ensuring that your mechanic has specific experience or certifications in that area can prevent you from becoming a victim of well-meaning but uninformed repairs. You can verify a shop’s expertise here: what ASE certification really means.
Now, let’s tackle one of the most overlooked aspects—transmission maintenance. Many owners think a simple fluid change is all that’s needed. However, failing to address the nuances like proper fluid type, exact fill level, and understanding the transmission’s unique shifting patterns can lead to slipping, overheating, or outright failure. For instance, using the wrong type of transmission fluid can cause foaming or inadequate lubrication, accelerating wear. Detailed knowledge about manufacturer-specific transmission requirements can be your best defense.
Ever wonder why some transmissions start to slip only after a fluid change? This ‘oops’ scenario often results from quick fixes that neglect thorough system inspection. Sometimes, old seals or internal components have already compromised performance, and changing fluid without addressing these issues can do more harm than good. To prevent such pitfalls, consult expert guidance—like this article on post-fluid change slipping—or better yet, seek professional diagnostics.
Advanced car owners should ask: How can I tell if my transmission fluid is foamy or degraded before symptoms appear? Look for unusual shifts, delayed engagement, or burning smell—these are signs that the fluid composition might be compromised. Regular testing and professional inspections are invaluable. Remember, a preventive approach is always more affordable than emergency repairs.
Think you’re up-to-date? Think again. Car maintenance encompasses much more than following routine intervals; it involves understanding the specific needs and hidden intricacies of your vehicle components. By digging deeper into these nuances, you reduce risks and boost performance. If you’ve ever fallen into this trap of oversimplification, let me know in the comments!
For tailored advice on choosing the right service and understanding your car’s unique needs, visit this helpful guide.Maintaining your vehicle’s transmission and other critical systems requires more than just basic knowledge; it demands the right tools and a systematic approach. As an experienced car enthusiast and ASE-certified technician, I rely on specific equipment to ensure my car remains in peak condition, especially when addressing complex issues like transmission care or brake system servicing.
What Makes a Good Diagnostic Scanner for Transmission Care
In my opinion, investing in a high-quality diagnostic scanner, such as the Autel MaxiCOM Ultra, is essential. Unlike generic OBD-II readers, this device provides manufacturer-specific codes and live data for transmissions, allowing me to pinpoint problems accurately. For example, when I noticed slipping gears, the scanner revealed an internal fault code that would’ve been impossible to identify with basic tools. Using a reliable scanner saves time and prevents unnecessary parts replacement.
Why I Trust a Digital Micrometer for Precision Measurements
When dealing with components like clutch packs or valve clearances, precise measurements matter. A digital micrometer, such as the Mitutoyo 500-196-30, provides readings accurate to 0.0001 inches. I use it to verify clearances during rebuilds or inspections, ensuring that every part functions within specifications. This attention to detail can extend your transmission’s lifespan and improve shifting smoothness.
Tools for Flushing and Filling Systems Properly
For transmission fluid changes, I prefer a dedicated fluid exchange machine like the BG Flushing System. These tools allow me to perform complete flushes, removing old, degraded fluid and contaminants that a simple drain can’t eliminate. Proper fluid maintenance not only optimizes performance but also prevents long-term damage, especially in high-mileage vehicles. Note that using the right equipment helps uphold the manufacturer’s standards, which is vital for ASE certification and long-term reliability.
How Do I Maintain My Car Over Time
Maintaining your vehicle effectively involves adhering to scheduled services and using the correct tools. Regularly inspecting fluid levels with a dipstick, or better yet, a digital scanner that reads transmission temperature and codes in real-time, can alert you to issues before they escalate. Preventive measures like replacing transmission filters and seals with quality parts prevent costly repairs down the line. Remember, investing in professional-grade tools and software skills is a hallmark of serious owners who aim for longevity and safety.
Future Trends in Car Maintenance Tools
The future points toward integrated diagnostic platforms that connect with your smartphone, providing real-time diagnostics, recommended actions, and even remote expert advice. As technology advances, possessing tools like wireless diagnostic tablets or AI-powered inspection cameras will become commonplace, making maintenance more accessible and precise for enthusiasts and professionals alike. Keeping up with these innovations ensures you’re prepared for the next generation of vehicle care.
How do I keep my transmission performing its best over time?
Implementing routine flushes with professional-grade equipment, monitoring live data continuously, and adhering to manufacturer-recommended intervals are crucial. Try upgrading your toolkit with a quality diagnostic scanner and a set of precision measurement tools to bring your maintenance game to the next level. For expert assistance in your area, don’t hesitate to reach out here. Regularly investing in these specialized tools safeguards your investment and enhances your driving experience.
The Unexpected Lessons that Transformed My Approach to Car Maintenance
One eye-opening insight I discovered was that relying solely on routine maintenance schedules isn’t enough; understanding your vehicle’s unique behavior and subtle signs can prevent costly surprises. I once ignored a slight vibration during acceleration, dismissing it as normal wear, only to learn that overlooked transmission issues can escalate quickly. This taught me that paying attention to the small details often reveals underlying problems before they become urgent.
Another lesson was the significance of choosing quality tools and genuine parts. Using cheap substitutes might seem tempting but often leads to short-term fixes and repeated repairs. Investing in authoritative resources and trusted brands, like proper diagnostic scanners or precision measurement tools, has saved me time and money, reinforcing that quality always pays off in automotive care.
Lastly, I realized that continuous learning—whether through reputable guides or expert advice—empowers car owners to handle many repairs confidently. With the right knowledge, you can differentiate between myths and facts, making informed decisions about repairs and maintenance. This proactive mindset fosters a sense of control and safety on the road, transforming car ownership from a source of stress into an engaging, empowered experience.