Why Your Brake Fluid Shouldn’t Look Like Dark Coffee
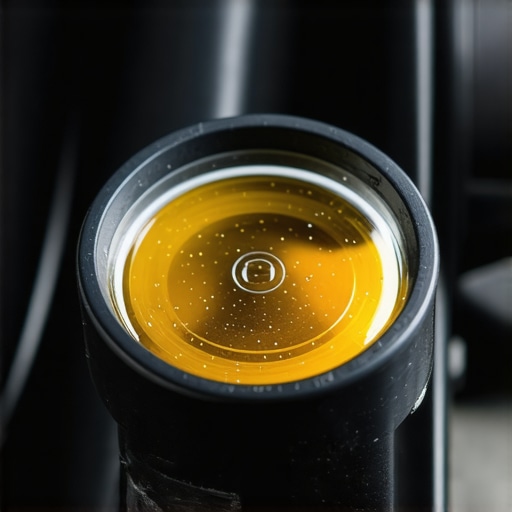
Ever had that sinking feeling when stepping on your brake pedal, only to notice it feels spongy or unresponsive? I sure have. One day, after a routine check-up, I peeked under the hood and saw my brake fluid—dark, murky, resembling a cup of cold brew. It was a lightbulb moment for me. If your brake fluid looks like this, your braking system might be silently screaming for help. Today, I want to share my experience and teach you how to spot the signs of degraded brake fluid before it turns into a real safety hazard.
How Dirty Brake Fluid Could Be Putting You at Risk
Brake fluid is the unsung hero of your vehicle’s safety system. It transfers force from your foot to the brake pads, allowing you to stop smoothly. But over time, this vital fluid can become contaminated with moisture, dirt, and debris, especially if it’s been years since your last change. When brake fluid absorbs water, it lowers its boiling point, which can cause your brakes to fade or even fail under heavy use. The presence of dark, old brake fluid isn’t just an aesthetic issue—it’s a red flag that your braking system could be compromised.
Many drivers are unaware that their brake fluid can look perfectly clear yet be internally contaminated. Conversely, if it looks dark and opaque, it’s an even clearer sign that you need a fluid change. A maintenance mistake I made early on was neglecting my vehicle’s brake fluid, assuming a quick top-up was enough. That misstep nearly led to a more serious problem when I experienced brake fade during a sudden stop. Trust me, regular checks are a small price to pay for peace of mind.
Have you noticed your brake fluid turning dark or spent time ignoring its appearance? If so, you’re not alone. Many car owners overlook this simple yet crucial maintenance step, risking costly repairs or, worse, safety on the road. For more insights on car health checks, you can read about how to spot a failing alternator before your battery dies.
In the following sections, we’ll explore how to assess your brake fluid’s condition and what steps to take if it looks less than pristine. Taking action now can prevent a breakdown—or worse—on the highway.
Prepare Your Vehicle and Gather Supplies
Start by parking your car on a level surface, turning off the engine, and engaging the parking brake. Gather essential tools including a wrench set, clear tubing, a catch container, brake fluid recommended for your vehicle, and safety gloves and glasses. Reading your vehicle’s service manual ensures you use the correct brake fluid and follow specific procedures. Remember, using the wrong fluid, like European-specific transmission fluid in your brake system, can cause damage—visit this guide for more details.
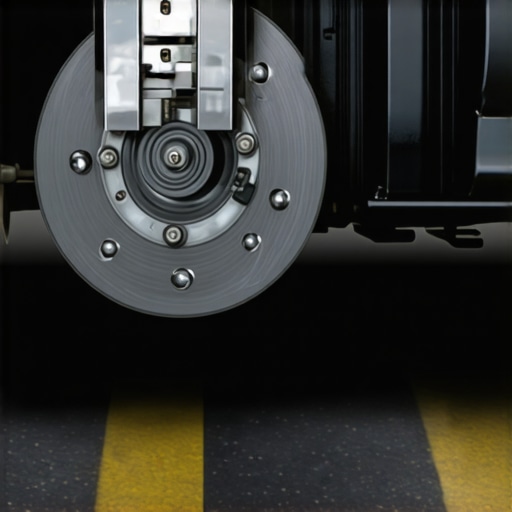
Access the Brake Master Cylinder
Locate the master cylinder reservoir, usually near the driver’s side under the hood. Remove the cap carefully. Inspect the fluid color; if it’s dark or dirty, it’s time for a flush. I once neglected this step, assuming topping up was enough, but that oversight led to spongy brakes. Removing the reservoir cap allows air to enter the system during bleeding, so keep it off until you’re ready.
Drain Old Brake Fluid from the System
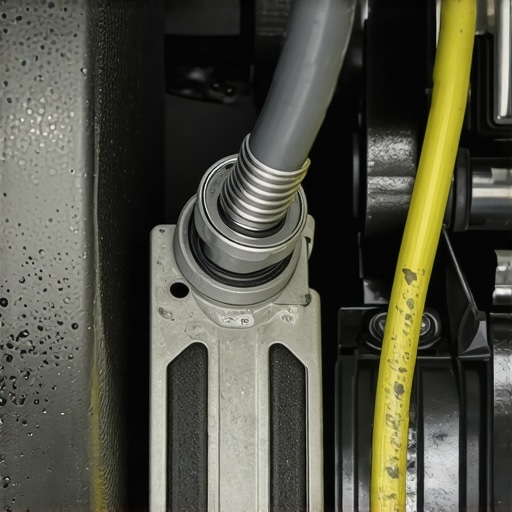
Start with the wheel farthest from the master cylinder—typically the passenger rear. Loosen the caliper bleed screw slightly using a wrench. Attach clear tubing to the bleed screw, submerging the other end in a catch container. Have an assistant gently presses the brake pedal—be cautious; no need to press fully. As the pedal is pressed, brake fluid will flow out through the tubing. Keep an eye on the reservoir and keep it topped with fresh brake fluid to prevent air from entering. Repeat until the fluid runs clear. Remember, old brake fluid contains moisture and debris, which can cause brake fade or failure, so replace it thoroughly.
Flush and Bleed Each Wheel
Proceed to the next wheel—the driver side rear—and repeat the bleeding process. For a more systematic approach, follow a diagonally-opposite pattern: rear passenger, front driver, then front passenger. This ensures all air is expelled. During bleeding, ensure the reservoir has sufficient brake fluid; running low introduces air bubbles. Using a one-man brake bleeder kit can streamline this process, but always ensure you’re following a proper sequence. If you’re unsure what to do, consulting a detailed tutorial or a professional can prevent mishaps.
Finish Up and Check Brake Performance
Once all wheels are bled, gently press the brake pedal to check firmness. It should feel firm and responsive; if it feels soft or spongy, repeat the bleeding process. Replace the reservoir cap securely and take the car for a slow test drive to observe brake performance. Watch for warning signs such as a pedal that still feels weak or unusual noises. Regularly replacing your brake fluid can prevent issues like brake fade, which might otherwise lead to costly repairs or safety lapses. For ongoing maintenance tips, check out this detailed guide.When it comes to vehicle maintenance, there’s a pervasive misconception that following the standard service intervals and trusting generic certifications guarantees a problem-free car. **Many drivers believe that as long as their car is ‘ASE Certified’ and they adhere to the bumper sticker schedules, they’re in the clear.** But in my experience, this oversimplification leads to overlooked nuances that can drastically impact your vehicle’s longevity.
A common myth is that all oil changes are equal. In reality, choosing a low-quality oil or neglecting to replace the filter can create more harm than good, accelerating engine wear. Did you know that cheap oil filters often cause increased engine startup wear because of inadequate filtration? Check out this article to learn how to spot a bad oil filter.
Furthermore, many assume that ASE certification is a gold standard that ensures flawless service. While ASE certification demonstrates a technician’s skills, it doesn’t necessarily guarantee that a mechanic will recognize advanced issues like subtle transmission wear or internal electronics failing prematurely. Relying solely on certifications without understanding the nuances can mislead you into overlooking signs of trouble.
**An often-overlooked aspect is transmission maintenance**. Many think that as long as the fluid is changed every 30,000 miles, all is well. However, some vehicles—especially European models—require specialized transmission fluids, and using the wrong type can cause silent, yet critical damage. For instance, incompatible fluids can lead to a phenomenon known as “burnt toast” smell, indicating failing transmission fluid, which can eventually lead to costly repairs. Learn more about this here.
An
Keeping It Working: The Tools That Make a Difference
Maintaining a vehicle’s optimal performance over years requires more than just routine visits to the mechanic. Investing in high-quality, precise tools can dramatically improve your ability to diagnose and resolve issues early, saving you money and enhancing safety. I personally rely on a digital scan tool like the BlueDriver Bluetooth Pro OBD2 Scanner. It connects seamlessly with my smartphone, providing real-time data, live sensor readings, and comprehensive diagnostic trouble codes. This device has become my first line of defense before heading to the shop, allowing me to catch problems—like a faulty sensor or transmission irregularities—long before they escalate.
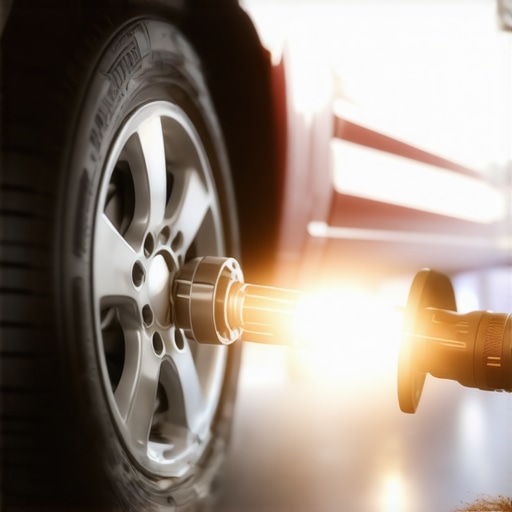
For brake system maintenance, I use a hand-held vacuum pump. This allows me to bleed brakes effectively at home, especially useful if you’re tackling a brake fluid change or resolving spongy pedal issues. Unlike relying solely on less precise methods, this pump helps remove air bubbles thoroughly, ensuring a firm pedal feel. It’s an investment worth making if you want to maintain safety and avoid unnecessary trips to the shop.
Transmission work calls for diligence. I recommend a digital transmission fluid tester, like the Innova 3191, which allows you to assess fluid condition without relying solely on visual cues like color. As you might read here, using the wrong fluid can silently damage your transmission. A good tester helps confirm if a fluid switch or flush is timely, preventing costly repairs down the road.
Software and Methods That Keep Equipment Reliable
Pairing physical tools with reliable software enhances your diagnostic capabilities. I use AutoEnginuity Scan Tool that offers OEM-specific diagnostics, allowing me to scan for very specific issues, including transmission and ABS system faults. This software is especially helpful because it provides access to manufacturer-level data, which generic scanners often miss. Updating the software regularly ensures compatibility with new vehicle models and firmware, so I highly recommend subscribing to updates from the manufacturer.
Consistent calibration of your tools is crucial. For example, if you’re using a multimeter, make sure it’s calibrated annually—many parts stores offer free calibration services. A well-maintained tool will give you confidence in your DIY repairs and troubleshooting. Over time, these investments and consistent practices extend your vehicle’s lifespan and reliability.
What About Scaling Up Your Maintenance?
As your skills and tools improve, consider investing in a garage lift or axle stands to work safely and comfortably under your car. Larger tools enable more comprehensive work, such as replacing timing belts or inspecting transmission pans, which can be critical for turbocharged engines or European models that need special care. These upgrades facilitate thorough maintenance, reducing reliance on shops and helping you catch issues early.
Looking Ahead: The Future of DIY Car Maintenance
The trend toward integrated diagnostic tools, AI-assisted troubleshooting, and remote software updates is making vehicle care more accessible. It won’t be long before advanced diagnostics, once reserved for professional mechanics, become mainstream for enthusiasts. Staying ahead means continually investing in reliable tools and staying educated, such as subscribing to reputable online tutorials and forums. The combination of experienced insight and high-tech equipment empowers you to keep your car running smoothly—long beyond the warranty period.
How Do I Maintain My Car’s Transmission Over Time?
Preventive transmission maintenance hinges on more than just fluid changes. Regularly checking for signs of slipping or rough shifts and listening for unusual noises can save thousands. Use a diagnostic approach to assess the health of internal components and consider a professional scan to detect early signs of wear. Adapting your maintenance schedule based on driving habits and vehicle age can extend the life of your transmission significantly.
Incorporate these tools and methods into your routine, and you’ll find that keeping your car in top shape becomes a manageable, even rewarding, part of ownership. Try starting with a reliable scan tool and see what issues you can identify early—your vehicle will thank you!
The Hardest Lesson I Learned About Car Maintenance and Certification Claims
One of the most eye-opening experiences was realizing that even certified mechanics can overlook critical details like brake fluid condition, especially if they rely solely on certifications without inspecting the actual fluid. It made me understand that continuous learning and hands-on checks are irreplaceable and that trusting a badge doesn’t guarantee vehicle safety. This insight pushed me to become more proactive about my car’s maintenance, regardless of certifications.
How Relying on Generic Advice Might Cost You Dearly
Early in my journey, I believed that following the manufacturer’s recommended service intervals was enough. But I learned that specific issues, like moisture contamination in brake fluid, require a more tailored approach—especially for European models or vehicles in humid climates. Personal experience taught me to consult detailed guides and trusted tools instead of commonplace advice, helping me avoid unnecessary repairs and ensuring my safety.
The Value of Investing in the Right Tools and Knowledge
Discovering that a simple clear tubing and a quality brake bleeder kit could prevent years of potential brake failure was a game-changer. It reinforced my belief that investing in reliable diagnostic tools and learning how to use them effectively empowers you to catch problems early. These tools aren’t just gadgets—they’re your frontline defense against safety hazards lurking beneath your vehicle’s exterior.