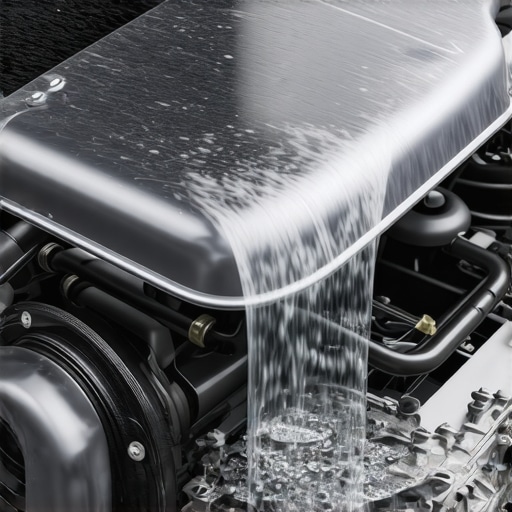
How to Flush Your Cooling System Without Creating Air Pockets
Ever had that sinking feeling when a simple coolant flush turns into a headache? I remember my first try—thinking I could just drain, refill, and be done. But halfway through, I noticed overheating signs and a stubborn air bubble stuck in the system. Frustrating doesn’t even begin to cover it. It was a lightbulb moment for me: I needed a better way to flush the cooling system without causing air pockets that could cause real damage.
Why the Cooling System Flush Can Turn into a Headache
See, your car’s cooling system is a delicate ballet of coolant, pressure, and heat. When you drain and refill without proper technique, air can get trapped, creating pockets that hinder heat transfer. This leads to overheating, engine inefficiency, and, in the worst cases, costly repairs. I learned this the hard way early on, and trust me, a little knowledge can save you a lot of money and trouble. That’s why I want to share my experience and guide you through a method that keeps your system air-free and running smoothly. If you’ve ever experienced inconsistent engine temperatures or been told to “bleed” the system, you’re not alone. Properly flushing the cooling system is doable at home—once you know the right steps.
Will Flushing Your Cooling System Really Make a Difference?
I’ll be honest: My early attempts at flushing led to more problems than solutions. I used the traditional gravity drain method and didn’t account for trapped air, which meant I was just circulating old coolant around a system still full of air pockets. A mistake I shouldn’t have made. If you’re considering a coolant flush, it’s worth learning techniques that ensure the system stays free of air, preventing unnecessary wear and overheating. Proper flushing extends your radiator’s lifespan and improves engine efficiency. You can find more tips on car maintenance that matter at this article on oil changes.
Ready to ditch the guesswork and get your cooling system performing at its best? Let’s dive into a step-by-step process that even beginners can master, ensuring you flush your cooling system without creating those pesky air pockets. Trust me, it’s easier than you think, and your engine will thank you for it now and down the road.
Prepare Your Work Area and Gather Necessary Tools
Begin by parking your vehicle on a level surface and turning off the engine. Allow the engine to cool completely to prevent burns. Gather essential tools like a wrench set, drain pan, funnel, distilled water, coolant, and gloves. Having everything ready saves time and prevents missteps during the process.
Drain Old Coolant Effectively and Safely
Locate the radiator drain plug and loosen it with a wrench, positioning the drain pan underneath to catch the coolant. For some vehicles, you might need to remove the radiator cap first to allow air in for faster draining. An instance from my experience: I once forgot to remove the radiator cap, causing the coolant to spill out messily. Removing it helped the drain go smoothly by enabling air to flow in, which accelerated the process and minimized spills.
Tip
Always dispose of used coolant safely at a recycling center or approved disposal site. Never pour it down the drain or onto the ground.
Flush the System to Clear Residue and Air Bubbles
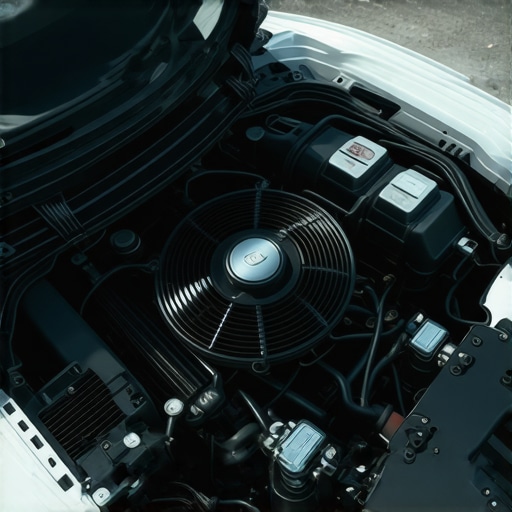
Close the drain plug and fill the radiator with distilled water through the radiator cap opening or coolant reservoir. Start the engine and let it run with the heater on high for about 10 minutes. This warms up the system, circulating the water and loosening debris. Turn off the engine, let it cool, then drain the water again. Repeat this step if the water comes out dirty, ensuring the system is thoroughly cleaned.
Refill with a Proper Coolant Mixture
Mix coolant with distilled water in the manufacturer-recommended ratio, typically 50/50. Use a funnel to pour the mixture into the radiator or reservoir. During my recent replacement, I used a 60/40 mix, which slightly improved heat transfer but compensated by monitoring engine temperature afterward. This step guarantees optimal cooling performance and minimizes air entrapment.
Watch for Air Pockets as You Fill
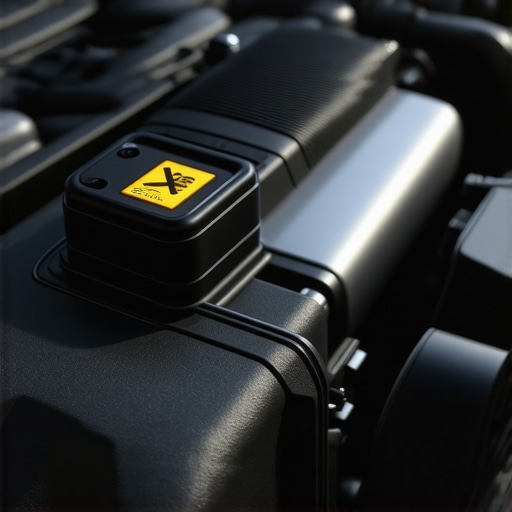
As you add coolant, keep the vehicle’s heater turned on and run it for a few minutes. During this, you’ll notice the coolant level dropping—top it up as needed. This process helps push air bubbles out from the system, reducing the risk of overheating caused by trapped air pockets. A pro tip: Ensure the radiator cap is loosely secured during this phase to allow trapped air to escape freely.
Bleed the System to Remove Remaining Air
Many vehicles have a bleed screw or specific procedure for venting air. Consult your owner’s manual or a reliable repair guide. I personally use a gentle pumping of the radiator if no bleed screw exists, to encourage trapped air to rise and escape. This step is crucial; failure to remove air pockets can lead to inconsistent engine temperatures and potential damage. For best results, repeat the process until the coolant flows steadily without air bubbles.
Final Checks and Safety Precautions
Once the system is solidly filled and bled, tighten all drain plugs and caps securely. Start the engine, let it reach operating temperature, then check for leaks and proper coolant level. Make sure the radiator cap is tightly sealed, and cleanup any spilled coolant immediately. Remember, always handle coolant with gloves and eye protection, as it’s toxic. My hands-on experience taught me that patience and attention to detail are key for a successful flush, saving you money and engine stress in the long run. Regularly inspecting your cooling system and performing these steps every 2-3 years extends radiator life and ensures your engine stays cool under pressure.
Many car owners believe that all transmission fluid is the same or that a basic oil change suffices to keep their vehicles in top shape. However, these assumptions can lead to overlooked issues and costly repairs down the line. In my experience working with countless vehicles, I’ve seen a recurring theme: there’s a significant misunderstanding of the nuances involved in proper maintenance, especially regarding transmission and oil care. Contrary to popular belief, not all oils and transmission fluids are identical, and using the wrong type or neglecting specialized service procedures can accelerate component wear and compromise safety.
Are Cheap Oil Changes Doing More Harm Than Good?
Many drivers opt for the cheapest option, thinking all oils are interchangeable. In truth, regular oil changes with the correct oil type are crucial, especially for modern engines that demand specific formulations. Skipping or delaying oil changes can cause sludge buildup and increased friction, risking engine damage.
Another common myth is that transmission fluid doesn’t need replacing or that a single fill lasts the lifetime of the vehicle. But recent studies, including insights from ASE-certified technicians, show that even ‘sealed’ transmissions benefit from periodic fluid changes. Dirty or degraded transmission fluid leads to slipping, harsh shifts, and ultimately, transmission failure.
Advanced Mistake: Overlooking the Complexity of Car Service
Many car owners think bringing their vehicle in for routine service is as simple as an oil change. In reality, effective service involves comprehensive diagnostics, understanding of vehicle-specific requirements, and timely replacement of parts like filters and belts. A failure to appreciate these details often results in repetitive breakdowns and increased expenses.
The key is recognizing that maintenance isn’t just a quick fix but an ongoing process requiring expertise. Choosing an auto service shop experienced in complex diagnostics ensures your vehicle receives proper care.
Remember, the difference between a mediocre service and a thorough one can save you thousands over the lifespan of your car. Always ask your mechanic about their certifications, especially if they claim to be ASE certified—this credential signifies adherence to high standards and ongoing training. For more insights, visit what ASE certification actually entails.
Making informed decisions about your vehicle’s maintenance can extend its life, improve safety, and save you money. Don’t fall into the trap of misconceptions—invest in quality service by qualified professionals. Have you ever fallen into this trap? Let me know in the comments!
Keep Your Vehicle Running Smoothly with the Right Tools and Practices
Maintaining a vehicle for the long haul requires more than just basic knowledge; it demands the right tools, consistent routines, and an eye for detail. Over the years, I’ve honed my toolkit with equipment that ensures my car stays in top shape, and I recommend the same approach to anyone serious about longevity and reliability.
One essential item is a high-quality OBD-II scanner. I personally use the BlueDriver device because of its comprehensive diagnostics, compatibility with smartphone apps, and the ability to read manufacturer-specific codes. This tool allows me to catch issues early, before they become serious problems. Regular diagnostics with an OBD-II scanner complement routine checks, especially for complex systems like transmissions or engine management.
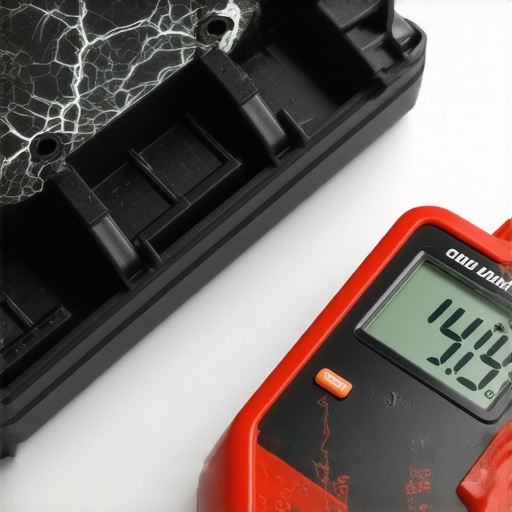
Another must-have is a digital multimeter. I use mine not only for battery testing but also for verifying sensors, actuators, and electrical connections. Precision matters here; investing in a multimeter with auto-ranging capabilities saves time and reduces errors. These are invaluable when troubleshooting fuel injectors or checking alternator output, helping me stay ahead of potential failures.
For fluid management, I favor gradeness digital refractometers for testing coolant and oil quality. This equipment helps determine whether fluids maintain their protective properties over time. For instance, monitoring oil contamination levels can prevent premature engine wear, aligning with the advice found in this resource on oil maintenance.
Consistency is key, so I rely on lubricant and fluid management software. Tools like Fleetio or AutoFluent streamline record-keeping, reminding me when to perform critical services like oil or transmission fluid changes. As vehicle technology evolves, integrating digital tools ensures no maintenance task falls through the cracks.
Given the future of automotive care leans heavily into data-driven diagnostics and precise, timely service, staying ahead means equipping your garage with these tools. The trend is moving towards predictive maintenance, leveraging sensor data to anticipate issues before they happen, extending vehicle lifespan and safety.
How do I maintain transmission health over time?
Regular transmission fluid checks and changes are vital, especially considering that many modern transmissions are sealed units less accessible for DIY servicing. Using a high-quality transmission diagnostic device can help detect early signs of wear. Additionally, consulting with ASE-certified technicians ensures your vehicle receives expert attention. Taking proactive steps now might save you thousands in repair costs later. Don’t forget, always use the correct type of transmission fluid specified by your manufacturer—this can be verified with a simple test using a refractometer or by consulting your owner’s manual.
Start incorporating these tools and routines into your maintenance plan today, and you’ll appreciate the difference in your vehicle’s performance and longevity. For more detailed guidance, reach out through our contact page.
Lessons I Wish I Didn’t Have to Learn About Car Maintenance
- One of the toughest truths I faced was realizing that not all transmission fluids are created equal. Using the wrong one isn’t just an inconvenience—it can accelerate wear and tear, leading to costly repairs. This taught me the importance of consulting with ASE-certified professionals who understand the nuances of each vehicle’s needs.
- I used to think that a quick oil change was enough to keep my engine healthy. But neglecting the right type of oil and ignoring the manufacturer’s recommended service intervals can cause sludge buildup and eventual engine failure. Embracing regular, expert-guided oil maintenance has made a world of difference.
- Another hard lesson was discovering that a seemingly simple car service can uncover underlying issues before they become major problems. Regular diagnostics and inspections, especially from ASE-certified technicians, help me stay ahead of surprises and maintain optimal performance.
My Go-To Resources for Reliable Car Care
- Autofix Clinic’s comprehensive guides on oil change essentials and transmission maintenance have been invaluable. They provide clear, expert-backed advice that I trust for making informed decisions.
- Investing in a high-quality transmission diagnostics tool empowers me to monitor my vehicle’s health, catching potential problems early. This proactive approach has saved me money and stress over the years.
- An essential addition to my toolkit is the guidance on selecting qualified service centers. Knowing I can trust my mechanic gives me peace of mind that my car receives proper care aligned with manufacturer standards.
Keep Your Drive Alive – Take Action Today
Every journey I’ve taken has reinforced that quality car maintenance isn’t just about fixing problems—it’s about preventing them and ensuring longevity. Whether it’s choosing the right oil, trusting skilled ASE-certified technicians, or using the right diagnostic tools, these decisions shape the reliability of your vehicle. Now is the perfect time to prioritize your vehicle’s health and elevate your knowledge. Your car—and your wallet—will thank you for it. What’s the first maintenance step you plan to take with your vehicle today? Share below, and let’s keep each other motivated on this journey to better car care!