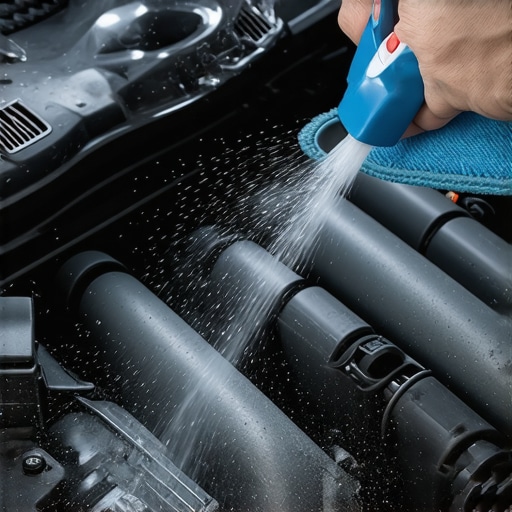
How to deep-clean your engine bay without damaging sensors
It was a typical Saturday morning, and I was knee-deep in cleaning my car, fighting off stubborn grease and grime under the hood. Suddenly, I heard that dreaded beeping—the warning light for my sensors flickering on. Heart pounding, I realized I had just made a rookie mistake: rushing through a deep-clean without knowing the right techniques. Ever been there? That light flickers on, and all of a sudden, your simple maintenance task feels like walking a tightrope over a pit of sensors and delicate electronics.
Why Deep-Cleaning Your Engine Bay Can Be Risky—but Totally Worth It
Cleaning your engine bay isn’t just about making your ride look good. It’s about protecting the components that keep your vehicle running smoothly. Yet, the process can be nerve-wracking, especially if you’re worried about damaging sensitive sensors or electrical parts. My early attempts were fraught with fear—scared I’d short-circuit something or that water would cause more harm than good.
Here’s the truth: when done correctly, a thorough cleaning can extend your engine’s life, improve performance, and even help catch small issues before they escalate. Regular maintenance, including keeping your engine bay spotless, contributes to better airflow and heat dissipation, preventing overheating and corrosion. Remember, neglecting these areas can lead to costly repairs down the line.
But, here’s the catch: many folks, including myself at first, fall into traps by using harsh chemicals or improper water techniques, leading to sensor failures or electrical glitches. Early on, I sprayed my engine with a high-pressure nozzle without protecting delicate parts, and I paid the price with a sensor error light that wouldn’t turn off.
Want to avoid that headache? Today, I’ll share my tried-and-true methods to deep-clean your engine bay safely—no sensor damage, no stress—just a clean engine and peace of mind.
Is a Deep-Clean Actually Worth the Risk?
Honestly, I used to think that deep-cleaning was more trouble than it was worth, especially with the potential for sensor mishaps. But I learned that with proper precautions, you can make it work in your favor. The key is knowing what to avoid and what techniques to use.
For example, many people overlook the importance of protecting sensitive electronics, which are often just a splash away from water damage. Starting off with the wrong cleaning products or ignoring instructions can turn a simple job into a costly repair. I remember once using a pressure washer too close to my sensors, and it took me weeks to resolve the error codes.
That experience taught me the significance of research, patience, and using the right tools. Want to ensure your next deep-clean doesn’t turn into a repair nightmare? Stick around, because I’ll be guiding you step-by-step through a safe and effective cleaning process.
If you’re wondering whether tackling this task yourself is feasible, or if you’re better off leaving it to the pros, consider what I learned early on: knowledge and preparation make all the difference. For more insights on maintaining your vehicle properly, visit our page on [why regular oil changes extend your car’s lifespan](https://autofixclinic.com/why-regular-oil-changes-extend-your-cars-lifespan). Now, let’s dive into what you need to do to keep your engine bay spotless without risking damage.
Prepare Your Workspace and Tools
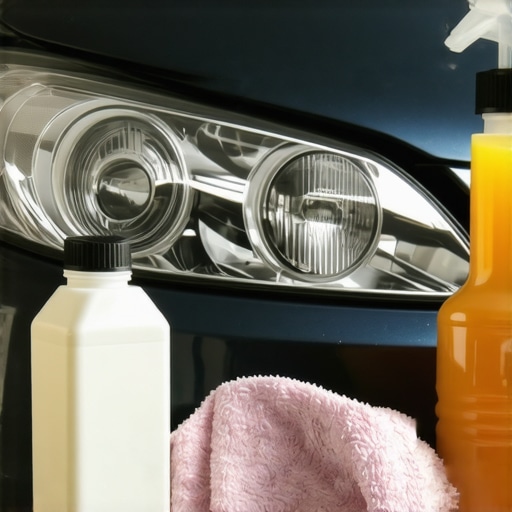
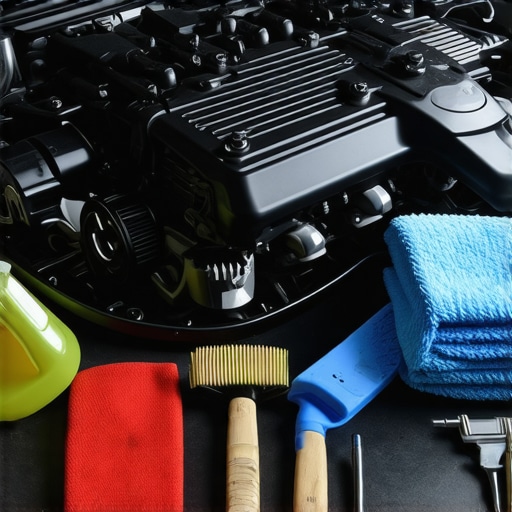
Start by parking your vehicle on a level surface and engaging the parking brake to prevent movement. Gather necessary supplies: plastic bags or waterproof covers, microfiber cloths, a soft-bristled brush, degreaser designed for automotive use, a spray bottle, and a garden hose with a spray nozzle set to gentle flow. Wear gloves and eye protection to shield yourself from chemicals and debris. I once neglected to cover sensitive components and ended up with a sensor error light, which taught me the importance of preparation.
Protect Sensitive Components Effectively
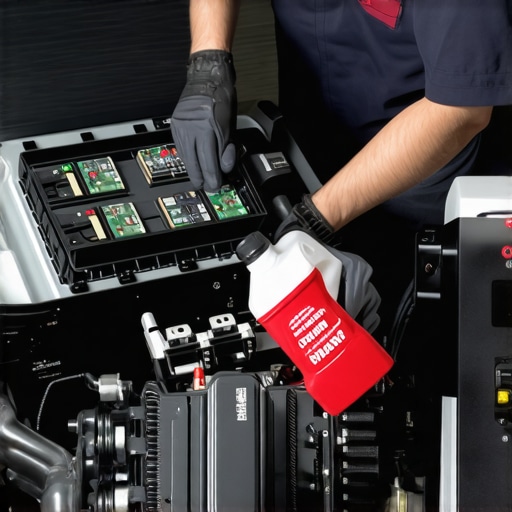
Before applying any liquid, cover critical electronics, air intakes, and exposed filters with waterproof covers or plastic bags secured with rubber bands. Pay extra attention to the alternator, fuse box, and sensors. Using painter’s tape can help secure covers tightly. During my first attempt, I didn’t shield the sensors properly, and water caused a short circuit that sidelined my car for days. Proper protection is crucial to prevent electrical mishaps.
Apply Degreaser and Loosen grime
Spray a degreaser generously onto the engine bay, focusing on greasy areas, hoses, and undercarriage components. Let it sit for 3-5 minutes—this gives it time to break down stubborn dirt—much like letting a soapy solution soak into oil stains on your driveway. I once rushed this step and pressure-washed too early, which only spread the grime further. Patience here ensures better cleaning with less risk.
Use Gentle Water Techniques for Rinsing
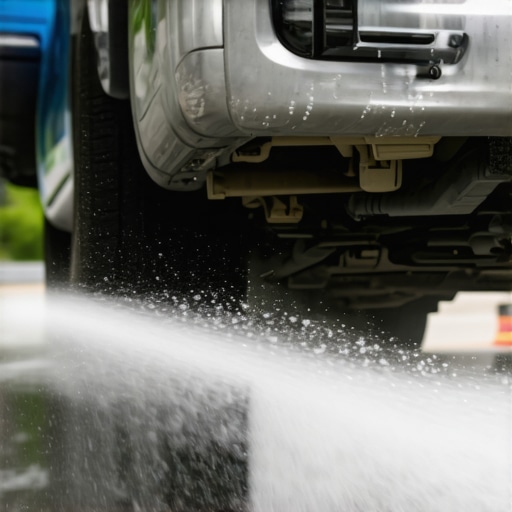
Attach your garden hose to a spray nozzle set to a gentle mist. Rinse from the top down, avoiding direct blast on sensitive parts. Think of it like rinsing your hair to prevent water from irritating your eyes. Keep the spray at a distance of about 12 inches for a gentle yet effective rinse. I initially used high pressure, damaging some hoses and sensors, but switching to gentle rinsing preserved all components and made my engine look spotless.
Dry and Inspect
After rinsing, dry the engine bay promptly using microfiber towels, gently blotting moisture away. For hard-to-reach areas, compressed air can help remove trapped water—be cautious not to blow water into connectors. Once dry, remove protective covers carefully. Then, start the engine and let it run for a few minutes to ensure all water has evaporated. Check sensors and electrical components for moisture; if any appear wet, dry them again. Early on, I missed an area and later faced sensor errors, which was easy to prevent with thorough drying.
Final Tips to Keep Sensors Safe
Regularly inspect your engine bay and reapply protective covers before cleaning. Use high-quality degreasers compatible with automotive electronics. Consult your vehicle’s manual for specific guidance, especially if your vehicle has advanced sensors or electronic aids. With these techniques, I managed to clean my engine bay thoroughly without triggering error lights, and my car ran smoothly afterwards. For more details, visit our page on how regular oil changes extend vehicle lifespan or explore transmission maintenance tips to keep your car performing at its best.Many car owners operate under assumptions about transmission care, car service, oil changes, and certification standards that can lead to costly mistakes. Let’s explore some of the hidden nuances that often go unnoticed. For instance, a widespread myth is that “transmission fluid never needs changing” — but several studies, including insights from ASE-certified technicians, reveal that neglected transmission fluid can cause premature wear and even complete transmission failure. Contrary to popular belief, not all car service centers with ASE certification provide top-tier maintenance; it’s crucial to verify their specialization, as ASE certification covers a broad range of skills, not necessarily expertise in transmission systems or oil technologies. An advanced mistake many make involves assuming that high-mileage oils are interchangeable with synthetic oils; however, expert sources emphasize that synthetic oils maintain better thermal stability and reduce deposit buildup, prolonging transmission life.
Are All ASE Certifications Equal for Transmission Work?
This is a question often overlooked — an ASE certification signifies a mechanic has passed standardized exams, but specialty certifications like ASE’s Transmission Specialist badge indicate a deeper expertise. Relying solely on generic ASE certification might leave you unprotected against atypical transmission issues, especially in modern vehicles with complex electronic systems. Studies from automotive research organizations suggest that choosing an ASE-certified specialist in transmission repair can lead to longer-lasting repairs, lower costs, and better performance. So, it pays to look for technicians with specific credentials: don’t just settle for general ASE certification. Always ask for proof, and don’t hesitate to consult our comprehensive guide on what ASE certification truly entails. Remember, avoiding common pitfalls like neglecting regular transmission fluid changes or misidentifying qualified technicians can save you thousands. Have you ever fallen into this trap? Let me know in the comments.Maintaining your vehicle over the long haul demands more than just routine check-ups; it’s about leveraging the right tools and establishing effective habits. Investing in high-quality diagnostic equipment, such as an OBD-II scanner like the BlueDriver, allows you to monitor your car’s electronic systems in real-time, enabling proactive repairs before minor issues become major failures. I personally rely on professional-grade tools, like the Lisle 65700 Oil Filter Pliers, which make oil changes quicker and safer, reducing strain and ensuring a proper seal. Additionally, software solutions such as AutoEnginuity’s scan tools integrate seamlessly with your vehicle’s onboard systems, providing comprehensive diagnostics for transmission, engine, and brakes, all accessible from your garage bench.
Regular oil changes form the backbone of long-term engine health, but pairing this routine with advanced tools enhances reliability. For example, a quality transmission fluid tester can help you determine the state of your transmission fluid, preventing slips or costly rebuilds. As vehicle electronics grow more complex, having access to manufacturer-specific diagnostic codes can help you and your ASE-certified mechanic pinpoint issues quickly, saving both time and money.
Looking ahead, the future of car maintenance points toward greater integration of AI-driven diagnostics and predictive analytics, which will recommend maintenance schedules tailored specifically to your vehicle’s real-world usage patterns—transcending traditional mileage-based intervals. Imagine receiving alerts not just when a component is due for replacement but as soon as signs of wear are detected through data analysis.
How do I maintain tools and tech improvements over time?
Regularly calibrating your diagnostic devices ensures accuracy, much like tuning your engine after each oil change. Keep software up to date to harness improvements and bug fixes that enhance functionality. Additionally, investing in protective cases or storage for your tools preserves their precision and longevity, preventing dirt or moisture from impairing sensitive electronics. I’ve learned through experience that maintaining your equipment diligently prevents unexpected failures—a lesson reinforced by professional resources like ASE guidelines.
For anyone serious about their vehicle’s longevity, I recommend trying the advanced technique of using an infrared thermometer to monitor engine temperature hotspots. This simple, inexpensive tool gives instant feedback on cooling efficiency, allowing timely intervention before overheating causes damage. It’s a game-changer for both daily drivers and fleet managers, helping to extend component life and improve safety.
To stay ahead in vehicle maintenance, consider adopting tools that integrate data collection with your existing repair routines. Not only will this boost the reliability of your car, but it will also arm you with precise insights—exactly what’s needed to keep your vehicle working smoothly for years to come.
Lessons That Changed My Approach to Transmission and Car Care
- Paying attention to protecting electronic sensors during cleaning prevented costly repairs, reminding me that understanding your vehicle’s intricacies is half the battle.
- Patience with chemical application and rinsing techniques saved me time and money, proving that rushing can undo years of maintenance efforts.
- My early mistakes highlighted the importance of education—knowing which tools and materials are safe for high-tech components transformed my DIY game.
Tools and Resources That Elevate Your Maintenance Routine
- The AutoEnginuity diagnostic scanner is my go-to for comprehensive vehicle health checks, especially for complex systems like transmissions and sensors, making troubleshooting more precise.
- High-quality automotive degreasers and protective covers from trusted brands like Gunk and 3M have consistently kept my engine bay spotless without damage, thanks to their proven formulations.
- Reading the manual for my specific vehicle model and consulting ASE-certified technicians ensured I followed the right precautions—an investment that’s paid off in reliability.
Your Journey to a Cleaner, Safer Engine Starts Now
Don’t let fear hold you back from giving your vehicle the care it deserves. With the right techniques and respect for your car’s electronic systems, deep-cleaning your engine bay can be both rewarding and safe. Remember, each maintenance step you master adds years to your car’s life and confidence behind the wheel. Ready to take the next step in your car care mastery? Dive into that engine bay with knowledge and the right tools—your vehicle will thank you, and you’ll gain a deeper understanding of how your car operates. How has proper engine bay cleaning improved your vehicle’s performance or lifespan? Share your stories below and let’s learn together!