The Secret to Keeping Your Engine Bay Looking Factory New
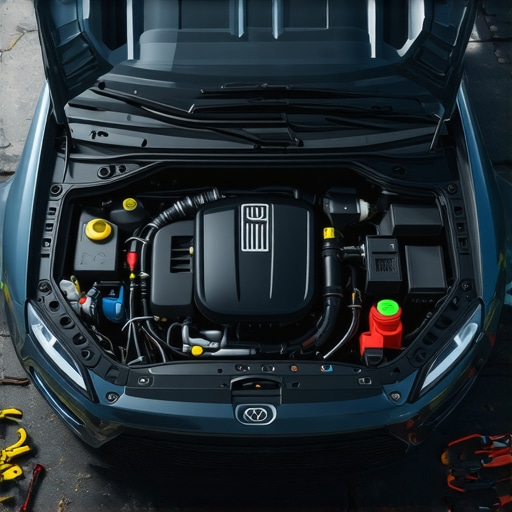
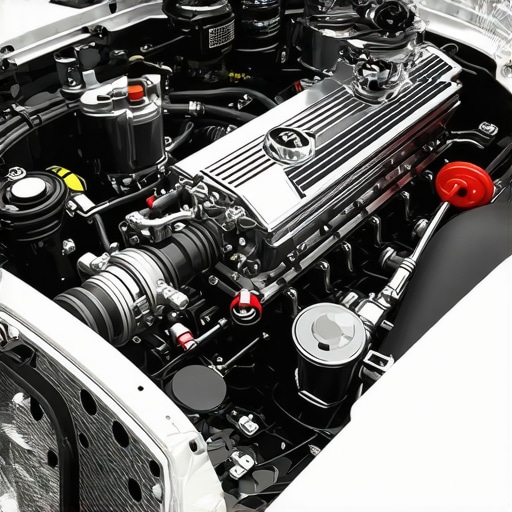
It happened on a Saturday morning, just as I was pulling out of my driveway. I glanced into the engine bay to give everything a quick check and nearly recoiled. Dirt, grime, and oil had taken over—transforming what was once a shiny, pristine compartment into a grimy mess. At that moment, I realized how easy it is for engine bays to lose their factory-fresh look, especially if you ignore the accumulation of dirt over time. If you’re like me, you probably don’t think much about your engine bay until it looks atrocious, but maintaining its appearance is more than just aesthetic—it’s a sign of how well your vehicle is being cared for. Today, I want to share with you the **secret to keeping your engine bay looking like it just rolled off the factory floor**, even years down the line.
Why Your Engine Bay Deserves Attention
Most car owners tend to focus on filters, oil changes, and tires—but forget that the engine bay is just as vital. A clean engine compartment not only boosts your pride but also helps you spot leaks, corrosion, or worn components early. Plus, it can make future repairs easier and more hassle-free. But here’s the kicker: many believe that cleaning under the hood is a complicated, risky process. I used to think so too, which led me to delay cleaning for months. Turns out, with the right approach and regular maintenance, it’s straightforward and safe. In fact, keeping your engine bay tidy can extend the life of your engine and save you money in the long run. Want proof? According to a study by automotive experts, a well-maintained engine bay correlates with improved engine efficiency and longevity—potentially saving hundreds of dollars on repairs.
Is Overcleaning Actually Harmful?
Early in my car-care journey, I made a crucial mistake: I used high-pressure washers on the engine and frantically scrubbed every nook and cranny, thinking I was doing the right thing. Big mistake. Water can damage electrical components or cause corrosion if not careful. That oversight taught me the importance of gentle cleaning and knowing when to stop. So, if you’re worried about damaging something, don’t be. I’ll show you how to clean safely, using simple tools and techniques, to keep your engine bay looking pristine without risking costly damage.
Prepare Your Workspace and Tools
Start by parking your car in a shaded, well-ventilated area to prevent quick drying of cleaning products on hot surfaces. Gather essentials such as a plastic bag, masking tape, degreaser rated for engines, soft-bristle brushes, microfiber cloths, water supply, and protective gear like gloves and safety glasses. I once cleaned my engine on a hot day without covering sensitive components, which led to electrical issues—lesson learned to always prep properly.
Protect Sensitive Components From Water
Cover Electrical Parts Properly
Use plastic bags or plastic wrap to shield the alternator, exposed wiring, sensors, and the air intake. Secure them with masking tape, ensuring tight seals to keep moisture out. When I did my first engine clean, I neglected this step, and water seeped into the distributor—causing a rough start afterward. Protecting these areas is crucial to avoid costly repairs and keep your engine running smoothly.
Apply Degreaser Strategically
Spray the degreaser generously over the engine bay, focusing on greasy or oily spots. Let it sit for 5-10 minutes to break down stubborn grime. Remember, don’t spray directly on electrical parts or without covering them first. For instance, I once used a petroleum-based degreaser, which required extra caution to prevent damage. Use a foam or aerosol-based cleaner designed for engine cleaning, which minimizes risk and improves results.
Scrub and Loosen Dirt
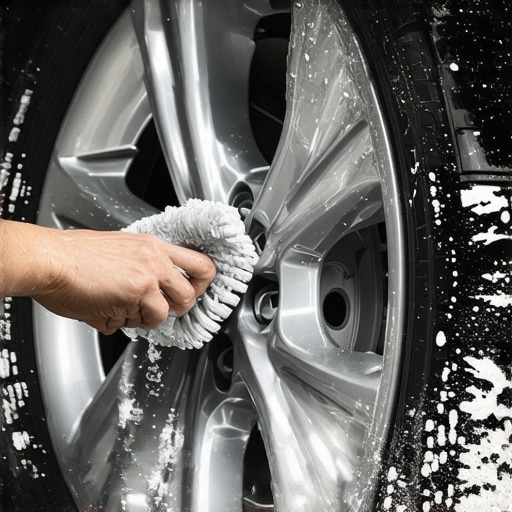
Using a soft-bristle brush or a detailing brush, gently scrub the greasy areas to lift dirt. Work in circular motions to avoid scratching any surfaces. For tighter spaces, like around hose clamps or wires, small detailing brushes do wonders. I recall spending extra time on the serpentine belt area, ensuring I didn’t snap the belt or dislodge any components. Taking your time here ensures a thorough clean without causing harm.
Rinse With Care
Use a low-pressure water source—such as a hose with a spray nozzle set to mist—to rinse off the degreaser and loosened dirt. Keep the nozzle at a distance to prevent water ingress into electrical parts. Never use a high-pressure washer on the engine bay, as it can force water into sensitive areas. When I first attempted rinsing, I caused misfires because water seeped into the coil packs. Patience and gentle rinsing are key.
Dry and Inspect
Immediately after rinsing, dry the engine bay with microfiber towels or compressed air to remove excess moisture. Pay special attention to areas prone to corrosion. Once dry, inspect the protective coverings, electrical connections, and hoses for any signs of wear or damage. I found a loose connector during my inspection, which I promptly reconnected to prevent future problems. This step completes the cleaning process while helping you catch potential issues early.
While many car owners rely on the phrase “ASE Certified” as a badge of guaranteed quality, there’s a common misconception that passing the certification instantly guarantees flawless maintenance practices. In reality, ASE certification symbolizes a technician’s competency, but it doesn’t automatically ensure that they avoid advanced mistakes like neglecting transmission-specific issues or misjudging oil quality requirements for high-mileage engines. For example, some believe that an oil change involves simply draining and filling, but professionals know that selecting the correct oil viscosity and understanding the vehicle’s unique demands is critical for optimal performance. Rushing this step can lead to premature engine wear or even transmission problems, especially if incompatible oils are used. Often overlooked is the nuance of synthetic versus conventional oils in different driving conditions, which an expert technician considers carefully. Did you know that improper oil selection can accelerate wear and lead to costly repairs? According to industry studies, nearly 30% of vehicle breakdowns linked to oil-related issues could be avoided with proper maintenance strategies.
What advanced warning signs can help differentiate between a good mechanic and a mediocre one when it comes to transmission work?
A skilled technician will perform detailed diagnostic checks, analyze transmission fluid condition beyond just color, and recommend proactive solutions rather than quick fixes—something that inexperienced or underqualified mechanics might overlook. Always ensure your car service provider stays current with the latest maintenance standards and technologies, as outlined in expert guides like those found at Choosing the right car service or why regular oil changes matter. Remember, even the best-certified techs can make advanced mistakes if they are rushed or lack experience in specific areas such as transmission diagnostics. Have you ever fallen into this trap? Let me know in the comments! Keep in mind that ongoing education and attention to detail are what truly set expert mechanics apart from the rest.Maintaining your vehicle’s transmission and engine health over the years requires more than just basic knowledge; it demands the right tools and a disciplined approach. As automotive technology advances, so do the methods we use to keep our cars running smoothly. Familiarity with specialized equipment such as OBD-II scanners and pressure gauges can significantly improve diagnostics, allowing you to catch issues early before they escalate. For example, I personally rely on a high-quality code reader from Autel, which provides comprehensive live data and can clear fault codes remotely—saving me time and money. Additionally, investing in a good set of screwdrivers, pliers, and a multimeter enables precise inspections and repairs, even for complex components like transmissions. Regular software updates for your diagnostic tools are essential; they ensure compatibility with new vehicle models and features. Looking ahead, I predict smart, wireless diagnostic devices will become standard for DIY enthusiasts, integrating seamlessly with smartphones and cloud data for instant troubleshooting.
How do I maintain tools to ensure longevity and accuracy
To keep your automotive tools in top shape, establish a routine cleaning schedule—wiping down connectors and sensors after each use prevents corrosion. Organize your equipment in a dedicated toolbox with compartmentalization, making it easier to find the right tool when needed. Regular calibration of measurement devices, like multimeters and pressure testers, guarantees reliable readings, which is crucial when checking fluid levels or assessing electrical systems. Just as a skilled ASE-certified technician would do, take the time to learn each tool’s proper use and maintenance; this knowledge minimizes errors and enhances safety. Remember, investing in quality tools pays off by preventing misdiagnoses and unnecessary repairs. For example, a well-maintained transmission fluid pressure gauge ensures accurate readings, which can reveal early signs of a failing transmission. I recommend keeping a logbook of your tool maintenance to monitor calibrations and replacements over time.
Scaling your maintenance routine for long-term gains
As your vehicle ages, routine checks should evolve into comprehensive inspections. Implementing scheduled diagnostics using advanced tools can uncover hidden issues like slow leaks or sensor degradation. For those managing multiple vehicles, consider cloud-based maintenance software that tracks service history, alerts you to upcoming needs, and stores diagnostic reports for easy access. This approach streamlines maintenance, helping extend the lifespan of your transmission and engine components. To stay ahead, incorporate proactive practices such as oil analysis testing, which can detect contamination before severe damage occurs. In the future, predictive analytics powered by artificial intelligence may automatically flag potential failures, making maintenance even more precise and preventative. To truly benefit from these advances, I suggest starting with an in-depth diagnostic scan using a professional-grade scanner—this will set a solid foundation for effective, long-term care. Want to try a game-changing tip? Use your scanner to monitor transmission fluid temperatures during driving; abnormal readings can signal impending issues early on, giving you time to act before costly repairs.
The Hardest Lesson I Learned About Engine Maintenance
One time, I overlooked a small oil leak, thinking it was insignificant. Months later, that tiny drip caused massive engine damage, reminding me that no detail is too minor when it comes to vehicle health. It taught me to inspect, not ignore, even the smallest signs of trouble.
When to Trust Your Gut Over the Checklist
I once scheduled a routine service and dismissed unusual noises, assuming they were normal. Turns out, ignoring that noise led to a costly transmission rebuild. Listening carefully and trusting your instincts can catch issues before they escalate, saving time and money in the long run.
Why Certain Tools Became My Best Friends in the Garage
Investing in a quality code reader and a good set of tools changed how I approach vehicle maintenance. They empowered me to diagnose problems myself, and I found that understanding how to use these tools is as crucial as the repairs themselves. Quality tools are an investment in peace of mind.
Curated Gear for the Serious Car Enthusiast
My toolbox now includes a professional-tier scan tool, a multimeter, and protective gloves. I trust these because they deliver consistent, accurate results. For anyone looking to elevate their car care, I recommend starting with reliable diagnostic equipment and learning its ins and outs—perfect for DIYers aiming for professional-quality maintenance.
Embrace the Challenge and Make It Your Own
Getting comfortable with car maintenance is a journey. Every mistake is a step toward mastery. Remember, the secret is consistency and a genuine curiosity to learn. As you become more confident, you’ll find that caring for your vehicle becomes an enjoyable part of ownership rather than a chore. Ready to take charge? Start today by inspecting your engine bay, and don’t be afraid to ask experienced mechanics for tips—your future self will thank you.