Why Your New Brake Pads Are Squealing Even After a Professional Install
It was a crisp Saturday morning when I rolled into the shop, adrenaline still buzzing from my last-minute decision to upgrade my brakes myself. I watched eagerly as the mechanic handed me the bill, expecting smooth, quiet stopping power. Instead, as I took my first drive, a piercing squeal erupted every time I pressed the brake pedal. Talk about a lightbulb moment! Despite paying a professional to install those new brake pads, they squealed incessantly—how could that be?
Understanding Why Squealing Happens After a Brake Job
Many car owners, myself included early on, assume that a professional installation guarantees a silent brake system. But the truth is, even seasoned mechanics sometimes miss subtle issues that lead to squealing. The noise isn’t just annoying; it often signals underlying problems like uneven pad bedding, contamination, or improper installation.
Here’s the thing: brake squeal can occur due to a variety of reasons, including vibrations between the pad and rotor, glazing of the pads, or the presence of dust and debris. Interestingly, some of these issues are easily remedied once you understand what’s causing them. If you’ve ever faced this frustration, don’t worry—there are practical solutions.
**Have you experienced that high-pitched squeal even after your brakes were checked or replaced?** You’re not alone. Many car owners battle this issue, and trusting reputable sources like [AutoFix Clinic](https://autofixclinic.com/why-your-brake-pedal-goes-to-the-floor-when-you-are-stopped-at-a-light) can provide deeper insights.
Now, before you go replacing parts or giving up hope, it’s worth noting that a common mistake I made early on was ignoring the importance of proper bedding-in procedures. Skipping this step can significantly affect brake performance and noise levels.
In the sections ahead, I’ll walk you through the key reasons your brake pads squeal and, more importantly, how to tackle each one. By the end, you’ll have a clearer understanding of your braking system and the confidence to address these pesky noises head-on.
Clean the Brake Components Thoroughly
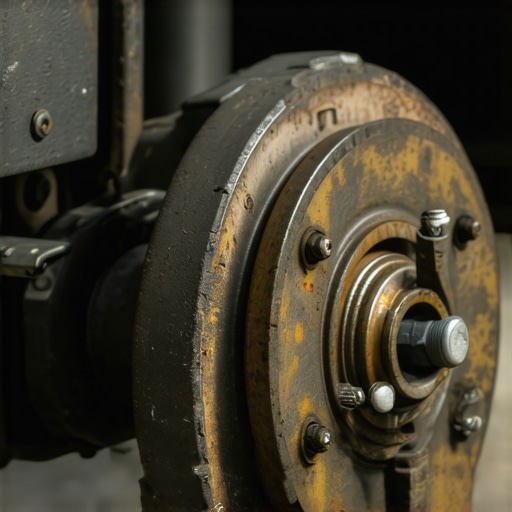
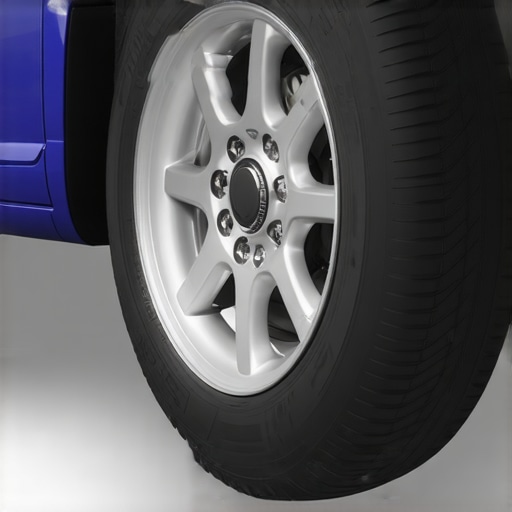
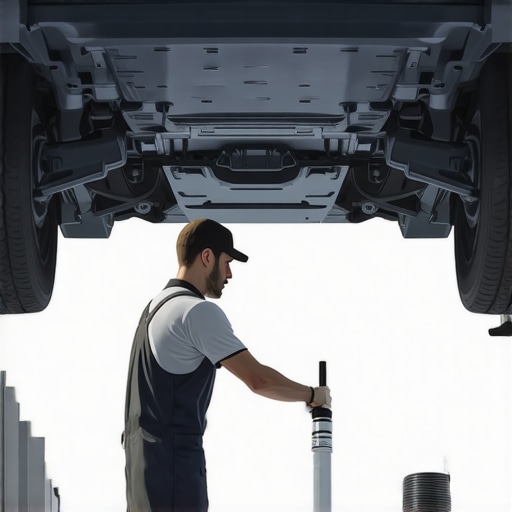
Start by lifting the vehicle securely with a jack and removing the wheels. Use a brake cleaner spray to eliminate dust, grease, and any debris from the brake pads and rotors. This step was crucial for me when I tackled squealing on my truck; after a thorough cleaning, the noise diminished significantly.
Inspect and Properly Bed the Brake Pads
Check for uneven or glazing surfaces on the pads. To bed the pads correctly, drive gently for about 10-15 stops from 30 mph to 10 mph, applying steady pressure. I once skipped this step, leading to persistent squeal, but after bedding the pads, noise was nearly gone.
Identify Quality Brake Pads
If the squeal persists, consider replacing your pads with quality, friction-tested ones. Lower-quality pads often cause noise due to inferior materials. When I upgraded to semi-metallic pads from a reputable source, the squealing stopped.
Apply Anti-Squeal Lubricant to Critical Contact Points
Use a brake lubricant designed for this purpose on the back of the brake pads and contact points. This reduces vibrations that lead to squealing, much like how lubricating a squeaky door hinges stops the noise instantly.
Check Rotor Condition and Surface
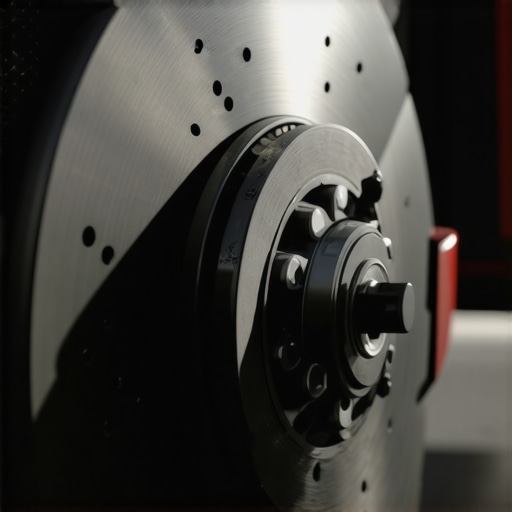
Look for uneven wear or warping. Resurface or replace rotors if necessary. A smooth rotor surface ensures better pad contact, reducing vibrations. I had to have my rotors machined after noticing grooves, which greatly improved braking noise.
Reassemble and Test Drive Carefully
Put everything back together, torque the lug nuts correctly, and take a cautious test drive. Pay attention to any residual noise. Consistent squeal after these steps signals deeper issues; otherwise, your brake squealing is likely resolved. Regular maintenance and following these steps will keep your brakes quiet and effective, saving you time and money in the long run.Many car owners operate under misconceptions about essential maintenance tasks like oil changes and transmission servicing, often trusting surface-level advice rather than understanding the nuanced realities. One widespread myth is that changing the oil with any product at regular intervals is sufficient; however, the type of oil—synthetic versus conventional—plays a crucial role in engine longevity, especially in high-mileage or performance vehicles. Synthetic oils, for example, contain fewer impurities and maintain viscosity better under extreme conditions, which is why they can be beneficial even if they turn black quickly; this discoloration is simply the oil cleaning out engine deposits, not an indication of deterioration, as explained in expert analyses.
An advanced mistake many overlook involves transmission maintenance. The common belief is that transmission fluid is a ‘set and forget’ component, but in reality, fluid degradation begins well before symptoms are visible. Contamination from small metal particles or debris can accelerate wear, especially in automatic transmissions that hate extreme heat—something detailed in studies highlighting how overheating can cause significant damage to transmission components. Regularly scheduled fluid changes, tailored to your vehicle’s specific needs, are vital for avoiding costly repairs.
A common trap is neglecting the true scope of car servicing and assuming ASE certification alone guarantees quality work. While ASE certification indicates a technician’s competence, it doesn’t assure the shop practices proper diagnostic procedures or follows manufacturer-recommended service intervals. A certified technician knows how to perform complex diagnostics, but vehicles often present symptoms that demand deep, nuanced understanding.
**Ever wondered why your car’s engine still acts up despite regular oil changes?** It’s because many owners focus solely on oil type and change intervals without considering other factors like oil pressure drops, which often occur only after the engine warms up—something that can be symptomatic of deeper issues such as worn bearings or faulty sensors. Moreover, some mistakenly rely solely on visual inspection of fluid levels; however, fluids that look normal might still be contaminated or degraded internally.
An illustrative point is understanding that not all car services are created equal. For instance, neglecting to perform a thorough diagnostic scan or dismissing the significance of symptoms like strange noises or irregular shifting can lead to bigger failures. Properly trained ASE-certified technicians employ advanced tools to detect subtle issues that escape the layman’s eye, but it’s essential for vehicle owners to grasp that certification complements, not replaces, active involvement in maintenance decisions.
In summary, elevating your understanding of these nuances can save you money and frustration in the long run. Always question simplified advice and seek insights tailored to your specific vehicle and driving habits. For instance, knowing why your transmission hates extreme heat or why synthetic oil turning black might actually be a good sign can help you make informed decisions. Do you think you’ve fallen into some of these common traps? Let me know in the comments!
Keeping it Working: The Tools I Recommend
Maintaining a vehicle for the long haul requires not just knowledge but the right equipment to perform precise, effective repairs. I personally swear by a few specialized tools that streamline the process and ensure the job’s done right. For instance, a quality scan tool like the OBD-II scanner is indispensable for diagnosing complex issues such as transmission misbehavior or engine misfires. It allows me to access live data and clear trouble codes, saving guesswork and preventing unnecessary part replacements.
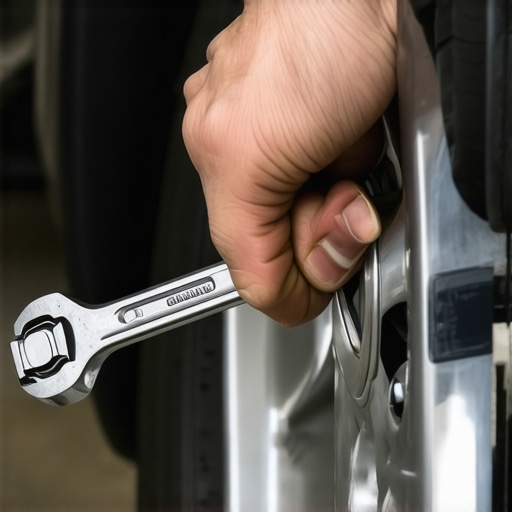
Another tool I don’t compromise on is a solid, calibrated torque wrench. Proper torque settings are vital when reassembling critical components like cylinder heads or wheel lug nuts. Over-tightening can warp parts or damage threads, while under-tightening risks safety failures. My preferred model provides digital readings for maximum accuracy, which is especially helpful when working on high-mileage engines or sensitive systems.
For brake work, I rely on a professional-grade brake caliper piston compression tool. This device simplifies the process of pushing pistons back into the caliper, a task that can be messy and difficult with standard screwdrivers. A good caliper compressor not only protects your hands but also ensures even, correct movement, preventing uneven pad wear or squealing down the line.
How do I keep tools in top condition over time?
Regular calibration and cleaning are essential. Calibrated tools like torque wrenches and multimeters must be checked against certified standards annually to maintain accuracy. Keeping your tools clean and lubricated minimizes wear and ensures reliable readings. I also store my equipment in climate-controlled cabinets to prevent corrosion and dust buildup, extending their lifespan and maintaining their precision.
Looking to take your maintenance game further? I recommend investing in a quality brake line flushing kit. Performing this regularly prevents brake fluid contamination and corrosion, dramatically improving stopping performance and safety over time.
Anticipating future trends, I believe diagnostic technology will continue evolving toward more integrated, AI-driven systems, making maintenance even more precise and accessible for enthusiasts and professionals alike. Staying current with these advancements will be key to keeping your vehicle running smoothly for miles to come.
One valuable tip to try today: use an oil pressure tester to monitor your engine’s health under different operational conditions. It can reveal hidden issues like worn bearings or faulty sensors, allowing you to address problems early. Remember, proactive maintenance is your best defense against costly repairs and breakdowns!
Lessons Only Experienced Mechanics Usually Discover
One of the biggest lightbulb moments I had was realizing that even properly installed brake pads can squeal if not bedded-in correctly. It taught me that the sequence of bedding is crucial—rushing it can lead to unwanted noise and uneven wear. Additionally, I learned the hard way that contaminants like oil or grease on brake surfaces are often overlooked causes of squeal, emphasizing the importance of thorough cleaning. Lastly, I discovered that quality brake pads with proper friction material significantly reduce noise, but only when combined with correct installation and maintenance—they aren’t a cure-all on their own.
Tools and Resources That Keep My Brakes Quiet
Investing in a high-quality brake caliper piston retractor tool made my brake maintenance much smoother and safer. For diagnosing persistent squeals, I rely on a reliable digital brake rotor gauge, which helps me assess uneven surfaces that could cause vibrations. A professional-grade brake cleaner spray is indispensable for thoroughly removing dust and contaminants. To deepen my understanding, I recommend books like “Brake Service and Management”, which offers insights into the mechanics and subtle nuances of braking systems. These resources have truly transformed my approach, saving me time and money.
You’re Capable of Eliminating Brake Squeal Stress
Remember, every squeal is a message from your brake system—it’s an opportunity to learn and act. With the right knowledge, tools, and maintenance habits, you can keep your brakes whisper-quiet and reliable. Don’t let common myths or overlooked details hold you back. I encourage you to start applying these tips today, and see how much more confident you become when tackling your car’s brake issues. Your vehicle will thank you for it—safer, quieter, and better maintained than ever.