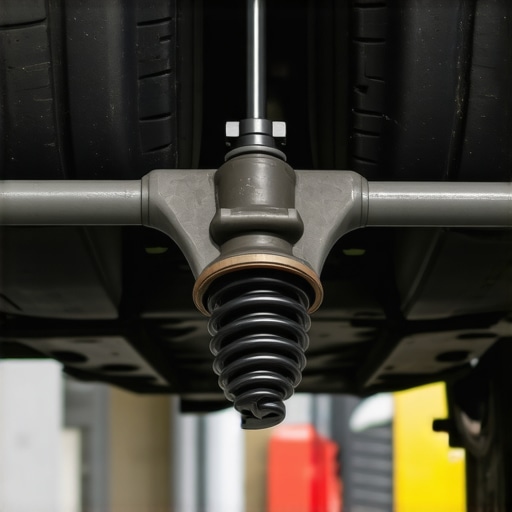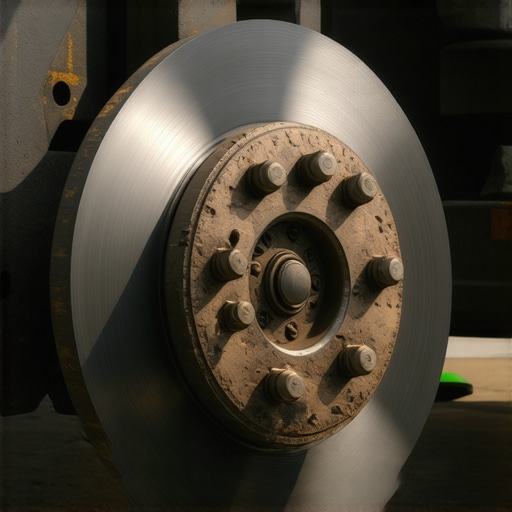
The Real Reason Your Brake Pedals Feel Spongy After a Fluid Flush
I remember the moment like it was yesterday. I had just finished a routine brake fluid flush on my car, following the typical steps I’ve done for years. Yet, as I pressed the brake pedal afterward, it felt like sinking into a sponge. That strange, squishy response was unsettling—and honestly, a little frightening. It was a lightbulb moment that made me realize, sometimes, even the simplest maintenance tasks can reveal hidden issues we never expected.
The Real Reason Behind the Spongy Brake Pedal
Many car owners, myself included, get caught up in the belief that a brake fluid flush is a straightforward process. We assume that if we follow the steps properly, the brake pedal should feel firm and responsive afterward. But I learned the hard way that there’s more to it than just swapping out old fluid. The culprit is often air trapped in the brake lines, which can happen if the bleeding isn’t thorough enough or if the system isn’t properly sealed during the flush. This trapped air compresses under pressure, causing that spongy feeling that’s both annoying and dangerous.
If you’re experiencing similar issues, and your brake pedal just doesn’t feel right after a fluid change, don’t ignore it. It could be a sign that your braking system isn’t operating optimally, putting your safety at risk. My initial mistake was rushing through the process without ensuring all air was eliminated from the lines. Trust me—air in your brake lines is one of the sneakiest and most overlooked problems. It might seem minor, but it can severely compromise braking effectiveness.
Is a Spongy Brake Pedal Actually Worth Worrying About?
I used to think that as long as my brakes stopped the car, everything was fine. But I quickly learned that a pedal that feels soft or spongy is a red flag—a warning that your brake system isn’t functioning as it should. This isn’t just about pedal feel; it’s about your ability to stop reliably in critical moments. Early in my experience, I overlooked these symptoms, thinking they would resolve on their own. That was a mistake. It’s crucial to address brake issues promptly, especially after any maintenance involving brake fluid or lines.
One mistake I made early on was assuming all brake fluids are created equal. In reality, using the wrong type or skipping proper bleeding can lead to air pockets and moisture contamination, both of which diminish braking performance. For a deeper understanding of what can go wrong during brake maintenance, check out [the dangers of leaving a small transmission leak untreated](https://autofixclinic.com/the-danger-of-leaving-a-small-transmission-leak-untreated); similar principles apply to brake systems—small issues can lead to big problems.
What’s Next?
Now that I’ve shared my experience and pinpointed the core issue, I’ll walk you through practical steps to ensure your brake system is properly bled and free of air. Plus, I’ll reveal how to spot the early signs of brake system trouble before they become emergencies. If you’re tired of a soft pedal or wondering why your brakes don’t feel right, stay tuned—these tips will help you regain confidence in your vehicle’s safety and performance.
Gather Your Tools and Prepare Safely
Start by collecting the right tools: a clear plastic tube, a wrench, a brake fluid container, and slightly contaminated rags. Ensure the vehicle is on a flat surface, and engage the parking brake. Wear safety glasses and gloves; brake fluid is corrosive. Remember, safety first—never work under a raised vehicle without proper jack stands.
Locate the Bleeder Valves and Identify the Correct Brake Lines
Find the bleeder screws on each wheel’s brake caliper or drum. Use a service manual or online tutorial specific to your vehicle make and model. Knowing the exact location prevents unnecessary confusion or risk. For example, on most modern vehicles, the rear right wheel’s bleeder valve is accessible from the wheel well, simplifying the process.
Start With the Distant Wheels and Work Closer
Begin bleeding from the wheel farthest from the master cylinder—usually the rear right—then move to rear left, front right, and finally front left. This order ensures air is pushed toward the reservoir, preventing re-entry. I once made the mistake of starting from the closest wheel; it resulted in air pockets lingering, and I had to redo the process. Carefully loosen the bleeder screw, attach the tube, and submerge the other end in brake fluid to monitor bubbles.
Maintain Constant Fluid Level to Avoid Introduction of Air
Periodically check the brake fluid reservoir; maintain the fluid level above the minimum mark. Think of it like filling a swimming pool—if the level drops, air can get in. I once overlooked this and kept pumping, which sucked in air and prolonged the bleeding. Keep an eye on it throughout the process, topping off as needed with the correct brake fluid specified in your owner’s manual.
Use a Gentle Pumping Method and Watch for Bubbles
Have an assistant gently depress the brake pedal about three times, then hold it down. Unscrew the bleeder valve slightly, allowing fluid and bubbles to escape, then close it before releasing the pedal. Repeat this cycle until no more air bubbles appear in the tubing. I once tried to do it alone too quickly; the pedal sank slowly, indicating trapped air. Patience and steady pressure are key.
Address Residual Air and Final Check
Once all wheels are bled, double-check the fluid level and bleed the master cylinder if necessary. Then, test the brake pedal; it should feel firm and responsive. If the pedal still feels soft or spongy, repeat the bleeding process. An unresponsive pedal can be a sign of air pockets or failed components, so don’t hesitate to consult a professional if problems persist.
Verify Braking Performance and Spot Potential Warning Signs
Drive carefully in a safe area to test braking responsiveness. Observe for any unusual noises, pedal softness, or warning lights. Keep in mind that a spongy feeling might also relate to moisture contamination or worn brake components, which merit further inspection. For example, a burnt sugar smell under the hood indicates issues that need immediate attention, not just routine maintenance.
Proper bleeding is essential for vehicle safety, mimicking how a clean engine oil change prevents engine sludge. Regularly check your brake system, and when in doubt, don’t hesitate to visit a qualified ASE technician to ensure your braking system’s reliability.
When it comes to maintaining your vehicle, it’s common to rely on generic advice and assumptions. But as an ASE-certified technician with years of experience, I can tell you that many of the widely accepted beliefs are oversimplified or downright misleading. Let’s explore some nuanced truths that can save you from costly mistakes and help you keep your car running smoothly.
One popular myth is that an oil change every 3,000 miles is necessary for all vehicles. While this rule of thumb originated decades ago, modern synthetic oils and improved engine designs often allow for longer intervals—sometimes up to 7,500 or even 10,000 miles. Relying on outdated standards can lead to unnecessary service expenses or, worse, engine damage if your driving conditions are harsh.
Similarly, many drivers think that all transmission fluids are interchangeable or that “lifetime” fluids eliminate the need for service. The truth is, transmission fluid degrades over time, especially in demanding conditions like stop-and-go city driving or towing. Ignoring scheduled fluid changes can result in *transmission slippage* or *early failure*, which are far more costly than the maintenance itself. For example, neglecting this maintenance contributes to issues discussed in [the risk of untreated small transmission leaks](https://autofixclinic.com/the-danger-of-leaving-a-small-transmission-leak-untreated).
Have you ever considered that a car’s warning lights might hide deeper issues? Many assume that a light like the check engine is just an annoyance, but in reality, it can be signaling early signs of problems that should be addressed promptly, especially if it appears during heavy acceleration or at startup. Regular diagnostic checks can prevent minor issues from escalating.
Advanced service nuances also involve recognizing the importance of proper fluid types. Using the wrong oil or transmission fluid can cause more harm than neglecting the service altogether. For instance, synthetic oils tailored for high-mileage engines contain additives that protect seals and prevent leaks, a subtlety many overlook. This is crucial because improper fluids can accelerate wear or cause computers to read false sensor data, leading to unnecessary repairs.
From a broader perspective, think about how the timing of regular services affects your vehicle’s longevity. Skipping scheduled maintenance or delaying inspections after noticing odd noises—like those detailed in [the weird noises from electric power steering](https://autofixclinic.com/the-secret-behind-those-weird-noises-your-electric-power-steering-makes)—can result in catastrophic failures. Preventive care is not just about ticking boxes; it’s about understanding the subtle signs your car gives and acting before things go south.
In conclusion, mastering these nuanced aspects of car service requires a deeper understanding than what standard advice offers. It’s about knowing when to challenge the status quo—like extending oil change intervals or ignoring warning lights—and being proactive. Remember, your vehicle’s health isn’t just about following a schedule but interpreting its signals with informed insight.
Have you ever fallen into this trap? Let me know in the comments, and share your experiences with overlooked maintenance mistakes that turned costly.
Keep It Running: Essential Tools and Methods for Maintenance
Maintaining your vehicle in top condition requires more than just basic knowledge; it demands the right tools and a systematic approach. As an ASE-certified technician, I rely on specific equipment that ensures efficiency and accuracy in every service. One indispensable tool I use is a high-precision scan tool like the Autel MaxiCom. It allows me to quickly read and clear diagnostic trouble codes, access live sensor data, and perform manufacturer-specific tests. This saves time and helps identify issues early, preventing costly repairs down the line.
Another crucial piece of equipment is a quality hydraulic brake bleeder kit. I prefer the ATE Pro-Blue or comparable models because they provide consistent pressure for bleeding brakes efficiently. Proper bleeding is essential to eliminate air pockets, especially after fluid changes, to prevent a spongy pedal and ensure safety. The benefit of using a professional-grade bleeder is that it minimizes the risk of reintroducing air, which can be a subtle yet dangerous problem—like the one discussed in this insightful article.
For long-term results, I integrate preventive maintenance software like Pure Car Care. It helps track service intervals tailored to specific vehicle models, considering factors like driving conditions and usage patterns. This proactive approach ensures that oil and filter changes, transmission fluid replacements, and other services occur before issues arise, extending the lifespan of critical components.
How do I maintain transmission health over time?
Regularly inspecting and replacing transmission fluid with the correct type, as specified by the manufacturer, is key. Synthetic fluids often resist breakdown better and provide smoother operation. Using a professional-grade fluid pump, like the MotoMix, helps ensure accurate fluid changes without introducing air or contaminants. Additionally, schedule diagnostic checks annually to monitor transmission performance, especially if you notice slipping or rough shifting. This vigilance can save thousands by catching problems early, particularly in today’s vehicles with complex transmission systems.
Looking ahead, the trend points toward higher integration of diagnostic software and remote monitoring tools. These advancements will enable more precise maintenance schedules and real-time alerts, empowering vehicle owners and technicians alike. Investing in quality tools now, such as advanced scan tools and high-grade fluids, prepares your vehicle for the future of automotive care, ensuring it continues to serve reliably for years to come.
Don’t wait for symptoms to worsen—try upgrading your brake bleeding method with a professional-grade kit or utilize a preventive software system. Small investments in proper tools and techniques today can lead to significant savings and safer driving tomorrow.
Lessons from the Garage That No One Tells You
One of the most profound lessons I discovered is that even routine maintenance like an oil change can unveil deeper issues—like hidden engine sludge forming when we ignore simple signs, which can be prevented by knowing what to look for. A moment of oversight, such as neglecting early warning lights, can lead to costly repairs down the line, emphasizing the importance of paying close attention to your vehicle’s cues. I also realized that not all ASE certifications are equal; choosing skilled technicians who understand the nuances of modern engines makes a difference that textbooks can’t teach. Lastly, I learned that patience and proper techniques, especially during brake fluid bleedings, are critical—rushing can trap air in your brake lines, compromising safety and performance.