The proper way to clean salt off your undercarriage
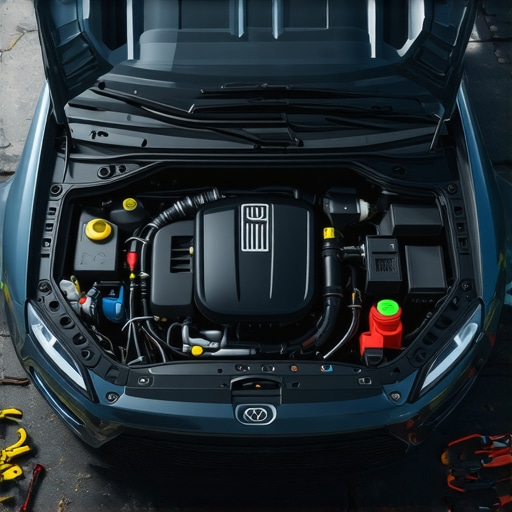
It was one of those cold winter mornings when I finally realized the full extent of salt’s sneaky attack on my car. As I lifted the hood after a quick drive through snowy streets, I spotted that dreaded white residue creeping along the undercarriage—dirt, grime, and corrosion waiting to cause costly damage. I had missed a crucial step in maintaining my vehicle, and it was staring right back at me. That lightbulb moment pushed me to dig deeper, and I want to share what I learned about the proper way to clean salt off your undercarriage.
Why Salt Is a Silent Threat to Your Vehicle
Every winter, salt becomes both a hero and a villain. It keeps our roads safe, but it also sets the stage for corrosion that can go unnoticed until it’s too late. Salt, especially sodium chloride, is highly corrosive—more than just a nuisance, it can eat through metal components, leading to rust, weakened structural integrity, and expensive repairs. Early on, I made the mistake of ignoring those salt stains, assuming they’d wash away with a quick rinse. Turns out, that’s a shortcut that won’t cut it. Regular, proper cleaning is essential to protect your investment.
Did you know that salt can accelerate rust formation by attracting moisture, creating an environment perfect for corrosion? According to automotive experts, neglecting salt removal significantly shortens your vehicle’s lifespan (source: AutoFixClinic). Now that I’ve shared my personal slip-up, I want to teach you how to do it right.
Is a simple wash enough to keep salt at bay?
This was my biggest skepticism. I wondered if all the fuss about undercarriage cleaning was just overkill. I had trusted quick washes at the local car wash, hoping they’d suffice. But I learned that salt can hide in hard-to-reach places, and a simple spray from underneath won’t cut through the grime or remove embedded salt. It takes a dedicated approach, combining specific tools and techniques to genuinely protect your vehicle.
When I first tried just rinsing my undercarriage, I noticed rust spots appearing in areas I rarely inspected. That realization hit home — skipping thorough cleaning could be damaging my car more than the salt itself. So, I started doing my own research and practicing proper cleaning methods, which I will share below.
Gather Your Tools and Prepare for Action
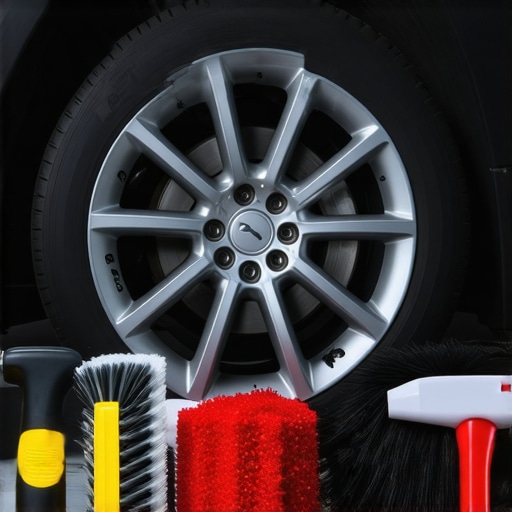
Start by assembling the essential supplies: a high-pressure hose, a vehicle-safe degreaser, wheel brushes, a foam cannon or pump sprayer, and protective gear like gloves and goggles. I learned the hard way when I rushed into cleaning without proper tools — the result was a messy splatter that took hours to clean up, but now I always ensure my setup is ready, making the process smooth and effective.
Position the Vehicle and Use Safety Precautions
Park your car on a level surface, engage the parking brake, and ensure the engine is cool. Use wheel chocks if necessary. It’s crucial to wear protective gear, as salt and grime can spatter during high-pressure rinses. Once prepared, position your hose or pressure washer so that water flows to the underside without causing water to spray onto your engine bay or paintwork.
Loosen Salt with a Degreaser Spray
Apply a vehicle-specific degreaser generously to the undercarriage, focusing on areas with heavy salt buildup. I found that a foam cannon works best, allowing the solution to cling and penetrate. Let it sit for about 5 minutes to break down grime and corrosion inhibitors. This step is vital, as salt crystals can embed themselves into tight crevices, similar to how grease gets into gear links, and need to be loosened before rinsing.
Use High-Pressure Water to Dislodge Salt
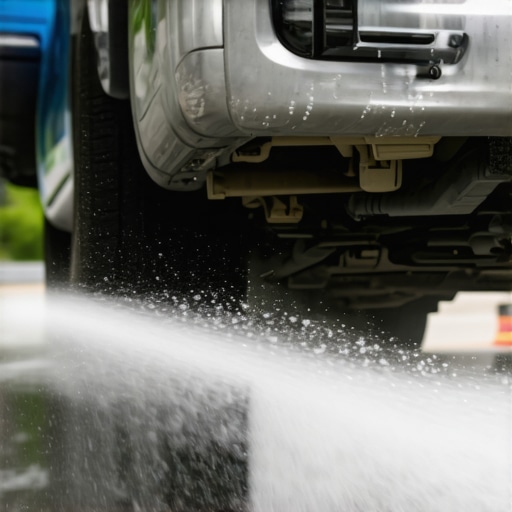
Switch to high-pressure mode and thoroughly spray the entire undercarriage, paying special attention to wheel wells, suspension parts, and frame rails. Think of this as flushing dirt from a wound; the force removes loosened salt and grime without damaging delicate components. Maintain a consistent spray pattern, moving methodically to avoid missing spots. I once overlooked the rear suspension area, which later developed rust — now I ensure every nook and cranny is covered.
Scrub Persistent Areas for Deep Cleaning
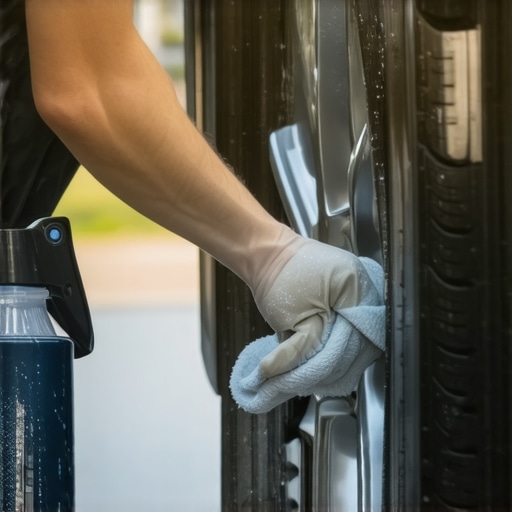
In stubborn spots, use a stiff-bristle brush or a dedicated undercarriage cleaning tool to scrub away any remaining salt deposits. Be gentle around sensitive components like sensors or wiring. This step is akin to cleaning a stubborn stain — a bit of scrubbing makes a significant difference in preventing corrosion. Regular attention during the winter months keeps my vehicle in excellent shape and helps extend its lifespan.
Rinse Completely and Dry Thoroughly
Finish by rinsing the entire undercarriage with water to wash away residual salt and cleaning agents. Use a leaf blower or compressed air to remove excess moisture from hard-to-reach areas, preventing water from sitting and causing rust. I learned that skipping proper drying leads to hidden rust spots, especially in cold, damp weather. Proper drying is the final layer of defense against corrosion.
Inspect and Apply Protective Coating
After cleaning, inspect your undercarriage for signs of damage or rust. To offer ongoing protection, consider applying a corrosion inhibitor or undercoating spray. This extra step creates a barrier against future salt exposure. I always do this after cleaning, especially before the heavy snow season, ensuring my vehicle’s frame remains resilient. Want to ensure your vehicle is ready? Check the [best oil change tips for safe driving](https://autofixclinic.com/top-oil-change-tips-for-safe-driving-in-2025) to keep everything else running smoothly.
Many car owners believe that a straightforward oil change or simple transmission service is all it takes to keep their vehicle running smoothly. But behind the scenes, there are misconceptions that can trip up even seasoned enthusiasts. For instance, a widespread myth is that “If the oil looks clean, it’s still good to go,” which oversimplifies the importance of regular oil analysis, especially for high-mileage or performance engines. Studies show that oil can contain metal shavings and contaminants invisible to the naked eye, indicating accelerated wear that a simple visual check might miss. Regularly reviewing oil analysis reports can reveal underlying issues before they escalate, making it a crucial step for proactive maintenance.
Another common mistake involves transmission fluid maintenance. Many assume that simply topping off fluid levels suffices, but the truth is that transmission fluid can degrade chemically over time, losing its lubricating and cooling properties. A neglected transmission fluid can lead to slipping gears, overheating, and costly replacements. Experts recommend adhering to manufacturer-recommended service intervals and considering fluid flushes, especially for vehicles with high mileage. Relying solely on the transmission’s shifting feel or indicator lights can be misleading, as subtle issues often precede obvious symptoms.
Turning to ASE certifications, some believe they guarantee a technician’s excellence in every aspect of repair. While ASE certification indicates a certain level of competence, it doesn’t necessarily reflect specialization in all vehicle systems. For example, a technician with an ASE A1 certification might be proficient in engine repair but less experienced in complex electrical diagnostics. Properly informed vehicle owners should consider asking about specific certifications or areas of expertise, and seeking shops that emphasize continuous training in advanced diagnostics. Learn more at what ASE certification signifies, to select the right professional for your specific needs.
Missteps also happen in routine car service selections. Many drivers opt for the cheapest or fastest options, not realizing that quality matters more than price. A quick lube might change your oil quickly but skip vital inspections of belts, hoses, or fluid leaks that could cause bigger problems later. Additionally, skipping diagnostic scans during service can overlook engine or transmission codes that flag early signs of trouble. Choosing a reputable service center that follows manufacturer guidelines and invests in proper equipment is key, as highlighted in selecting the right car service.
Much like salt can silently damage your vehicle’s underside, these misconceptions quietly undermine your car’s longevity. To stay ahead of costly repairs, educate yourself about nuanced maintenance practices that go beyond the basics. Remember, proactive checks and understanding the limitations of common beliefs can save you thousands over the vehicle’s lifespan.
Have you ever fallen into this trap? Let me know in the comments.
Essential Tools for Long-Term Car Care
Maintaining your vehicle’s performance over time requires more than just basic know-how; it hinges on having the right equipment readily available. I personally rely on a high-quality digital OBD-II scanner, such as the ASE-certified diagnostic tool, which allows me to quickly identify engine codes and transmission issues before they escalate. Having a reliable set of mechanic-grade socket wrenches and a torque wrench ensures I can perform custom adjustments without risking stripped bolts or improper tension, especially vital for critical components like suspension or transmission mounts.
Investing in a good-quality creeper and proper lighting makes routine undercarriage inspections safer and more efficient. When it comes to specialized fluids like full synthetic transmission oil, I always choose OEM-approved products; for example, using recommended fluids extends component lifespan and maintains optimal shifting. A quality brake caliper piston tool ensures I can service braking systems without damaging delicate pistons, preventing costly future repairs.
How do I maintain transmission health over time?
One of the most overlooked yet crucial aspects of vehicle longevity is transmission maintenance. Regularly checking live transmission fluid temperature and condition with a dedicated scan tool helps prevent silent issues. Many experts now recommend conducting transmission fluid analysis beyond simple visual checks—tools like the automotive test kits enable early detection of wear metals and contamination, ensuring you can address problems proactively.
Looking ahead, the trend is shifting towards more integrated diagnostic systems that stream real-time data to cloud-based platforms, allowing for remote monitoring and predictive maintenance. This evolution will make vehicle care more efficient and cost-effective, saving owners from unexpected breakdowns.
One powerful method I recommend trying is scheduling a proactive transmission fluid flush every 30,000 miles, especially if your vehicle is subjected to frequent stop-and-go driving or heavy loads. This simple action can extend the life of your transmission significantly and keep shifting smooth—facts supported by industry specialists. Take a moment today to assess your current tools and maintenance routines, and consider investing in a quality diagnostic scanner—you’ll thank yourself down the road.
Uncovering Hidden Truths About Maintenance Myths
One of the most eye-opening lessons I learned was that not all car service centers prioritize genuine quality. I once trusted a quick lube shop because of a low price, only to realize later that they skipped essential steps like inspecting transmission fluid thoroughly. This experience taught me to ask detailed questions and look for ASE certifications, which add an extra layer of assurance about a technician’s expertise (learn what ASE certifications mean).
Another misconception I faced was believing that clean oil means a healthy engine—nothing could be further from the truth. Regularly reviewing oil analysis reports has helped me catch early signs of wear, saving my vehicle from costly damage over time (discover how oil changes extend your car’s lifespan).
Lastly, I learned that many overlook the importance of proper transmission maintenance, often waiting for noticeable issues before acting. Proactive fluid flushes and using recommended products have kept my shifting smooth and my transmission healthy (expert tips on transmission care).
Tools That Transformed How I Care for My Car
Investing in a good diagnostic scanner changed everything. With devices like the ASE-certified diagnostic tools, I can identify potential issues early, especially with complex electrical systems that are tough to diagnose without proper equipment. Additionally, high-quality wrenches, torque tools, and a reliable creeper have made my maintenance routine safer and more efficient. For instance, using OEM-approved synthetic transmission fluids, like those discussed in full synthetic cycles, helps me maintain optimal transmission health over long distances.
To stay ahead, I also rely on resources like top oil change tips for 2025, which keep my vehicle in top shape and prevent unexpected breakdowns. Upgrading my toolkit isn’t just a convenience—it’s a commitment to longevity and safety.