How to Safely Remove Bug Guts from Your Hood Without Scratching
It was a muggy summer evening when I pulled into my driveway and noticed the horror—my car’s hood was splattered with a mess of bug guts. I’ve learned the hard way that trying to scrub it off with whatever’s handy only leads to scratches and a scratched-up paint job that’s far more costly to fix. Have you ever faced that frustrating moment, wondering how to clean bugs off your car without damaging the finish? Well, you’re not alone. Many drivers struggle with the same dilemma, and I used to think that simple soap and a sponge would do the trick. Turns out, that’s a common mistake that can cause more harm than good. Today, I’ll share how I finally cracked the code on removing bug guts safely, preserving my paint—and how you can do the same.
Why You Should Care About Bug Guts and Car Care
Don’t Let Bugs Burn Into Your Paint
Many car owners overlook the importance of quick, gentle cleaning when it comes to bug splatter. The acids in bug guts can etch your clear coat if left too long, leading to stubborn stains and potential rust over time. Interestingly, according to automotive experts, the acids in crushed insects are potent enough to damage paint if ignored—so the longer they sit, the more trouble they cause. As someone who has learned from experience, I can tell you that patience and the right techniques make all the difference.
Early on, I made the mistake of using a rough cloth and aggressive scrubbing, thinking I was speeding up the process. But that only resulted in tiny scratches that marred my hood’s glossy shine. Trust me, once you’ve gone through that, you realize how critical proper bug removal methods are to keeping your car looking pristine. This article is designed to walk you through effective, scratch-free ways to tidy up your vehicle’s surface, even if you’re starting with a complete mess.
Feeling fed up with stubborn bug splatter? Don’t worry—once you know the right approach, it becomes a simple part of your regular car maintenance routine. Ready to learn my favorite techniques? Let’s get into it.
Prepare Your Tools and Environment
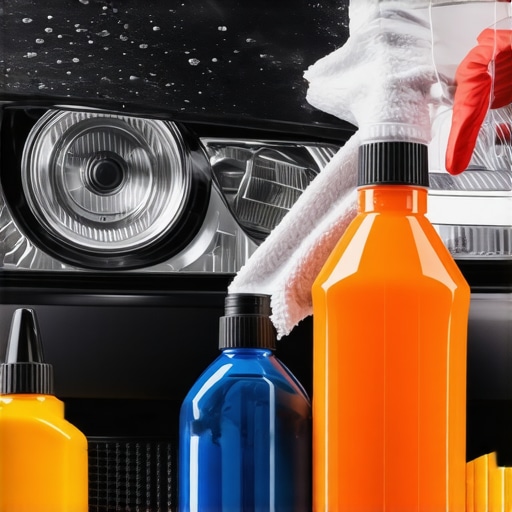
Start by gathering the essentials: a bucket of warm water, a pH-neutral automotive soap, a microfiber mitt, and a soft-bristled brush. Park your car in a shaded area to prevent the soap from drying too quickly and leaving streaks. I recall a time when I attempted cleaning on a blazing afternoon; the quick evaporation left residue, making the process more difficult. Hence, initial preparation is key for a smooth, safe cleaning session.
Pre-Rinse to Loosen Debris
Use a hose to gently rinse the bug splatter and loose dirt off the surface. This step prevents abrasive dirt from scratching the paint during washing. I once skipped this and noticed new scratches forming—lesson learned. Aim for a gentle, even stream to remove big chunks without pushing debris into the clear coat.
Apply the Soapy Solution with Care
Mix the automotive soap into warm water following the manufacturer’s instructions. Dip your microfiber mitt into the suds, then gently wipe the affected area in straight, overlapping strokes. Use light pressure; aggressive scrubbing can damage the clear coat. I remember tackling a stubborn section and realizing that patience and a correct soap formula made all the difference. Avoid letting the soap dry on the paint, as that can lead to residues or streaks.
Use a Soft Brush for Stubborn Bugs
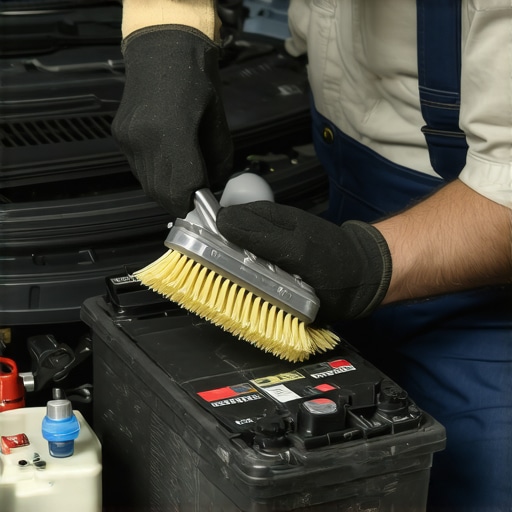
For remaining bug guts, switch to a soft-bristled brush dipped in soapy water. Carefully scrub the area with gentle circular motions. Think of it like cleaning delicate glassware; too much pressure causes scratches. I once used an old toothbrush for a tricky corner, which effectively loosened residual insect residue without harming the finish. Be cautious not to use overly stiff brushes—they can cut into the clear coat and jeopardize your car’s luster.
Rinse Thoroughly and Dry
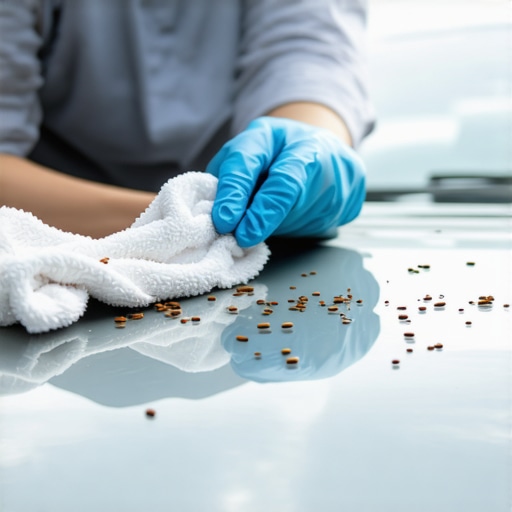
After cleaning, rinse the entire area with a gentle stream of water, ensuring all soap and debris are washed away. Use a microfiber towel to dry the surface, preventing water spots. Skipping proper drying can leave smudges or watermarks that diminish shine. I’ve found that drying with a clean, plush microfiber towel preserves that glossy, new-car look, making the effort worthwhile.
Protect with Wax or Sealant
Once the surface is dry, consider applying a high-quality wax or sealant. This creates a barrier against future bug splatter and environmental contaminants. Regular application not only maintains your vehicle’s shine but also provides an extra layer of defense. I’ve used this technique after every thorough wash, and it significantly extends the time between deep cleanings. Check out https://autofixclinic.com/how-to-properly-decontaminate-your-paint-before-waxing for detailed tips on preparing your paint for sealing.
Many car owners believe that simply going to the nearest quick oil change shop guarantees reliable service, but in reality, not all technicians are equally skilled. Even ASE certification, often considered a gold standard, doesn’t always ensure top-tier work if the mechanic lacks specific expertise. For example, an ASE-certified tech might excel in routine maintenance but overlook complex transmission issues if they haven’t specialized further. This nuance can lead to overlooked problems that escalate, costing more in repairs later.
Is ASE Certification Enough to Guarantee Quality?
While ASE certification signifies a technician’s competence, it isn’t a guarantee against common pitfalls. It’s essential to understand that automotive technology evolves rapidly, and some shops might use the certification as a marketing ploy rather than a reflection of ongoing expertise. A study by the Car Care Council highlights that many vehicle failures stem from neglecting the specific needs of advanced systems like transmissions, which require specialized knowledge beyond basic ASE credentials. Therefore, ask your service provider about their experience with your vehicle’s particular make and model to avoid unnecessary complications. Avoid relying solely on superficial indicators and dig into the shop’s track record with complex repairs. For instance, transmission issues are often misdiagnosed, leading to unnecessary replacements rather than targeted fixes. Learn more about transmission troubleshooting to identify genuine issues.
Naively trusting that a quick oil change will resolve all engine troubles can also backfire. Overfilled or improperly drained oil can cause engine wear, while neglecting to replace transmission fluid at appropriate intervals can lead to slipping gears or overheating. The misconception that all oils are the same ignores the nuances of synthetic versus conventional oils, which has a direct impact on engine longevity. Read why regular oil changes matter to get the full story.
Another common myth is that transmission repairs are always expensive and best avoided. This misconception discourages timely diagnostics, which might have prevented costly overhaul. Regular maintenance, including fluid checks and timely replacements, can extend the lifespan of your transmission considerably. Experts recommend staying ahead of potential failures rather than reacting to symptoms. Check out understanding ASE certification to ensure you choose a technician who can truly manage these critical systems.
Never overlook the importance of nuanced diagnostics; a seemingly minor issue may signal a deeper problem. For example, a slight whine in the transmission could indicate future failure if caught early, but many owners mistake it for normal operation. Investing in expert diagnostics can save money and prevent accidents. And remember, avoiding these pitfalls requires vigilance and informed decision-making. Have you ever fallen into this trap? Let me know in the comments.
Tools I Recommend for Effective Car Maintenance
Over the years, I’ve come to rely on specific tools that make maintaining my vehicle much more manageable and ensure long-term reliability. One standout is the OBD-II scanner. I personally use the BlueDriver Bluetooth Pro, as it seamlessly connects to my smartphone and provides detailed diagnostic trouble codes, helping me identify issues early before they escalate. This tool is invaluable because it saves time and money, especially when trying to determine if a transmission or engine fault needs professional attention.
Another essential is a quality digital tire pressure gauge. I prefer the TireTek digital gauge because of its accuracy and durability. Regularly checking tire pressure with this device prevents uneven wear, which can hasten transmission strain and other drivetrain issues. Proper tire maintenance complements oil changes and transmission care, ensuring smooth operation regardless of vehicle age.
For fluid management, I swear by a vacuum pump. It allows me to extract and replace transmission fluid safely and accurately, especially when a full flush isn’t immediately possible. This method helps extend the life of the transmission, saving thousands on repairs. Using the right tools for delicate tasks like fluid replacement shows just how much proactive maintenance can improve long-term results.
What’s The Future of Car Maintenance Tools?
Advancements in diagnostic technology suggest that in the near future, AI-powered diagnostic systems will become more mainstream, offering real-time analytics directly to car owners. Owning an trusted mechanic remains essential, but these innovations will empower us to catch issues sooner and perform more complex maintenance at home. For instance, tools integrating with vehicle ECU data can now suggest precise repairs or warn about impending transmission failures before symptoms become severe.
How do I maintain transmission health over time?
Consistent transmission maintenance involves not just gentle driving habits but also scheduled diagnostics and fluid checks. I recommend using a high-quality transmission fluid tester routinely to monitor fluid condition. Also, supplement your efforts with professional inspections—especially if your vehicle is ASE certified, but you haven’t had a transmission assessment recently. Remember, routine tune-ups and fluid changes—aligned with manufacturer recommendations—are crucial for avoiding costly overhauls down the line. Regular maintenance combined with the right tools significantly prolongs your car’s lifespan, making each oil change or transmission check a worthwhile investment.
Lessons Car Owners Usually Overlook
One thing I learned the hard way is that rushing through a bug removal without proper technique can unintentionally harm your paint. I once scrubbed aggressively and ended up with tiny scratches that marred my hood’s shine, teaching me the value of patience and correct tools. Another revelation was realizing how crucial regular transmission checks are—ignoring subtle signs like slight whines or shifting quirks can lead to costly repairs. Plus, I found that trusting generic service shops blindly often results in overlooked problems, especially with complex systems like transmissions, where specialized knowledge is key. Lastly, I discovered that investing in the right diagnostic tools and understanding their use empowered me to catch issues early, saving me both time and money in the long run.