The best way to jumpstart a car with a dead battery
It was a chilly morning, and I was already running late. I reached into my driveway, ready to leave for work, only to find my car’s engine stubbornly refusing to start. The dashboard flashed its usual signs of life, but no matter how many times I turned the key, the engine just wouldn’t turn over. That lightbulb moment hit me—my car’s dead battery. Frustration, worry, and a dash of panic set in. Sound familiar?
The Hidden Hassle of Dead Batteries and Why You Should Care
We’ve all been there: you step out to run a quick errand or head to work, only to be met with that dreaded no-start situation. A dead battery can strike at the most inconvenient moments, leaving you stranded or, worse, late for an important appointment. But here’s the thing—understanding the best way to jumpstart your car isn’t just about smacking the hood and hoping for the best. It’s about doing it safely, efficiently, and without risking further damage.
This post is dedicated to sharing my tried-and-true methods for jumpstarting a dead battery, based on personal experience and a bit of professional insight. Whether you’re a seasoned car owner or new to the driving game, I promise you’ll walk away with practical knowledge to handle this common hiccup confidently.
Is Using the Wrong Method Really Dangerous?
Early on, I made the mistake of connecting jumper cables backwards—an easy slip that could have ended badly. That slip-up reminded me how critical it is to know the correct procedure. Taking shortcuts or rushing through the process can cause sparks, electrical damage, or even harm to yourself. Fortunately, by following the proper steps, I’ve been able to jumpstart my car safely and get back on the road. Did you know that improperly jumpstarting a vehicle can also cause damage to your car’s alternator or battery itself? A reliable source like ASE certification standards emphasize the importance of correct procedures for vehicle safety and longevity.
So, today, we’re going to cover exactly how to do it right—step by step—so you can avoid common pitfalls and keep your vehicle healthy. Before we dive into the practical tips, ask yourself—have you ever faced that awkward moment when your car refuses to start, and you weren’t sure what to do? If yes, keep reading. This knowledge could save your day!
Now, let’s get into the nitty-gritty of jumpstarting your car the smart way.
Gather Your Tools and Prepare the Vehicle
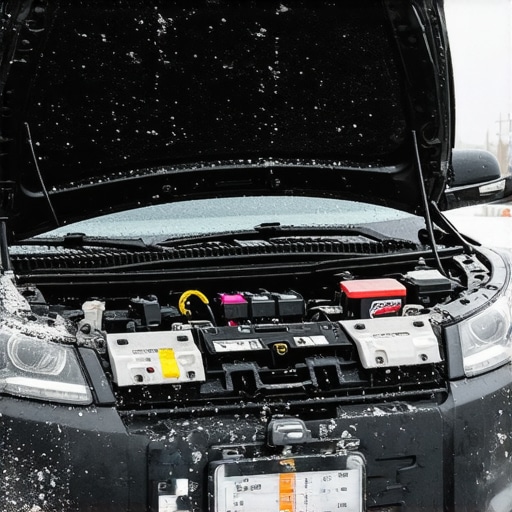
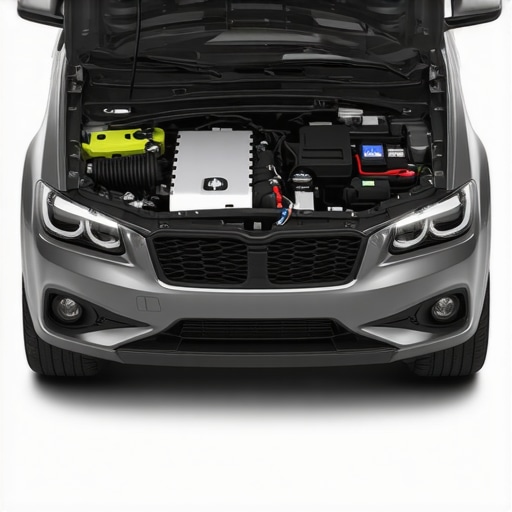
First, ensure both cars are turned off, and park them close enough so the jumper cables can easily reach both batteries—about 18 inches apart. Put the vehicles in park, engage the parking brakes, and open the hoods. Retrace my experience: I once hurriedly connected cables without checking the battery terminals, leading to sparks and a quick scare. Always verify the battery’s positive (+) and negative (–) terminals are clean and accessible. Clean corrosion using a wire brush if necessary to ensure proper contact.
Connect the Jumper Cables Correctly
Attach to the Dead Battery First
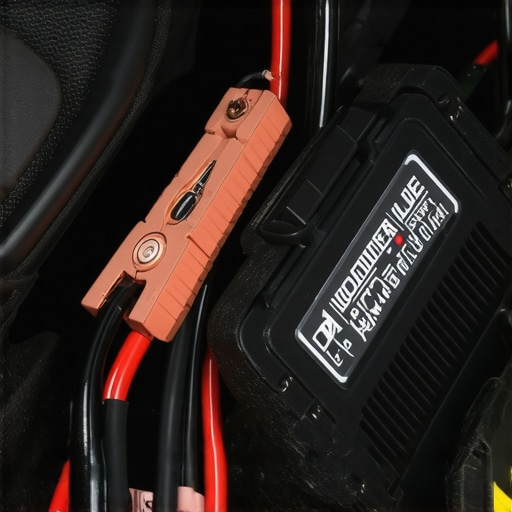
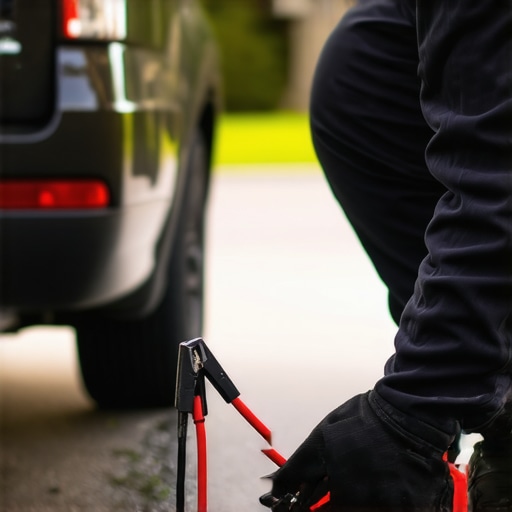
Start by connecting the red (positive) clamp to the positive terminal of the dead battery. Then connect the other red clamp to the positive terminal of the good battery. During my first attempt, I accidentally reversed the clamps, causing a brief arc; now, I double-check the clamps and terminals for proper placement. This order reduces the risk of sparks and electrical shorts.
Connect the Ground Last
Attach the black (negative) clamp to the negative terminal of the good battery, then secure the remaining black clamp to an unpainted metal surface on the dead car’s engine block or chassis—away from the battery. This grounding step is crucial; I learned the hard way that connecting directly to the negative terminal on the dead battery can cause sparks or damage, especially if volatile gases are present.
Start the Engines Carefully
Start the working vehicle and let it run for a few minutes—about 3 to 5 minutes—to transfer charge. Then attempt to start the dead vehicle. If it doesn’t start immediately, wait another minute or so and try again. Once it fires up, let both engines run for at least 15 minutes to allow the battery to recharge. During my last attempt, I kept a steady eye on the ammeter; if readings spike or drop erratically, it indicates a deeper issue like a failing alternator, which may need professional attention.
Disconnect the Cables in Proper Order
Remove the black clamp from the grounded surface first, then the black clamp from the good battery. Next, disconnect the red clamps—first from the good battery, then from the dead battery. This sequence minimizes the risk of sparks or electrical surges. Remember, improper disconnection can cause damage; I once neglected this step and experienced a small spark that made me realize the importance of careful procedures.
Test and Verify the Battery and Charging System
After jumpstarting, it’s wise to have your vehicle inspected—especially if the battery was dead, or if you notice issues like slow cranking or flickering lights. An ASE-certified technician can perform a comprehensive test, similar to routine oil changes or transmission checks, ensuring your system is healthy and reliable. Regular diagnostics can prevent the recurrence of dead batteries and extend your vehicle’s lifespan. For example, I scheduled a quick battery test after my first jump, which revealed my alternator was nearly failing—saving me from a roadside breakdown later on. To keep your vehicle in top shape, consider reading about why regular oil changes matter.
Many car owners assume that simply knowing about ASE certification or sticking to basic oil change routines guarantees vehicle longevity and optimal performance. However, the reality is far more nuanced. A common myth is that ASE certification alone ensures a mechanic’s competence in every aspect of vehicle repair—this isn’t always true. While ASE-certified technicians have proven their expertise through rigorous testing, their specialization can vary. For instance, an ASE master technician might excel in electrical systems but not be the best choice for high-end transmission repairs. It’s essential to look beyond the badge and evaluate the technician’s specific experience relative to your car’s needs. Moreover, many users underestimate the importance of regular, specialized diagnostics—such as transmission performance checks—beyond routine maintenance. Skipping these can lead to costly repairs down the line, especially since transmission issues often develop silently until severe symptoms emerge. Did you know that a routine oil change, if not performed correctly or with the right type of oil, can subtly contribute to engine wear over time? For example, using conventional oil in a high-performance engine designed for synthetic can accelerate wear and reduce efficiency, despite sincere adherence to scheduled oil change intervals. Always consult your vehicle’s manufacturer recommendations and consider professional insights related to your specific model, rather than relying solely on generic advice. An often-overlooked aspect is the “oops factor”: neglecting small warning signs or delaying preventive services like coolant flushes or brake inspections can compound problems, leading to higher costs or safety risks. For those who want to dive deeper into expert insights, reputable sources like this article explore the real value and limitations of ASE certification. Also, remember that not all car services are created equal—choosing the right shop is crucial. Proper diagnostics, tailored maintenance schedules, and qualified technicians combine to keep your vehicle reliable for years. So next time someone claims they’ve got “the best ASE mechanic,” ask about their specialties and experience with your vehicle’s unique systems. Have you ever fallen into this trap of overestimating a mechanic’s divine expertise? Let me know in the comments. For ongoing tips on keeping your vehicle in top shape, feel free to visit our contact page.
Equip Yourself with Proven Maintenance Tools
Maintaining your vehicle over time requires more than just basic knowledge; it demands reliable, precise tools. I personally swear by a high-quality digital multimeter, like the Fluke 115, for troubleshooting electrical issues and verifying battery health, which is crucial after a jumpstart or oil change. For diagnostics, an OBD-II scanner such as the BlueDriver Bluetooth Pro provides comprehensive vehicle parameter readings, helping me spot issues early before they escalate. When it comes to fluid checks, I rely on a refractometer to assess oil quality, ensuring that I catch signs of contamination or degradation before it harms the engine. Investing in these tools has enabled me to perform many maintenance tasks myself, saving time and money while extending the lifespan of my vehicle.
The Power of Software and System Monitoring
Advanced diagnostic software integrated with Bluetooth adapters has become indispensable. For example, apps like Torque Pro or Car Scanner enable real-time monitoring of critical engine parameters directly on my smartphone. This immediate data helps me track the effectiveness of oil changes or transmission fluid replacements, providing insights that typically require a mechanic’s expertise. Additionally, subscribing to firmware updates from manufacturers ensures my diagnostic tools stay current with the latest vehicle models, which is vital as vehicle technology evolves rapidly.
Developing a Maintenance Routine That Lasts
Consistency is key. I schedule regular visual inspections to catch early signs of wear, such as cracked hoses or leaking seals—like the serpentine belt, which, if overlooked, can cause engine overheating. I also keep a detailed maintenance log, tracking dates of oil changes, transmission flushes, and ASE-certified checks, which helps me identify patterns and plan proactive care. According to automotive expert this resource, a disciplined approach to routine servicing profoundly reduces costly repairs, especially for complex systems like transmissions.
How do I maintain long-term results with my tools and techniques?
Long-term vehicle health hinges on regular testing, timely fluid replacements, and ongoing system diagnostics. For transmission upkeep, I adhere to the service intervals recommended by my vehicle’s manufacturer, often aided by transmission-specific tools like a dedicated pressure tester to verify proper operation. Routine oil analysis, facilitated by inexpensive test kits, can detect metal particles indicating internal wear, enabling me to address problems early. As vehicle systems become more sophisticated, staying informed about modern diagnostic practices and using the right tools ensures my car remains reliable and efficient.
Future Trends in Car Maintenance
Looking ahead, I believe that integration of AI-powered diagnostic systems will make proactive maintenance even more accessible. These systems will predict component failures before symptoms appear, guiding car owners to perform targeted repairs. Embracing linked diagnostics and remote monitoring will transform how we care for our vehicles, emphasizing preventative maintenance over reactive fixes. Until then, investing in quality tools and adhering to best practices remains the most effective approach to “keeping it working.”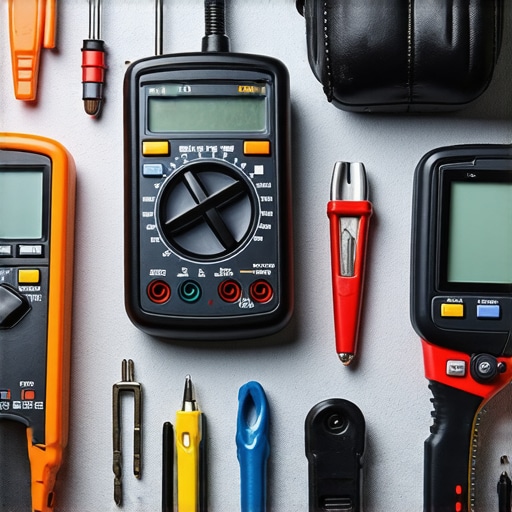
**Image Prompt:** A professional mechanic’s toolkit including a multimeter, OBD-II scanner, and oil refractometer laid out on a workbench. Alt text: “Comprehensive vehicle maintenance tools for long-term care”. Title: “Essential Tools for Car Maintenance”
Uncovering the Costly Myths That Sold Me Short
One of the hardest lessons I learned was believing that an ASE certification guaranteed flawless repairs every time. It turns out, even certified technicians have specialties, and blindly trusting the badge can lead to overlooked issues, especially with transmission problems. I also used to think that regular oil changes alone could sustain my vehicle’s health indefinitely; however, I now realize that neglecting targeted diagnostics and system-specific checks can cause silent, costly failures over time. Lastly, I once believed that every car service provider was equally equipped—until I discovered how choosing the right shop, with specialized tools and experience, makes all the difference in ensuring your transmission and engine perform optimally. These insights transformed my approach from reactive repairs to proactive maintenance, saving me money and preventing breakdowns.
Tools and Resources That Make a Difference
My essential toolkit includes a high-quality digital multimeter, like the Fluke 115, which allows me to troubleshoot electrical issues and verify battery health post-jumpstart or oil change. An OBD-II scanner such as the BlueDriver Bluetooth Pro provides comprehensive diagnostics, helping me catch potential problems early. I also rely on a refractometer for precise oil quality assessment, ensuring my engine fluids are in top shape. For learning, I trust resources like this article that clarify what ASE certification really implies, so I can make informed decisions in choosing professionals. Investing in these tools and knowledge sources has empowered me to maintain my vehicle effectively and confidently.
Your Next Move Toward Greater Confidence
Taking charge of your car’s health with proven maintenance techniques and the right tools isn’t just practical—it’s empowering. Embrace the lessons learned from personal experience and expert insights, and you’ll find yourself less reliant on guesswork and more in control of your vehicle’s longevity. Remember, the key is consistency and informed choices. Whether it’s performing regular diagnostics or selecting the best service providers, every effort adds up toward a more reliable and enjoyable driving experience. So, why not start today? Your car—and your wallet—will thank you.