The best way to wash your car in direct sunlight without spotting
I’ll never forget the day I tried to wash my car under the blazing afternoon sun, only to end up with streaks and water spots that looked worse than before I started. It was a frustrating moment—like pouring effort into a task only to watch it backfire. That lightbulb moment made me realize: washing your car in direct sunlight is more of a challenge than many realize, but with the right approach, it’s entirely doable. Today, I promise to share proven tips from my own experience that will help you achieve a spotless finish even when the sun is high.
Why Morning or Evening Is Not the Only Time to Wash Your Car
Many car enthusiasts believe you should only wash your vehicle early in the morning or late in the evening when the sun’s rays are gentle. However, life doesn’t always coordinate with perfect timing. Sometimes, you’re caught in a rush, or weather conditions mean you have no choice but to wash in bright sunlight. Interestingly, washing in direct sunlight isn’t impossible—it just requires a different technique. I’ve learned that it’s all about controlling the water and soap’s behavior on your paint before it has a chance to dry. This is a game-changer, especially if you’re trying to keep your car shiny without spots.
Is It Worth the Hassle? Yes, If You Know How
You might be skeptical—believe me, I was too at first. Initially, I thought, “Why bother?” and avoided washing my car during peak sunlight altogether. But I discovered that I was making costly mistakes early on, like rinsing too quickly or using soap that glied onto the paint, which caused those dreaded water spots. Did you know that using the right type of soap and applying proper technique can make a huge difference? According to some experts, selecting a high-quality, lubricating car wash soap and rinsing thoroughly with plenty of water can prevent spots, even in the sun. For more insights on car maintenance, I recommend checking out [this article on the importance of regular oil changes](https://autofixclinic.com/why-regular-oil-changes-extend-your-cars-lifespan).
But, if you’re still wary about washing in direct sunlight, don’t worry—I’m here to guide you through practical steps to beat the spotty blues. Up next, I’ll walk you through my tried-and-true method that’s saved me countless hours and headaches. Ready to get your car looking immaculate, no matter the time of day? Let’s dive into the techniques that work.
Prepare Your Workspace and Gather Supplies
Start by parking your vehicle in a shaded spot to minimize immediate drying. Gather high-quality, pH-balanced car wash soap, microfiber drying towels, a bucket, a hose with a spray nozzle, and a foam gun if available. I once hurriedly washed my car under direct sun, leading to streaks; taking a few minutes to prep saved me headaches later.
Soak and Wet the Entire Car
Begin by rinsing the vehicle thoroughly with water to loosen dirt. Use a gentle spray pattern to cover every surface, mimicking how an ASE certified technician would methodically prepare a vehicle for service. Think of this as warming up the engine before a tune-up—essential for smooth results. This step prevents scratching during cleaning and ensures soap adheres properly.
Use a Two-Bucket Method
Fill one bucket with clean water and soap, the other with plain water for rinsing your sponge. This technique reduces transferred dirt, preventing scratches akin to how a transmission flush removes debris that could cause gear hesitation. A dirty sponge equals scratches; clean water preserves your vehicle’s finish. I learned this the hard way after marring a once-glossy roof—using separate buckets kept my paint pristine afterward.
Wash from Top to Bottom
Start washing the roof, then proceed to the windows, doors, and lower panels. Use gentle, overlapping strokes, ensuring soap is evenly distributed. This approach helps avoid leaving streaks, much like how proper transmission fluid levels prevent shuddering. Remember, the lower parts tend to be dirtiest, so avoid cross-contamination by rinsing your sponge frequently.
Spot Clean Tough Areas
Use a dedicated detailing brush for stubborn spots like grille openings or around badges. Apply additional soap to lift grime without harsh scrubbing, which could damage sensitive coatings—similar to using the right ASE-approved tools for brake servicing. Patience here reduces the risk of causing damage that might lead to costly repairs.
Rinse Thoroughly and Dry Properly
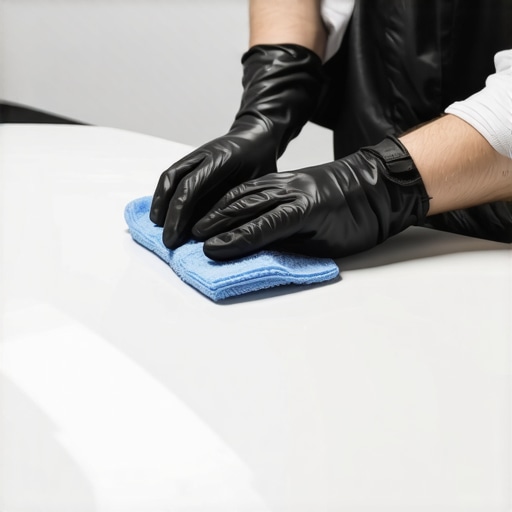
After washing, rinse the entire car meticulously with clean water, removing all soap residues. Use a spray nozzle with a wide fan pattern for even coverage, ensuring no soap film remains—just like how a transmission service technician ensures all fluid is drained to prevent contamination. Then, dry with microfiber towels, blotting gently rather than dragging, to avoid swirl marks. This careful drying preserves your clear coat and enhances shine.
Apply a Protective Wax or Sealant
Once dry, consider applying a quality wax or sealant to add a protective barrier against contaminants. This step is akin to applying synthetic oil for optimal engine performance—an extra layer that extends your car’s lifespan. Regular application maintains your vehicle’s appearance and can be completed in under an hour with proper tools, making it an investment in long-term care.
Many car enthusiasts and everyday drivers alike often accept superficial truths about vehicle maintenance, especially when it comes to oil changes and regular servicing. But let’s dig deeper into some common myths and advanced mistakes that can cost you in the long run. For instance, the widespread belief that simply changing your oil every 3,000 miles is sufficient has been challenged by recent studies. Modern synthetic oils and advancements in engine technology now allow for longer intervals, often up to 7,500 or even 10,000 miles, if your driving habits are standard. You can learn more about optimized oil change intervals through expert guidance at [top oil change tips](https://autofixclinic.com/top-oil-change-tips-for-safe-driving-in-2025).
Keeping Your Car Running Smoothly with the Right Tools
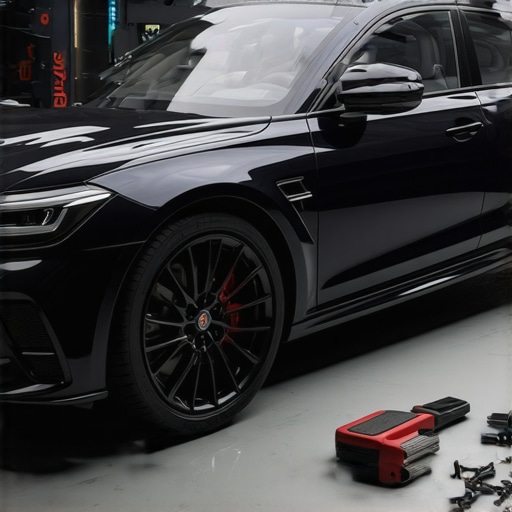
Investing in quality tools is paramount for effective vehicle maintenance. I personally rely on a digital inspection mirror for hard-to-see areas beneath the engine bay; it helps me identify leaks or worn-out hoses without jacking up the car. A high-precision digital torque wrench is another essential—it ensures bolts are tightened to manufacturer specifications, preventing over or under-tightening that can lead to future issues. For transmission maintenance, a professional-grade scanner like the INPA or Autel Maxisys allows me to monitor real-time data, diagnose errors, and clear fault codes seamlessly. When it comes to oil changes, a calibrated funnel with a built-in filter simplifies the process, especially in tight engine bays, reducing mess and ensuring precise oil levels.
The Power of Diagnostic Software
Modern vehicles are equipped with complex electronic systems. To keep them in top shape, I recommend software solutions like OBDLink with a Bluetooth adapter combined with a smartphone app such as Torque Pro. This setup enables real-time monitoring, diagnostic testing, and long-term data logging, making preventive maintenance more accurate and less reactive. Regularly reviewing sensor data can preempt transmission troubles or engine misfires, saving you money and time. As technology trends continue, we’re moving towards integrated vehicle health dashboards, making proactive care more accessible—think of it as having a diagnostic technician in your pocket.
Tools for Long-Term Success
One tool I can’t recommend enough is a quality engine bay cleaning mat. It protects vital components during cleaning, ensuring longevity. Also, a portable ultrasonic cleaner serves well for cleaning parts like injectors or sensors, which require meticulous care. For preventative measures, using a dielectric grease on battery terminals and connectors ensures reliable electrical contact over years of service. Keep a set of high-quality microfiber towels on hand; they are gentle yet effective for drying and buffing, preventing swirl marks and maintaining that glossy finish.
The Future of Vehicle Maintenance
Looking ahead, integration of AI-driven diagnostic platforms will revolutionize maintenance routines by predicting component failure before symptoms appear. Electric vehicles will demand new tools tailored for high-voltage systems, whereas traditional tools will evolve to accommodate hybrid engines. For enthusiasts, keeping current with the latest tech is crucial, especially since certification plays a vital role. As mentioned in this article on ASE certification, certified technicians possess the skills necessary to utilize advanced diagnostic tools effectively.
How do I maintain my transmission over time?
Regular transmission fluid changes, using high-quality synthetic oils as recommended in this guide, combined with checks for fluid levels and listening for unusual noises, are key. Utilizing a transmission pan gasket with integrated magnets helps catch metallic debris early, preventing costly repairs. For additional peace of mind, consider a transmission flush every 30,000 to 60,000 miles—consult your vehicle’s manual or a certified ASE technician for the specific interval. These proactive steps ensure long-term reliability and smooth shifting, especially important as vehicles age or if you’re planning to scale your fleet.
Make sure to try out a professional-quality torque wrench or diagnostic scanner; these tools have transformed my approach to preventative care. For expert advice tailored to your vehicle, don’t hesitate to reach out.
What I Wish I’d Known About Car Care in Reckless Sunshine
One of the toughest lessons I learned was the importance of thorough rinsing before washing in bright sun, as skipping this step led to stubborn water spots I couldn’t wipe away. I also discovered that even with top-tier soap, rushing through my wash caused swirl marks—a costly mistake I only fixed after seeking advice from certified technicians. My biggest lightbulb moment? Recognizing that good tools, like microfiber towels and proper nozzles, are worth investing in, transforming my routine from frustrating to effective. Lastly, I realized that applying a protective sealant immediately after drying locking in shine became my go-to step for long-term brilliance and spot resistance.