The Best Way to Clean Your Wheels Without Scratching the Finish
It was late Sunday afternoon when I finally decided to give my beloved car a wash. As I reached for the brushes, I remembered the last time I scrubbed too hard on my wheels—scratches that lingered like unwanted souvenirs. That lightbulb moment hit me hard: I needed a better way. Have you ever faced the frustration of perfecting your car’s shine only to end up with unsightly scratches on the finish? We’ve all been there, but what if I told you that there’s an effective solution that keeps your wheels gleaming without the damage?
Why Scratches Happen and How to Stop Them
Every car owner wants that flawless look, especially on those shiny wheel rims that catch everyone’s eye. But the truth is, many of us unknowingly make mistakes that lead to scratches—using harsh brushes, dirty rags, or aggressive cleaning products. Early in my car-care journey, I made the mistake of using a generic wheel cleaner with an abrasive pad, thinking I was doing right. That only worsened the problem and made me realize how crucial proper techniques are. According to automotive expert findings, improper cleaning methods are among the top causes of wheel finish damage.
If you’re tired of battling scratches after every wash, stay tuned. We’re going to explore proven methods that I’ve personally tested and refined, ensuring your wheels stay spotless and scratch-free. Whether you’re a seasoned car enthusiast or a casual driver, these tips will bring a noticeable difference. And if you’ve faced this problem before, I genuinely want to know—share your experiences in the comments!
Now, let’s dive into how you can turn your wheel cleaning routine into a scratch-proof process that preserves your car’s gorgeous finish.
Choose the Right Tools to Start
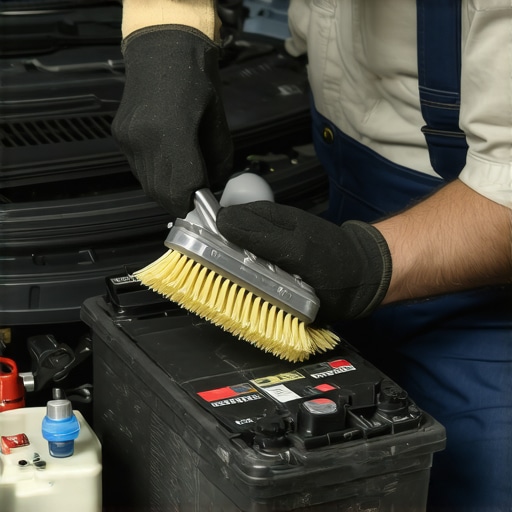
Using the proper tools sets the foundation for scratch-free wheels. Opt for a soft-bristled wheel brush or a microfiber wash mitt, which gently cleans without scratching. I once grabbed a stiff-bristled brush during a rush, damaging my chrome wheel surface and ending with more scratches. That taught me the importance of selecting tools designed specifically for delicate finishes. An ASE-certified technician recommends tools that distribute pressure evenly and prevent abrasive contact.
Pre-Rinse Your Wheels Thoroughly
Always start with a thorough rinse to remove loose dirt, brake dust, and grime. Think of it like washing off mud before painting; applying cleaner on dry, gritty surfaces amplifies the risk of scratching. I once tried to skip this step, and the abrasive particles beneath the grime caused swirl marks despite my careful scrubbing. Using a garden hose with high-pressure spray, focusing on hard-to-reach areas, is effective. This sets a clean stage before applying any cleaning products.
Use a Gentle, pH-Balanced Wheel Cleaner
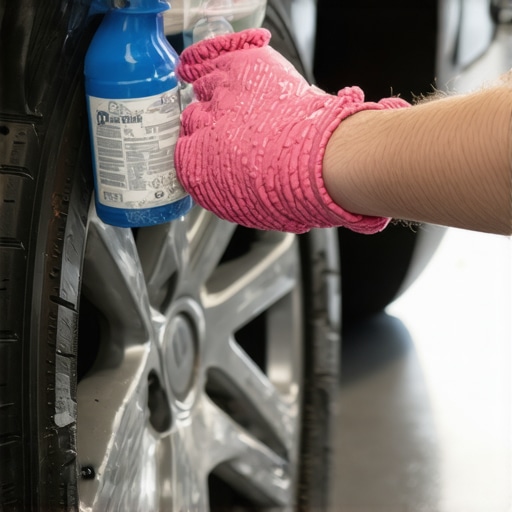
Select a cleaner formulated specifically for wheels, preferably pH-balanced to avoid damaging coatings. I recommend avoiding harsh acids or abrasives, which are like using dish soap—effective but too harsh for sensitive finishes. Spray the cleaner generously, ensuring coverage on all surfaces. Let it sit for the recommended time, allowing chemicals to loosen dirt without scrubbing. This prevents unnecessary abrasion and preserves your wheel’s finish.
Employ the Correct Washing Technique
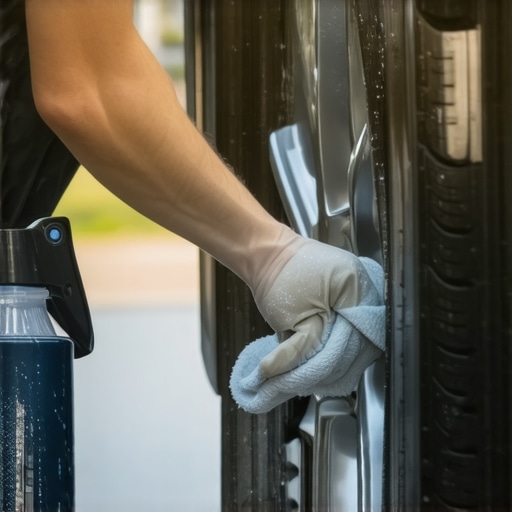
Apply cleaning with light, straight strokes rather than circular motions, which can cause swirl marks. When I last cleaned my alloys, I adopted this method and noticed a smoother finish. Use a microfiber or foam wash mitt, rinsing frequently to avoid transferring dirt back onto the surface. This frequent rinsing is akin to changing your cloth in painting—keeps the process clean and scratch-free. Work from the top down, ensuring contaminants are flushed away every step.
Don’t Let Dirt Sit and Harden
Always rinse promptly after washing; dried dirt is as abrasive as tiny sandpaper particles. I learned this the hard way when a stubborn patch dried onto my wheel, resulting in visible scratches after scrubbing. A quick rinse with plenty of water removes residual particles, safeguarding your finish from micro-scratches.
Dry with Care and Precision
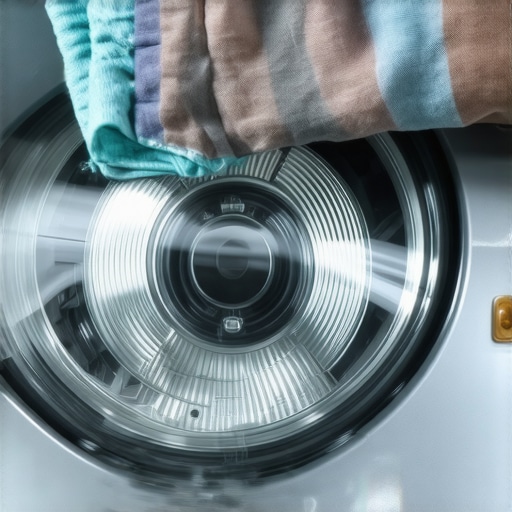
Pat dry with a clean, soft microfiber towel rather than wiping aggressively, which can scratch the surface. I once wiped my wheels harshly, ending up with tiny scratches that tarnished the shine. Gentle blotting minimizes contact and reduces risk. For stubborn spots, use a blower or compressed air to clear hard-to-reach areas without touching them physically, mimicking the careful precision of a tech who handles delicate engine parts.
Seal and Protect to Maintain Shine
Applying a wheel sealant or wax forms a protective barrier, making future cleaning easier and reducing scratches. Think of it like a sunscreen for your wheels—protects the finish from dirt and brake dust buildup. Regular application ensures sustainability of your efforts, keeping your wheels looking showroom-new much longer.
 While many car owners believe that finding a mechanic with an ASE certification guarantees perfect service, this is a common misconception. An ASE (National Institute for Automotive Service Excellence) badge indicates that a technician has passed certain tests, but it doesn’t necessarily reflect recent training, honesty, or attention to detail. Studies, such as those highlighted in AutoFixClinic’s expert insight, show that some ASE-certified technicians may still overlook crucial issues or rely on outdated practices.
A major trap is assuming that an old, trusted mechanic’s advice is always accurate. The automotive field evolves rapidly, especially with the advent of hybrid and electric vehicles. For example, misconceptions about oil change intervals persist; many think that extending oil changes beyond manufacturer recommendations doesn’t harm the engine. However, according to industry experts in oil analysis, neglecting timely oil changes can lead to sludge buildup, engine wear, and reduced fuel efficiency.
Advanced mistakes in transmission maintenance often go unnoticed. For instance, draining your transmission fluid and not replacing the filter can cause debris buildup, leading to slippage and damage. Many believe that a simple fluid top-up suffices, but without a proper flushing and filter change, you risk severe transmission issues. Read more about transmission troubleshooting to avoid costly repairs.
Another nuanced error involves neglecting the importance of using manufacturer-approved parts and fluids. Customizing or using generic replacements might seem economical but can compromise system compatibility, especially with modern electronic-controlled components. For example, using inferior coolant can cause corrosion or sensor failures within the cooling system, leading to engine overheating.
Have you ever fallen into this trap? Let me know in the comments. Being aware of these hidden nuances helps you make smarter decisions, ensuring your vehicle runs smoothly and lasts longer.To ensure your vehicle stays reliable and performs at its best, investing in the right tools and adopting disciplined maintenance routines are crucial. Personally, I rely on a high-quality digital inspection camera, such as the **Ridgid Micro CA-350**, to peek behind engine components without lifting heavy parts, saving time and preventing unnecessary disassembly. This affordable device allows me to monitor critical areas like the transmission cooler and engine bay, helping catch issues early before they escalate. For software diagnostics, I recommend the **BlueDriver Bluetooth Pro OBD2 Scanner**; it pairs with your smartphone and provides detailed error codes with repair advice, streamlining the troubleshooting process and ensuring that no warning light is ignored. Using these tools regularly can improve your ability to spot emerging issues, saving you money and reducing downtime. Predictively, as vehicle electronics become more sophisticated, I foresee an increasing reliance on portable diagnostic gadgets that connect seamlessly with cloud-based maintenance records, making long-term vehicle management even smarter. When considering long-term results, consistent use of quality tools coupled with reliable fluids—like synthetic oils and properly rated transmission fluid—extends your vehicle’s lifespan. Moreover, sticking to manufacturer-recommended service intervals minimizes wear and tear, especially on complex components like the transmission and engine internals. To make this process easier, maintain a digital log of maintenance activities and diagnostics results, which I personally do using **AutoFluent** software, tailored for automotive professionals but also accessible to serious enthusiasts. This habit enables you to track trends over time and anticipate potential failures before they happen. To truly keep your car in top shape, schedule routine inspections every 6–12 months, or sooner if you notice performance dips, strange noises, or warning lights. Regular checkups by an ASE-certified technician, who has passed rigorous certifications—like those discussed in [AutoFixClinic’s guide](https://autofixclinic.com/what-does-an-ase-certification-mean-for-your-cars-maintenance)—ensure that even nuanced issues related to oil quality, transmission health, or brake system are properly addressed. Don’t wait for a breakdown—use your diagnostic tools proactively, and schedule preventive maintenance with a trusted technician. As vehicle complexity grows, embracing advanced tools and disciplined routines becomes not just beneficial but essential for long-term vehicle health.
What I Wish I Knew That Could Save My Finish
One of my biggest lightbulb moments came when I realized that even small mistakes—like using a dirty rag or aggressive scrubbing—can permanently damage your wheels. Trust me, I’ve learned the hard way, and now I prioritize gentle techniques that preserve the glossy shine without the scratches. That insight transformed my approach, and it’s something every car owner should consider to maintain their wheels’ pristine look.
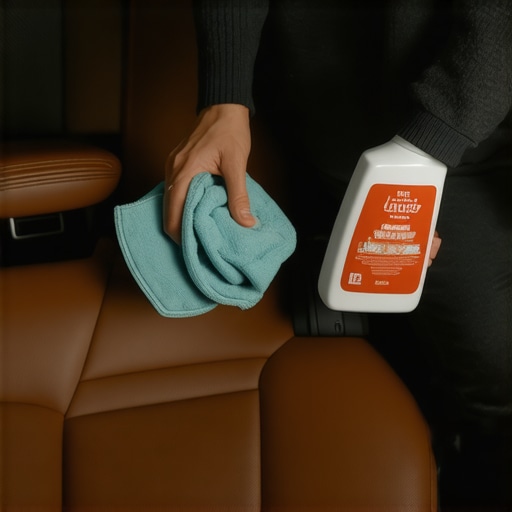
Another lesson is the value of high-quality tools—soft microfiber mitts and proper brushes are non-negotiable. Cheap tools often cause micro-scratches that diminish your wheel’s beauty over time. Investing in the right equipment makes a noticeable difference, and you’ll thank yourself after every wash.
Finally, sealing your wheels after cleaning adds a protective barrier that repels brake dust and dirt, making future cleaning easier and safer. It’s an extra step that pays off in long-term durability and shine, emphasizing how small habits create lasting results.