How to Stop the Vibration in Your Brake Pedal During Stops
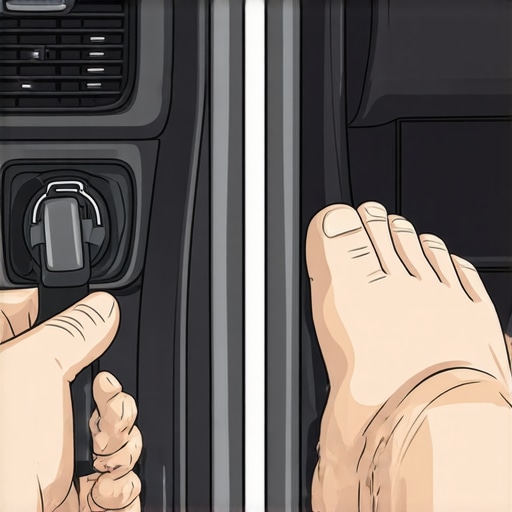
Have you ever been inching to a stop at a traffic light, only to feel a sudden, unsettling tremor through your brake pedal? I remember the first time it happened to me—my heart sank. I was halfway through a long commute, already tense, and then that weird shudder made everything worse. It was a moment of realization: something wasn’t right, and I couldn’t ignore it anymore.
That experience sparked my journey into understanding brake vibrations. Today, I want to share what I’ve learned, so you don’t have to face that uncomfortable surprise alone. If your brake pedal judders when you come to a halt, you’re not imagining things. This issue isn’t just annoying; it can also compromise your safety if left unchecked. But here’s the good news—it’s often fixable with the right knowledge.
Why You Should Pay Attention to Brake Pedal Vibration
Vibrations in your brake pedal might seem minor, but they can indicate underlying problems like warped brake discs, uneven brake pad wear, or even issues with your brake calipers. Ignoring these signals can lead to more extensive and costly repairs later on, not to mention risking your safety on the road. For instance, warped rotors are a common culprit and can cause pulsating brake pedals—a sensation many drivers find unsettling.
Early on, I made a mistake that many DIY enthusiasts also do—assuming the problem was minor or waiting too long to get professional help. That delay can turn a simple fix into a major overhaul. So I urge you: don’t dismiss that judder. Recognizing the signs early can save you money and keep you safe.
Curious if your brake vibration is just a temporary glitch or a sign of something serious? Keep reading. We’ll walk through how to diagnose and address this common issue, backed by expert insights and my firsthand experiences. Remember, safe driving begins with attentive maintenance, and understanding these subtle signals is part of being a responsible car owner.
If you’ve faced this problem before, drop a comment below—I’d love to hear your stories and solutions. Ready to stop that annoying shake in its tracks? Let’s dive into what causes brake pedal vibrations and how you can fix them before they become a bigger headache.
Lift and Secure Your Vehicle Properly
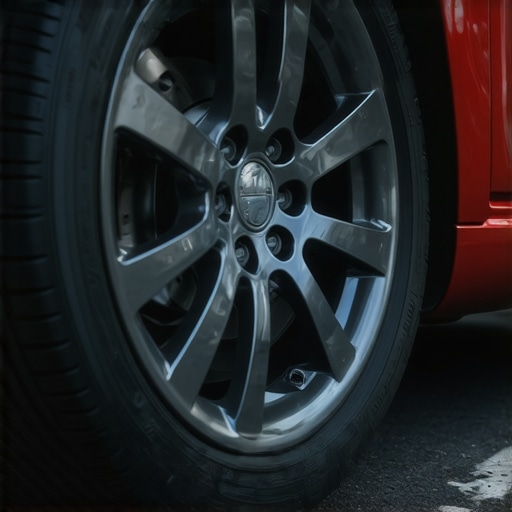
Begin by parking your car on a flat surface, engaging the parking brake, and turning off the engine. Use wheel chocks for added safety. When I performed my first brake inspection, I remembered to wear gloves and eye protection—safety first. Jack up the vehicle using a reliable jack, ensuring it’s on a sturdy surface. Secure it with jack stands placed under the manufacturer’s recommended lift points. This setup prevents accidents and provides stable access to the wheels.
Remove the Wheel and Inspect Brake Components
With the vehicle elevated, loosen the lug nuts with a tire wrench and remove the wheel. Now, examine the brake rotor visually. Look for signs of warping—visible unevenness or scoring. I once noticed a slight wobble in the rotor and decided to measure it with a dial indicator, which confirmed my suspicion of warping. If the rotor appears damaged or excessively worn, it’s best to replace it. Use the manufacturer’s specifications to determine acceptable runout limits. For detailed guidance, check out how to check your brake pads without removing the wheels.
Measure and Confirm Rotor Warping
Attach a dial indicator to your rotor and rotate it slowly. Any deviation beyond the manufacturer’s tolerance (often around 0.001 to 0.005 inches) indicates warping. During my DIY project, measuring with a dial indicator revealed a 0.006-inch variation, which justified replacement. Proper measurement ensures you’re not just guessing—precision is key for a smooth stop. If you find the rotor warped, proceed with replacing it to prevent vibrations.
Replace or Resurface the Rotor
If the rotor is salvageable, *resurfacing* might resolve the issue; otherwise, a replacement is necessary. For rotor replacement, remove the caliper bolts using a socket wrench, support the caliper so as not to stress the brake hose, and slide it away from the rotor. Remove the old rotor and install a new one, ensuring it sits flush against the hub. Tighten the bolts to the specified torque found in your vehicle’s service manual or the recommended sources like choosing the right car service. During my recent brake overhaul, I learned that using a torque wrench prevented over-tightening, which can cause warping. Always torque bolts to manufacturer specifications to ensure longevity.
Replace Brake Pads and Calipers if Necessary
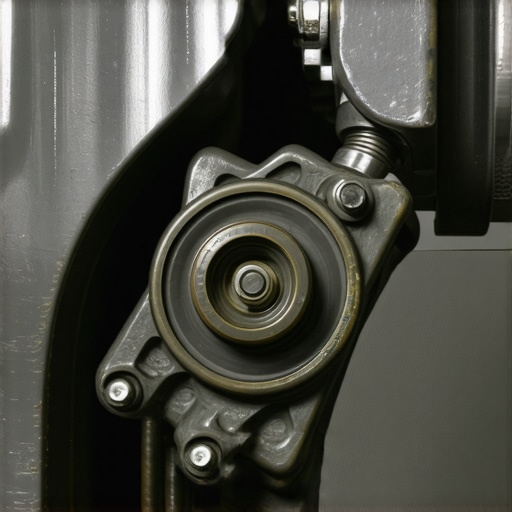
Uneven brake pad wear can also cause juddering. Remove the caliper by loosening the caliper bolts, inspect the pads for uneven thickness, and replace if worn unevenly or if the padding is below the recommended thickness (usually 3mm). Clean the caliper with brake cleaner to remove any rust or debris. Reassemble with proper torque. After my brake job, I remembered to bench-bleed the calipers to ensure no air remained, leading to better braking response. Regularly check your brake pads to avoid uneven wear that contributes to vibrations.
Reassemble and Test Drive
Reinstall the wheel, tighten lug nuts in a star pattern to the proper torque, and lower the vehicle carefully. Once on the ground, perform a test drive at low speeds, applying light brakes to feel for smoothness. Be attentive to any vibration or noise. If vibrations persist, double-check the torque and the rotor installation. This hands-on approach saved me a trip to the shop and reinforced understanding of my vehicle’s braking system. For more advanced diagnostics, consider consulting a professional or exploring transmission troubleshooting tips, as some issues can mimic brake problems during operation.Many car owners believe that sticking to the basic recommendations—like getting an oil change every 3,000 miles—is all they need for a healthy vehicle. But as an ASE-certified technician with years of experience, I can tell you that there’s much more nuance involved. Let’s explore some common myths and advanced mistakes that even seasoned car owners fall for, so you can prevent costly repairs and keep your vehicle running smoothly.
First, a widespread misconception is that using the cheapest oil is always the best choice. In reality, choosing the right oil viscosity and grade, as specified by your car’s manufacturer, is crucial for optimal performance. For instance, synthetic oils, although more expensive upfront, offer better stability and protection, especially under extreme temperatures. This isn’t just opinion—studies like those from the Society of Automotive Engineers confirm that synthetic oils can extend engine life and improve efficiency.
Another point often overlooked is the importance of timely transmission fluid maintenance. Many drivers ignore this vital service, thinking only about their engine oil. However, old or contaminated transmission fluid can cause slipping, harsh shifts, and even complete transmission failure. Regularly checking and replacing it per your vehicle’s specific needs—guided by professional advice—is essential. Don’t make the mistake of waiting until symptoms appear; proactive maintenance saves money in the long run.
Have you ever fallen into this trap? Let me know in the comments.
A critical mistake I see is neglecting to verify whether your mechanic is ASE certified, especially for complex systems like transmissions. An ASE certification indicates that the technician has undergone rigorous testing and has demonstrated proficiency in vehicle repair. This isn’t just a badge; it’s a filter that can help you avoid poor workmanship. For deeper insights into what ASE certification really means, check out here.
Beyond certifications, understanding the nuances of transmission care can make a significant difference. Many think a simple drain and refill suffices, but a full flush or fluid exchange might be necessary for longer transmission life and smoother shifting. Moreover, paying attention to subtle signs, like delayed engagement or slipping gears, can prevent expensive repairs. Read more about the importance of proper transmission maintenance at this resource.
Finally, keep in mind that not all car services are equal. The right choice depends on your vehicle’s make, model, and specific needs. Don’t just settle for the nearest shop; seek one with qualified, ASE-certified technicians and a good reputation. For tips on selecting the perfect service center, see here.
Understanding these hidden nuances transforms your car maintenance from a gamble into a strategic approach. Owning a car isn’t just about avoiding breakdowns; it’s about maximizing safety, efficiency, and longevity. Have you ever fallen into this trap? Let me know in the comments.Maintaining your vehicle’s transmission, oil system, and overall performance requires more than just regular check-ups; it calls for the right tools and a systematic approach. As an ASE-certified technician, I rely on specialized equipment that ensures precision and long-term reliability. One indispensable device is a high-quality **OBD-II scanner**, such as the Autel Maxisys series, which allows me to read diagnostic trouble codes, monitor real-time sensor data, and verify the health of critical systems without guesswork. This tool has saved countless hours by pinpointing issues early—like detecting a sticky transmission solenoid before it causes shifting problems, a topic I explore in detail here. Additionally, I recommend investing in a **digital torque wrench**; it ensures that components like brake rotors and calipers are installed to manufacturer specifications, preventing warping or uneven wear. For fluid management, a **hand pump** for precise transmission fluid exchange minimizes contamination and ensures the correct volume, which is vital for long-term transmission health.
Looking ahead, I believe the future of car maintenance leans heavily towards **smart diagnostics**—integrating AI algorithms with real-time data from your vehicle to predict failures before they happen. This approach will not only save money but also enhance safety.
How do I maintain the transmission over time? Regular fluid changes tailored to your car’s model and driving style remain key. Moreover, pairing these practices with tools like a professional-grade scan tool empowers you to catch issues early, reducing the risk of costly repairs and extending your vehicle’s lifespan. For example, I always perform a **full transmission fluid flush** every 60,000 miles or as recommended, and verify fluid condition using a refractometer to check for contamination. Remember, the investment in quality tools pays off by keeping your car running smoothly longer.
Try implementing a quarterly diagnostic scan combined with the use of a digital torque wrench during your next service, and observe how it improves your maintenance routine. To learn more about selecting the right equipment for your specific vehicle, consult professionals or visit this guide. Staying proactive with these tools and methods will make you feel confident in your ability to keep your ride in top shape, no matter what comes future miles.
What I Wish I Knew Before Tackling Brake Vibrations
One breakthrough was realizing that not every wobble is the same; understanding the specific cause—like warped rotors versus sticking calipers—helped me prioritize repairs effectively. I also learned that patience and precise measurement with a dial indicator prevent unnecessary replacements, saving time and money. Finally, I’ve discovered that investing in quality tools and following manufacturer torque specs ensures long-lasting fixes instead of quick fixes that come back to haunt you.
My Top Tools for Reliable Car Service
First on my list is a trusted ASE-certified scan tool—it’s indispensable for early diagnosis. I also rely on a digital torque wrench to tighten components accurately, avoiding warping or loosening over time. For fluid management, a hand pump allows me to perform precise transmission fluid exchanges, which is critical for longevity. Lastly, a quality dial indicator is essential for detecting rotor warping—trust me, these tools are worth every penny.
Stop Doubting Your Maintenance Skills
There’s a certain confidence that comes from knowing you can diagnose and fix common brake issues yourself. Tackling these maintenance tasks reduces your reliance on mechanics and helps you spot problems early. Remember, you’re capable of more than you think, especially when equipped with the right knowledge and tools. Regularly checking your brake system not only improves safety but also deepens your understanding of how your vehicle functions. Get started today—your safe, smooth rides depend on it. What’s the first repair task you’re planning to take on? Share your thoughts below.