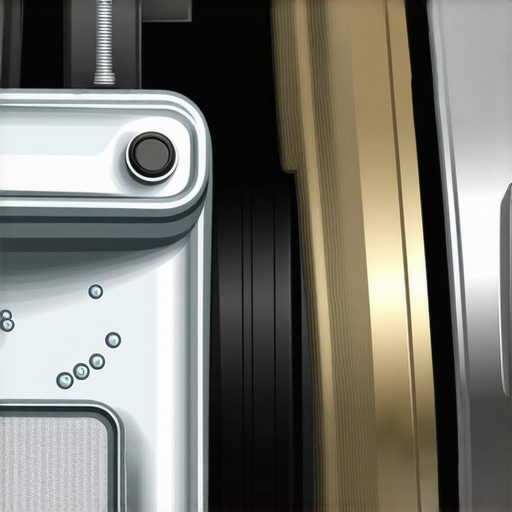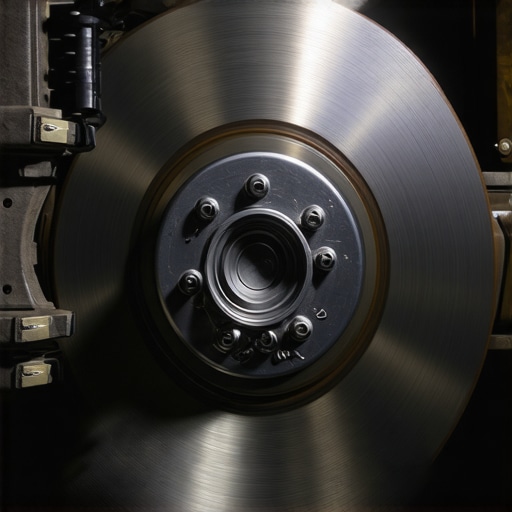
The difference between a warped rotor and a stuck brake caliper
Imagine this: I’m cruising down the road, feeling confident in my car’s ability to stop on a dime. Suddenly, I notice a slight vibration when I hit the brakes. My heart sinks. It’s a familiar yet confusing feeling—what’s really going on under the hood? That lightbulb moment hit me hard: not all brake problems are created equal, and understanding the difference between a warped rotor and a stuck brake caliper can save you a lot of time, money, and nerves.
Why Your Brake Troubles Might Be More Than Just Noise
At first glance, a shimmy or a pulsation in your brake pedal might seem like a simple issue. But as someone who’s been under the hood many times, I can tell you—these symptoms often point to two common culprits: warped rotors or a stuck caliper. While they may seem similar, their causes, effects, and solutions differ significantly. Getting this right means you won’t waste money replacing parts that aren’t broken—or worse, overlook a serious safety concern. My early mistake was assuming any vibration was just warped rotors, leading me to replace them only to find the issue persisted. Trust me, misdiagnosing will cost you more in the long run.
Could It Be a Warped Rotor, or Is the Caliper Stuck?
This is the million-dollar question I often asked myself during my DIY repair days. The good news is, addressing these problems doesn’t require a mechanic’s degree, but it does demand a clear understanding of what’s happening on your wheels. I’ll walk you through how to tell them apart—and how to fix each correctly. According to automotive experts, neglecting brake issues can lead to serious safety risks, including longer stopping distances and potential brake failure (source: Auto Fix Clinic). So, if you’ve faced a similar problem, stay tuned. We’re about to dive into the nitty-gritty of brake diagnostics and repairs that you can do yourself—or at least understand better before calling in help.
Now, let’s explore how to identify whether your issue is a warped rotor or a stuck caliper and what steps you can take to restore normal braking performance.
.
Start with a Test Drive and Visual Check
Begin by gently braking from low to moderate speeds, noting if the vibration worsens or remains constant. Park your vehicle on a level surface, turn off the engine, and inspect the wheels for uneven brake pad wear or discoloration, which can indicate excessive heat from either a warped rotor or a stuck caliper. During my own test drive, I felt a pulsation that worsened when braking hard, prompting me to carefully examine the rotor surface.
Remove the Wheel to See the Real Issue
Loosen lug nuts with a wrench, jack up the vehicle securely, and remove the wheel. This is crucial for a close-up inspection, similar to how ASE certified technicians approach diagnostics. When I did this, I noticed the rotor surface was visibly uneven, confirming possible warping. But sometimes, a stuck caliper piston can be at fault even if the rotor looks okay — so don’t stop at just surface checks.
Check Rotor Flatness for Warpage
Use a dial indicator or a straight edge across the rotor’s surface to measure warping. If the rotor wobbles more than 0.002 inches, it’s likely warped. Think of it as a warped disc in a turntable; it causes vibrations. I once found a rotor with a slight warp of around 0.005 inches, which was enough to produce noticeable shaking during braking. Be sure to measure at multiple points around the rotor for accuracy.
Test the Caliper Operation
Look for sticking pistons or seized slides by manually compressing the caliper piston with a brake caliper tool or C-clamp. If the piston doesn’t move smoothly or refuses to retract, the caliper may be stuck. Applying a small amount of brake fluid to lubricate slides can sometimes free a sticking caliper, but often, replacement is best if it won’t move freely. During my experience, I had to replace a caliper after observing corrosion and seized mechanisms.
Perform the Brake Pad and Hardware Inspection
Check for uneven brake pad wear, which hints at caliper issues or misalignment. Also, examine hardware clips and slides for corrosion or debris that can hinder movement. Regular cleaning with brake cleaner and lubricating slides helps prevent caliper sticking. I learned this early on when building my DIY skills, saving me from more costly repairs later.
Consider Heat Signs and Residue
If the rotor is glazed or has blue discoloration, it indicates overheating caused by a sticking caliper, which melted the brake pad surface. Conversely, a warped rotor often shows signs of heat spots or scoring. In one case, I identified a glazed rotor after a test drive, confirming the caliper’s sticking issue needed addressing.
Decide on Repair or Replacement
If the rotor surface is rough, scored, or significantly warped, replacing it is advised. For a stuck caliper, clean and lubricate slides, or replace if corrosion is severe. Remember, improper repair can lead to safety hazards, so if you’re unsure, consulting a professional or referencing reliable guides like this resource can be invaluable. My own experience taught me that solving brake issues promptly restores safety and confidence behind the wheel.
When it comes to car maintenance, many enthusiasts and even seasoned owners fall prey to misconceptions that can lead to costly mistakes. One pervasive myth is that all transmission issues are caused solely by low fluid levels or worn-out parts, but in reality, diagnosing transmission problems requires a nuanced understanding of various components and their interactions. For instance, a sluggish or slipping transmission doesn’t always mean the fluid is the problem; it could be a malfunctioning solenoid or a sensor failure. Relying solely on visual inspection or generic advice can mask underlying issues that demand sophisticated diagnostics, like those performed by ASE certified technicians.
What advanced signals can reveal hidden transmission troubles before they escalate?
Integrating knowledge from reliable sources, like experts highlighted in this guide, can dramatically improve your troubleshooting accuracy. A key trap to avoid is thinking that frequent oil changes are enough for transmission health—that’s only part of the story. Modern transmissions require specialized flushing and fluid brands that meet exact specifications, as emphasized by industry research. Neglecting this nuance not only shortens component lifespan but can also void warranties, leading to budget-busting repairs later. Additionally, many believe that only high-mileage vehicles need transmission service, but even new cars can suffer from issues if not properly maintained—consider that a transmission’s “secret life” involves complex electronics and precise hydraulic systems that demand careful attention. Remember, any shortcut or overlook in diagnosing or servicing transmissions often results in more severe damage, ultimately costing more to repair or replace. So, align your maintenance approach with expert insights and thorough diagnostics to ensure smooth, reliable shifts. Have you ever fallen into this trap? Let me know in the comments.
Investing in the Right Maintenance Tools
Maintaining your vehicle’s transmission, brakes, and engine requires more than just basic knowledge; it demands quality tools tailored for precision and durability. I personally rely on a digital dial indicator for checking rotor flatness, which provides highly accurate measurements to detect even subtle warping—crucial for preventing uneven brake wear and ensuring safety. For brake caliper inspection, a pair of high-quality C-clamps helps compress pistons smoothly, saving time and preventing damage during repairs. When it comes to fluid changes, a specialized fluid pump allows me to efficiently evacuate old transmission fluid and refill with the correct type, minimizing air incorporation and ensuring optimal performance. These tools not only improve the quality of the mechanic work but also extend the lifespan of your vehicle components.
Why I Prefer Professional-Grade Equipment
While some enthusiasts opt for cheaper alternatives, investing in professional-grade tools guarantees reliability, accuracy, and safety. For example, a torque wrench set calibrated to manufacturer specifications ensures lug nuts are tightened correctly, preventing wheel wobble or damage. Additionally, using an infrared thermometer helps monitor braking system temperatures during test drives, providing insights into potential overheating issues like sticking calipers. Over time, these tools become invaluable, especially as your vehicle ages and the need for precise diagnostics increases. Remember, safety and precision are paramount, and quality tools are the foundation of effective maintenance.
The Future of Vehicle Maintenance Tools
The trend is shifting towards diagnostic software integration. Mobile apps linked with OBD-II scanners now provide real-time data on transmission health, fuel efficiency, and sensor performance, enabling proactive maintenance. As technology advances, expect even more sophisticated tools—such as AI-powered diagnostics—that can identify issues before symptoms manifest. Embracing these innovations not only saves money but also minimizes downtime and prevents major failures.
How do I maintain my vehicle’s transmission over time?
Regularly scheduled transmission fluid changes, ideally every 30,000 to 60,000 miles, are essential, but it’s equally important to use the right products. Choose certified Transmission Fluid meeting OEM specifications; this is especially true if you’re driving a high-performance or luxury vehicle, which might require specific high-zinc oils, as discussed in this article. Moreover, periodically inspecting for leaks or contamination ensures your transmission stays healthy. Utilizing advanced tools like a transmission flush machine with a diagnostic scanner allows for thorough cleaning and health assessment, extending your transmission’s lifespan. Remember, staying proactive with maintenance prevents costly repairs down the line and keeps your vehicle shifting smoothly for years to come.
Insert a high-resolution image of a mechanic using a digital dial indicator on a rotor: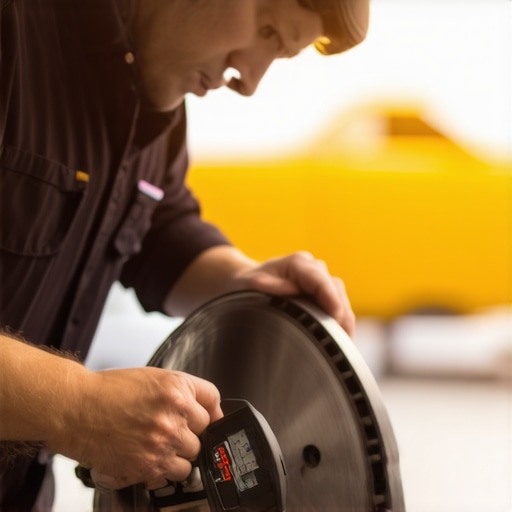
Lessons That Changed My Approach to Brake Care
One of the most eye-opening realizations I had was that a simple vibration during braking isn’t always just a warped rotor—it can be a stuck caliper hiding deeper issues. This taught me to look beyond surface symptoms and perform thorough inspections before jumping to conclusions. Additionally, investing in quality diagnostic tools, like a dial indicator and brake caliper lubricants, transformed my DIY repairs from guesswork to precision. Lastly, understanding that heat discoloration and uneven pad wear can be clues to caliper problems shifted my maintenance mindset from reactive to proactive, saving me both money and peace of mind.
Tools That Elevate My Brake Maintenance Game
My essential toolkit now includes a digital dial indicator to measure rotor warping accurately, which is crucial for determining if replacement is necessary. A high-quality C-clamp helps me compress caliper pistons smoothly, preventing damage during brake pad replacement. Additionally, a set of automotive-grade brake cleaner and precision lubricants for slides ensure that no part is left to seize up over time. These tools have become my trusted companions, allowing me to perform professional-grade repairs and maintain safety standards without stepping into a mechanic’s shop.
Keep Moving Forward — Your Vehicle Deserves It
Empowering yourself with knowledge about brake system diagnostics and repairs not only prolongs your vehicle’s lifespan but also enhances your confidence on the road. Remember, understanding the nuances between warped rotors and stuck calipers allows you to diagnose issues accurately and apply the right fix. Whether you’re a seasoned DIYer or just starting out, committed maintenance keeps your car safe and reliable. Don’t hesitate to explore detailed guides or reach out through our contact page for expert advice. Your journey toward better vehicle care begins now—embrace it with enthusiasm and precision.