How to Remove Oxidation from Your Headlights Using Household Items
I’ll never forget that moment on a quiet Sunday evening when I looked out my car window and saw my headlights glaring dimly, almost as if they were crying out for help. It was a stark realization—years of sun, dirt, and neglect had taken a toll, leaving my once-clear beams dull and yellowed. That lightbulb moment hit me hard: I didn’t need expensive kits or professional services to fix this mess. What I needed was a simple DIY solution using household items.
Discover the Home Remedy That Restores Headlight Clarity
Over time, headlights can develop a cloudy or yellowed appearance, which not only diminishes their aesthetic appeal but also compromises your safety on the road. Bright, clear headlights are crucial—they ensure you see and are seen clearly, especially during night drives or adverse weather. But many of us overlook this detail until it’s painfully obvious, like a foggy mirror reflecting a neglected car. The good news? Restoring clarity doesn’t require harsh chemicals or costly replacements. With a few common household items, you can breathe new life into those tired bulbs. Today, I’ll share my tried-and-true method that saved me hundreds and turned my headlights into new—trust me, it’s easier than you think.
Is the DIY Headlight Restoration Actually Worth the Effort?
Now, I know some folks are skeptical. You’ve likely read about DIY hacks that promise miracles but fall flat, leaving your headlights worse than before. Early in my journey, I made the mistake of using abrasive materials not suited for plastic lenses, which scratched and worsened the damage. That taught me a valuable lesson: doing a little research saves you from unnecessary frustration. Using household items like baking soda, vinegar, and even toothpaste has proved effective for many. But the key is knowing how to apply them correctly, avoiding pitfalls, and understanding what actually works. I’ll walk you through my experience so you can avoid the blunders I made and confidently restore your headlights.
If you’ve ever felt embarrassed to turn on your headlights or worried about how your car looks, know you’re not alone. Many car owners overlook this simple maintenance task, leading to diminished visibility and safety concerns. The process I’ll describe is cost-effective, eco-friendly, and quick—no special skills required. Before we dive into the step-by-step guide, let’s explore some common hurdles skeptics face and see if this DIY approach is really suitable for you.
}#}#}#}#}#}#}#}#}#}#}#}#}#}#}#}#}#}#}#}#}#}#}#}#}#}#}#}#}#}#}#}#}#}#}#}#}#}#}#}#}#}#}#}#}#}#}#}#}#}#}#}#}#}#}#}#}#}#}#}#}#}#}#}#}#}#}#}#}#}#}#}#}#}#}#}#}#}#}#}#}#}#}#}#}#}#}#}#}#}#}#}#}#}#}#}#}#}#}#}#}#}#}#}#}#}#}#}#}#}#}#}#}#}#}#}#}#}#}#}#}#}#}#}#}#}#}#}#}#}#}#}#}#}#}#}#}#}#}#}#}#}#}#}#}#}#}#}#}#}#}#}#}#}#}#}#}#}#}#}#}#}#}#}#}#}#}#}#}#}#}#}#}#}#}#}#}#}#}#}#}#}#}#}#}#}#}#}#}#}#}#}#}#}#}#}#}#}#}#}#}#}#}#}#}#}#}#}#}#}#}#}#}#}#}#}#}#}#}#}#}#}#}#}#}#}#}#}#}#}#}#}#}#}#}#}#}#}#}#}#}#}#}#}#}#}#}#}#}#}#}#}#}#}#}#}#}#}#}#}#}#}#}#}#}#}#}#}#}#}#}#}#}#}#}#}#}#}#}#}#}#}#}#}#}#}#}#}#}#}#}#}#}#}#}#}#}#}#}#}#}#}#}#}#}#}#}#}#}#}#}#}#}#}#}#}#}#}#}#}#}#}#}#}#}#}#}#}#}#}#}#}#}#}#}#}#}#}#}#}#}#}#}#}#}#}#}#}#}#}#}#}#}#}#}#}#}#}#}#}#}#}#}#}#}#}#}#}#}#}#}#}#}#}#}#}#}#}#}#}#}#}#}#}#}#}#}#}#}#}#}#}#}#}#}#}#}#}#}#}#}#}#}#}#}#}#}#}#}#}#}#}#}#}#}#}#}#}#}#}#}#}#}#}#}#}#}#}#}#}#}#}#}#}#}#}#}#}#}#}#}#}#}#}#}#}#}#}#}#}#}#}#}#}#}#}#}#}#}#}#}#}#}#}#}#}#}#}#}#}#}#}#}#}#}#}#}#}#}#}#}#}#}#}#}#}#}#}#}#}#}#}#}#}#}#}#}#}#}#}#}#}#}#}#}#}#}#}#}#}#}#}#}#}#}#}#}#}#}#}#}#}#}#}#}#}#}#}#}#}#}#}#}#}#}#}#}#}#}#}#}#}#}#}#}#}#}#}#}#}#}#}#}#}#}#}#}#}#}#}#}#}#}#}#}#}#}#}#}#}#}#}#}#}#}#}#}#}#}#}#}#}#}#}#}#}#}#}#}#}#}#}#}#}#}#}#}#}#}#}#}#}#}#}#}#}#}#}#}#}#}#}#}#}#}#}#}#}#}#}#}#}#}#}#}#}#}#}#}#}#}#}#}#}#}#}#}#}#}#}#}#}#}#}#}#}#}#}#}#}#}#}#}#}#}#}#}#}#}#}#}#}#}#}#}#}#}#}#}#}#}#}#}#}#}#}#}#}#}#}#}#}#}#}#}#}#}#}#}#}#}#}#}#}#}#}#}#}#}#}#}#}#}#}#}#}#}#}#}#}#}#}#}#}#}#}#}#}#}#}#}#}#}#}#}#}#}#}#}#}#}#}#}#}#}#}#}#}#}#}#}#}#}#}#}#}#}#}#}#}#}#}#}#}#}#}#}#}#}#}#}#}#}#}#}#}#}#}#}#}#}#}#}#}#}#}#}#}#}#}#}#}#}#}#}#}#}#}#}#}#}#}#}#}#}#}#}#}#}#}#}#}#}#}#}#}#}#}#}#}#}#}#}#}#}#}#}#}#}#}#}#}#}#}#}#}#}#}#}#}#}#}#}#}#}#}#}#}#}#}#}#}#}#}#}#}#}#}#}#}#}#}#}#}#}#}#}#}#}#}#}#}#}#}#}#}#}#}#}#}#}#}#}#}#}#}#}#}#}#}#}#}#}#}#}#}#}#}#}#}#}#}#}#}#}#}#}#}#}#}#}#}#}#}#}#}#}#}#}#}#}#}#}#}#}#}#}#}#}#}#}#}#}#}#}#}#}#}#}#}#}#}#}#}#}#}#}#}#}#}#}#}#}#}#}#}#}#}#}#}#}#}#}#}#}#}#}#}#}#}#}#}#}#}#}#}#}#}#}#}#}#}#}#}#}#}#}#}#}#}#}#}#}#}#}#}#}#}#}#}#}#}#}#}#}#}#}#}#}#}#}#}#}#}#}#}#}#}#}#}#}#}#}#}#}#}#}#}#}#}#}#}#}#}#}#}#}#}#}#}#}#}#}#}#}#}#}#}#}#}#}#}#}#}#}#}#}#}#}#}#}#}#}#}#}#}#}#}#}#}#}#}#}#}#}#}#}#}#}#}#}#}#}#}#}#}#}#}#}#}#}#}#}#}#}#}#}#}#}#}#}#}#}#}#}#}
Gather Your Supplies and Prepare the Area
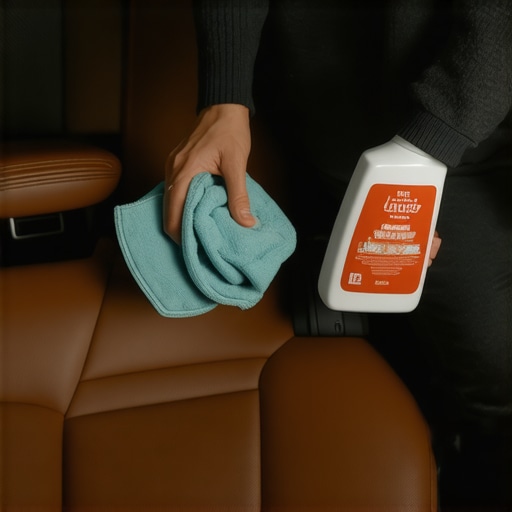
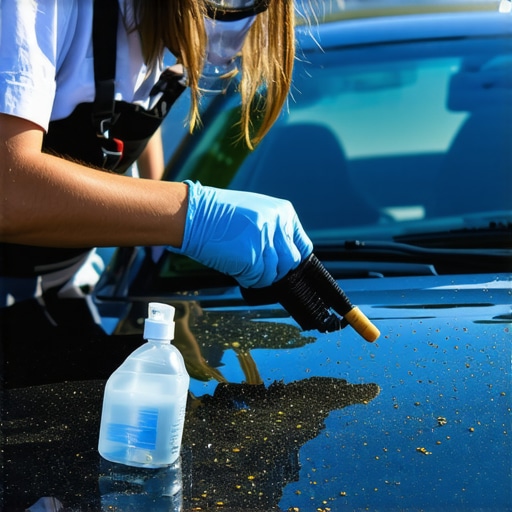
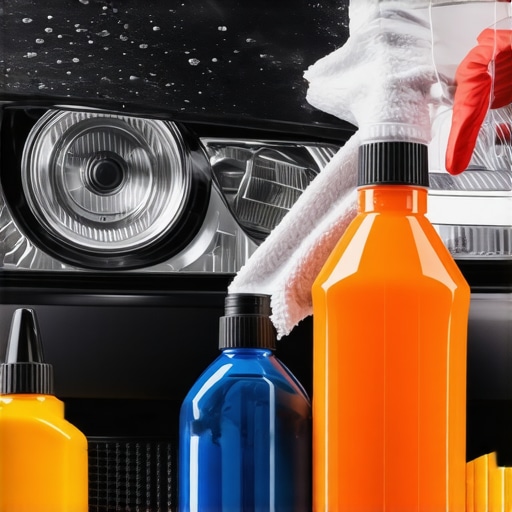
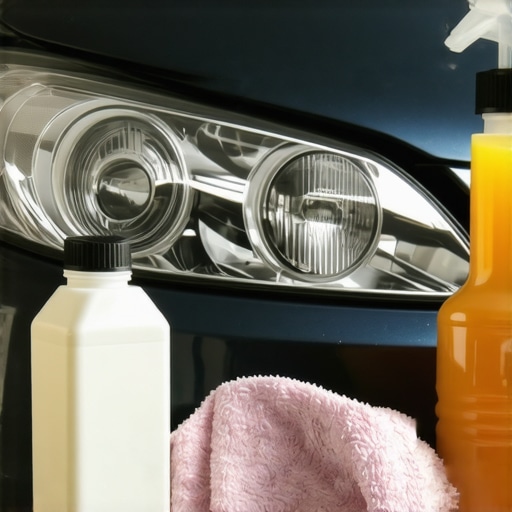
Start by collecting basic household items: toothpaste, baking soda, vinegar, and a microfiber cloth. Find a well-ventilated workspace, preferably outdoors or in a garage, and ensure your vehicle is parked on a flat surface. Wearing gloves keeps your hands clean and protects your skin from possible irritation. I once tried this process in my driveway without proper ventilation, and the fumes from vinegar made me cough—so always prioritize safety and comfort during the process.
Soak and Apply the Cleaning Solution
Mix a small amount of baking soda with water to create a thick paste. Squeeze a generous amount of toothpaste onto a clean cloth. Dab the baking soda paste onto the headlights to add abrasive action. Use a damp microfiber cloth to work the toothpaste in circular motions across the lens, applying firm pressure but avoiding excessive scrubbing that could scratch the plastic. In my experience, gentle circular motions spread the abrasive evenly, preventing uneven fogging or scratches. For better results, consider applying vinegar after toothpaste to remove any lingering residues, as it acts as a natural degreaser.
Buff and Rinse the Headlights
After scrubbing for about 5 minutes, use a clean, damp cloth to wipe away the residue. Rinse the headlight lens thoroughly with water to remove any remaining paste. Dry the surface with a soft microfiber towel. In a time I tried skipping the rinse step, residual paste left streaks that I had to polish out later, so be meticulous here to achieve optimal clarity.
Seal and Protect the Headlights
To maintain the restored shine and prevent future yellowing, apply a thin layer of car wax or a specialized headlight sealant. Use a clean cloth to buff the surface evenly, ensuring the sealant bonds well with the plastic. I found that a quick buff with a fresh microfiber cloth provided the best shine and protection, making the headlights resistant to environmental elements like sun and rain. Regular application of this final step can extend the clarity for months.
Additional Tips for Long-Lasting Results
Avoid washing your car immediately after restoration; wait at least a day to let the sealant set fully. Consider parking your vehicle in the shade or a garage to shield the headlights from prolonged sun exposure, which accelerates yellowing. Routine cleaning with non-abrasive products also helps maintain the clarity. For persistent fogging or severe damage, professional restoration or replacement might be more appropriate—sometimes, consulting an auto technician could save you time and money.
Beware of Overextending DIY Efforts
While household solutions are effective for minor fogging, avoid aggressive scrubbing or using harsh chemicals that could weaken or crack the plastic lens. Remember that car headlights are precision components designed for safety; if you’re unsure or if the damage is extensive, seeking expert advice ensures your vehicle remains roadworthy. Also, keep in mind that proper maintenance, like regular oil changes and timely services, extends the lifespan of all car parts, including headlights.
When it comes to vehicle maintenance, many car owners operate under a set of myths that can lead to costly mistakes. For instance, the belief that transmission problems are always obvious often causes drivers to delay diagnostics until the issue worsens. In reality, subtle symptoms like delayed engagement or unusual noises can indicate early transmission wear, and recognizing these signs early is crucial for saving money and preventing breakdowns. Additionally, there’s a misconception that any car service shop is equally competent. However, not all mechanics possess the same level of expertise, especially regarding complex systems like transmissions or newer engine technologies. Confirming whether a mechanic is ASE certified, which signifies verified competence, can be a game-changer. Many assume that ASE certification guarantees perfect service, but in practice, it’s more of a baseline credential; ongoing training and specialization matter just as much. Furthermore, common advice suggests that oil changes are only necessary when the oil turns black, but modern engines require more nuanced care. Regular oil changes following manufacturer intervals not only prolong engine life but also prevent issues like sludge buildup that can harm seals and pistons. Overlooking this can lead to increased engine deposits, which in turn can cause overheating or reduced performance. There’s also the fallacy that all transmission fluids are interchangeable. Using the wrong type or neglecting a fluid change can cause shifting problems or transmission failure. Always reference the vehicle’s manual or consult trusted sources like professional technicians before switching fluids. Finally, many drivers dismiss routine maintenance as optional, assuming repairs are only needed when something breaks. This approach is risky because preventive care, including regular inspections and fluid changes, can identify issues before they escalate. As detailed in expert insights, neglecting such tasks increases the likelihood of expensive repairs down the road. To truly optimize your vehicle’s longevity and performance, understand these nuances and avoid acting on superficial myths. For example, regularly consulting trusted resources like [auto repair experts](https://autofixclinic.com/what-does-an-ase-certification-mean-for-your-cars-maintenance) can equip you with the knowledge needed to make smarter decisions. Have you ever fallen into this trap? Let me know in the comments.
The Importance of Investing in Quality Tools for Long-Term Vehicle Care
Maintaining your vehicle’s transmission, oil system, and overall performance requires more than just passing knowledge—you need the right equipment. Personally, I swear by a high-quality digital multimeter because it helps me quickly diagnose electrical issues, including sensor faults that affect transmission shifting. For example, when I noticed my car hesitating before gear engagement, a precise multimeter helped me verify whether the transmission control module was receiving proper signals, saving me from unnecessary repairs. Consistent maintenance tools not only improve accuracy but also extend your car’s lifespan.
Featured Equipment I Trust for DIY Maintenance
One essential tool I rely on is an infrared temperature gun. It allows me to monitor engine and transmission temperatures during routine checks—vital for diagnosing overheating problems early. I use this device regularly during oil changes and transmission flushes to ensure components stay within optimal operating ranges. My experience shows that spotting abnormal heat levels with a simple infrared gun can prevent costly damage and ensure safe driving conditions.
How do I keep my maintenance routine effective over time?
Keeping your tools in top shape involves regular calibration and proper storage. I recommend cleaning your digital multimeter after each use and storing it in a padded case to prevent damage. Also, update your diagnostic software if you use code readers—many modern vehicles require firmware updates to accurately read newer systems. Consistency is key; scheduled checks with your trusted tools ensure that your vehicle remains in peak condition, minimizing unexpected breakdowns and expensive repairs. For guidance on advanced diagnostics and maintaining your equipment, consider visiting our contact page for expert assistance.
The Future of DIY Car Maintenance Tools
As automotive technology advances, I predict we’ll see more affordable, user-friendly diagnostic tools integrated with smartphones or tablets. These innovations will empower even novice owners to perform complex tasks with confidence. In the coming years, expect to see smarter sensors and AI-assisted diagnostics that can anticipate issues before symptoms arise, making maintenance more proactive than ever. Embracing these tools now can prepare you for the shift towards more autonomous vehicle care, reducing reliance on traditional garages.
Why Invest in Certified Support?
While tools empower you to perform many maintenance tasks, there’s undeniable value in working with ASE-certified technicians for critical repairs. Certifications like ASE certification validate a mechanic’s expertise, ensuring your vehicle receives quality service. When in doubt, combining your DIY efforts with professional advice enhances both safety and longevity. Don’t hesitate to reach out for expert support when tackling complex issues—it’s a wise investment in your vehicle’s future.
Take one practical step today: regularly calibrate your multimeter or diagnostic scanner and keep detailed records of readings. This practice helps track your vehicle’s health over time, catching potential problems early. Remember, proactive maintenance is your best tool against unexpected breakdowns or transmission troubles. For more detailed diagnostics and professional guidance, visit our contact page.
What I Learned About Patience and Precision on the Road to Clear Headlights
One of the toughest lessons was realizing that rushing through the process often led to scratches or uneven results. Taking my time and applying gentle pressure, especially with household items like toothpaste and baking soda, made a huge difference. This taught me that patience beats brute force—particularly when working with plastic lenses that can easily be damaged if mishandled.
How Misjudging Household Items Can Backfire and How to Avoid It
I initially thought aggressive scrubbing with harsh chemicals would speed up the process, but I quickly learned that this can cause more harm than good. Using commonly available items like vinegar and toothpaste in moderation, and understanding their effects on plastics, allowed for safe, effective restoration. The key takeaway? Know your tools—whether household or professional.
The Power of Consistency in Vehicle Care
Restoring headlights isn’t just a one-time fix; maintaining clarity requires regular upkeep and protective measures like sealing with wax. This experience reiterated that consistent, small efforts—in cleaning, sealing, or inspecting—yield long-term rewards. Trusting a routine makes DIY maintenance both rewarding and sustainable, saving money and prolonging vehicle life.
Sharing the Lessons That Could Save You Time and Money
From avoiding abrasive materials to understanding the importance of proper rinsing, each mistake became a lesson I now cherish. My biggest advice? Don’t be afraid to try simple DIY solutions, but always do your research. The difference between a successful headlight restoration and a costly mistake often hinges on attention to detail and a willingness to learn. For more tips on DIY vehicle maintenance, consider exploring our comprehensive guides, and when in doubt, professional support is just a click away.