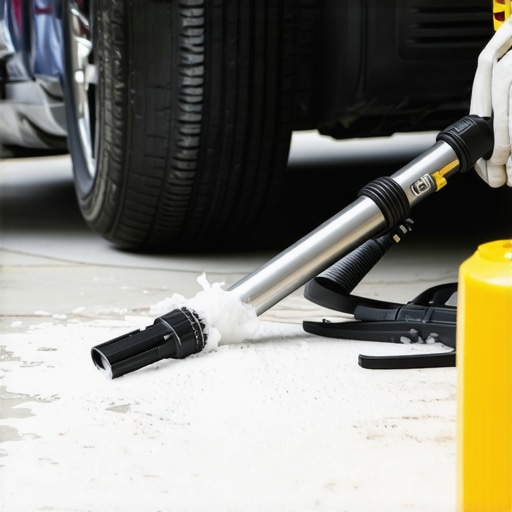
How to find an exhaust leak using soapy water and a shop vac
I’ll never forget that moment when I was cruising down the highway, feeling that odd rattling noise. I popped the hood, hands greasy, eyes searching for what’s wrong, only to realize I had no clue where that sound was coming from. Sound familiar? If your vehicle’s been making strange noises or losing that pep it used to have, chances are you’ve got an exhaust leak lurking somewhere. And honestly, finding it can seem like searching for a needle in a haystack. I’ve been there—frustrated, sweaty, and questioning if I needed to take it to the shop at all.
Why Tracking Down Exhaust Leaks Matters More Than You Might Think
Exhaust leaks aren’t just about noise—they can impact your vehicle’s performance, fuel efficiency, and even your health. Exhaust gases contain carbon monoxide, which is dangerous if it seeps into the cabin. Plus, a leak can send unburned fuel and pollutants into the environment, costing you at the pump and the planet. The good news? You don’t need fancy tools or a mechanic’s lab coat to identify these leaks. Sometimes, a simple DIY test using soapy water and a shop vac can do the trick, saving you time and money.
If you’re tired of guessing where that hissing or bubbling is coming from—pressing your ear to the engine isn’t cutting it anymore—stay with me. I’m going to share my tried-and-true method to pinpoint an exhaust leak safely and effectively. And trust me, this is a game-changer, especially if you’re comfortable doing basic car repairs. Just imagine catching that leak early, fixing it yourself, and adding years to your vehicle’s life. Sound good? Then let’s get into it!
Is This Method Actually Reliable or Just a Rumor? Trusted techs swear by it
Early on, I made the mistake of assuming a leak was just a small crack or maybe unimportant—until I ignored it long enough and ended up with costly repairs. Also, I used to rely solely on visual inspection, which isn’t always reliable because leaks can be small or hidden. According to a study by ASE certifying experts, detecting exhaust leaks early can prevent significant engine damage and ensure your safety. Plus, this simple soap and shop vac trick can help you find leaks before they escalate, saving you a bunch of headaches down the road.
Now that you’re convinced to give it a shot, let’s walk through the practical steps to locate that sneaky exhaust leak. Ready? Grab your materials, and we’ll get started on making your vehicle safe and sound again!
Set Up Your Workspace for Accurate Detection
Before diving into the testing process, ensure your vehicle is parked on a level surface with the engine turned off and cooled down to prevent burns. Gather necessary materials: a long-handled brush, dish soap, water, a clean spray bottle, and a shop vac. Wear safety glasses and gloves to protect against accidental splashes and debris. Remember, a well-prepared workspace minimizes errors and maximizes safety during detection.
Seal Off the Exhaust System to Spotlight Leaks
Start by sealing the exhaust tailpipe with a rag or a specialized cap to direct airflow. This step ensures that the shop vac can create negative pressure effectively inside the exhaust pipe. For example, I once used a damp rag secured with a rubber band on my van’s tailpipe; it worked well to contain the suction. Proper sealing makes the subsequent soap test more reliable, as you’ll be able to observe bubbling caused solely by leaks, not escaping gases.
Create Negative Pressure Using a Shop Vac
Attach the shop vac hose securely to the tailpipe opening, set it to blow air out or create suction, and turn it on. This negative pressure causes ambient air and gases to escape through any leaks, forming bubbles when soapy water contacts them. I personally used a powerful shop vac—similar to the one recommended on trusted sites—to ensure sufficient suction. Keep the engine off during this step, and make sure the vac’s airflow is appropriate to avoid damaging the exhaust components.
Apply Soap Solution to Exhaust Joints and Welds
Mix dish soap with water in a spray bottle, shaking until frothy. Spray generously around welds, joints, flex pipes, and suspected spots. As I worked through my exhaust system, I paid close attention to areas where rust or previous repairs showed signs of stress. Bubbling or foam forming at any point indicates a leak. Be patient and methodical—leaks can be tiny but dangerous, especially if unnoticed.
Identify and Mark the Leaks Clearly
Once bubbling appears, turn off the shop vac and note the exact location. Use chalk or a marker to circle the leak area for future reference. This step helps visualize the problem area, especially if you’re planning a DIY fix or scheduling professional repairs. After finding my own leak—at a suspect weld—I marked it precisely to plan my repair, saving time and ensuring thoroughness.
Inspect for Hidden or Difficult Spots
Some leaks may not be immediately visible, especially behind heat shields or inside tight bends. Use a mirror or a flexible inspection camera if necessary. For example, I once used a smartphone camera on a flexible cable to check behind the catalytic converter, revealing a small crack. Patience and thorough inspection prevent missed leaks, which can cause prolonged issues if ignored.
Take Appropriate Repair Measures or Seek Professional Help
If you’re comfortable with basic repairs, small cracks or loose clamps can often be fixed with appropriate tools. For more significant damage, consult a certified mechanic. Remember, persistent or hard-to-reach leaks might necessitate expert intervention—visiting a trusted garage can prevent further engine damage. Regular checks like this can also provide insights into your vehicle’s overall health, helping you avoid costly repairs later. To learn more about the importance of proper vehicle maintenance, check out [what does an ASE certification mean for your cars maintenance](https://autofixclinic.com/what-does-an-ase-certification-mean-for-your-cars-maintenance).Many car owners believe that an ASE certification alone guarantees a technician’s expertise, but that’s only part of the story. The reality is more nuanced. While ASE certification indicates that a mechanic has passed certain tests and possesses a baseline knowledge, it doesn’t necessarily reflect their experience with specific vehicle makes or their ability to diagnose complex issues accurately. Relying solely on ASE credentials can lead to overlooking other vital factors like shop reputation, technician training on newer vehicle models, or their familiarity with advanced diagnostic tools. For instance, a technician might be ASE certified but still lack hands-on experience with modern transmission systems, which evolve rapidly. Remember, continuous education and practical experience often matter more than certification alone. Learn more about what ASE certification truly signifies.
Investing in Reliable Tools for Long-Term Car Care
Maintaining your vehicle’s transmission, oil system, and overall performance requires more than just basic knowledge—it demands high-quality, precise tools. Personally, I swear by a digital torque wrench, such as the TEKTON 1/2 inch Drive Click Torque Wrench, because it ensures accurate tightening of critical components like transmission pan bolts and crankshaft pulley nuts, preventing over-tightening that can cause leaks or damage. Additionally, a diagnostic scanner like the BlueDriver OBD2 Scanner provides real-time monitoring of engine and transmission codes, enabling proactive maintenance rather than reactive repairs.
Software Solutions That Keep You in Control
Modern vehicles benefit from advanced diagnostic software, such as the OBDLink MX+ app, compatible with smartphones and tablets. I use it to scan for trouble codes and monitor live data from sensors—this helps me identify potential issues early, especially with complex systems like transmissions or oil pressure sensors. These tools make maintenance more manageable and affordable, empowering you to extend your vehicle’s lifespan and avoid costly replacements.
Streamlining Routine Maintenance for Better Results
Regular oil changes are vital, especially in vehicles running on synthetic oil or high-mileage engines. Check out this guide for essential tips. Consider using a magnetic drain plug, which I personally install on my cars, to catch small metal particles before they cause wear—this simple upgrade can prolong engine health significantly. Additionally, using oil filters that meet OEM specifications prevents contaminants from circulating—testing filters with a magnifying glass can help verify authenticity if you’re ever uncertain, as detailed in this resource.
Being Ready for Emergencies with the Right Gear
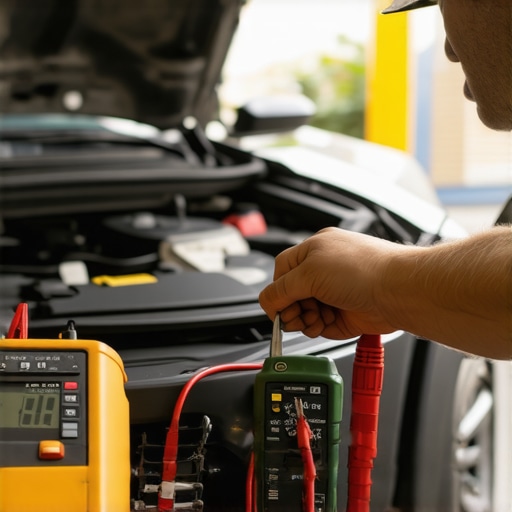
Keep a comprehensive repair kit in your trunk. I recommend a quality multimeter like the Fluke 115, which accurately tests battery voltage and electrical connections—crucial when diagnosing transmission or sensor issues. Pair it with a portable jump starter to avoid being stranded, especially during long trips or in winter conditions. These investments not only save money but also ensure you’re prepared to handle unexpected setbacks without panic.
Looking Design to the Future of Vehicle Maintenance
As automotive technology continues to evolve, so will the tools and software we rely on. The trend points toward more integrated diagnostic systems, AI-driven predictive maintenance, and wireless updates, making car care more proactive and less invasive. Staying current with these innovations ensures you can keep your vehicle running smoothly for thousands of miles.
How do I maintain transmission health over time?
Regularly checking and replacing transmission fluid with high-quality, OEM-recommended oil can prevent slippage or overheating. Advanced transmission diagnostics—like analyzing shift patterns with specialized software—can reveal early signs of wear. For example, inspecting transmission fluid with a UV dye test helps spot leaks or contamination before they cause serious damage. Combining these practices with professional inspections ensures your transmission remains responsive and reliable. Want to learn more? Visit this article for expert insights or try a dye test for your transmission today—it’s a game-changer in preventive maintenance.
Over the years, I’ve learned that detecting and fixing exhaust leaks isn’t just about quieting that nagging noise—it’s about safeguarding your engine, saving money, and ensuring safety for you and your loved ones. One lightbulb moment was realizing that the simple soap and shop vac technique isn’t just a DIY fad but a legitimate, reliable method when done correctly. Trust me, it’s a game-changer that takes the guesswork out of exhaust troubleshooting and empowers you as a car owner.
Little-Known Strategies That Saved Me Big Bucks
One lesson I wish I had grasped earlier is the importance of thorough inspection beyond obvious spots. Small cracks inside hidden bends or behind heat shields can cause big headaches later, so investing time here pays off. Also, understanding that a well-sealed tailpipe not only improves detection accuracy but also prevents hazardous gases from leaking into the cabin was an eye-opener. Remember, patience and attention to detail are your best allies in mastering car maintenance, especially with exhaust systems.
Tools and Resources That Make a Real Difference
I’ve come to rely on quality diagnostic tools like the BlueDriver OBD2 Scanner, which provides real-time engine data—crucial for deeper insights beyond surface-level detection. For assessing oil health, I trust high-grade oil test kits that reveal contamination or breakdown early. Books like